Do you want a 24/7 assistant? SharePoint agents are designed to help you with specific tasks and provide reliable answers based on the content of each site. You can use the built-in agent or create a custom one with just one click, selecting the information you want it to use. Whatever your choice, you’ll get clear and helpful answers to make better decisions—without complications!
Pre-requisites
To use Agents in SharePoint, you must have an active Office license and add the Microsoft 365 Copilot add-on plan to the user account you want to use the functionality with. This licensing can be purchased from the Microsoft 365 admin center.
You can find more details on the Microsoft 365 Copilot licensing page.
Use case context: Working with a SharePoint Agent as an assistant to help the pre-sales team streamline communication flow.
Imagine you are a sales team with all your documentation uploaded to a SharePoint site: client requirements, effort estimates from the implementation team, submitted client proposals, scope changes, and more. Managing all this information can sometimes be challenging.
Let’s see how a SharePoint Agent can help provide precise answers about the documents uploaded to the site, without needing to check each document manually, read through all the lines, or try to remember where that specific phrase you were looking for was located.
Creating the Agent in SharePoint
Let’s get started!
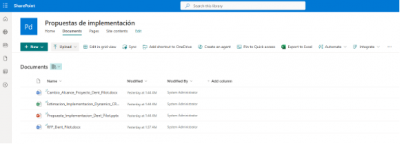
First, let’s locate the SharePoint site where all the documentation you want the SharePoint Agent to analyze is stored.

Once the documentation is located, creating the agent will only take seconds.
- We’ll select all the documentation we want it to analyze. If we don’t select anything, it will, by default, analyze all the documentation on the site.
- Click on “Create Agent.”
- Give it a name.
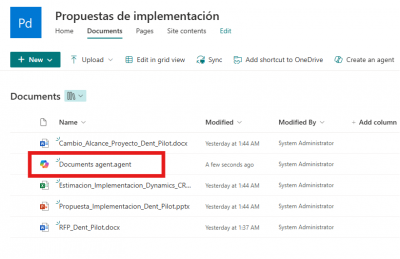
- And voilà! Agent created.

Now we will see the Agent in the same SharePoint site that was created.

Use SharePoint Agent
Great, perfect. And now, what do I do with the Agent?
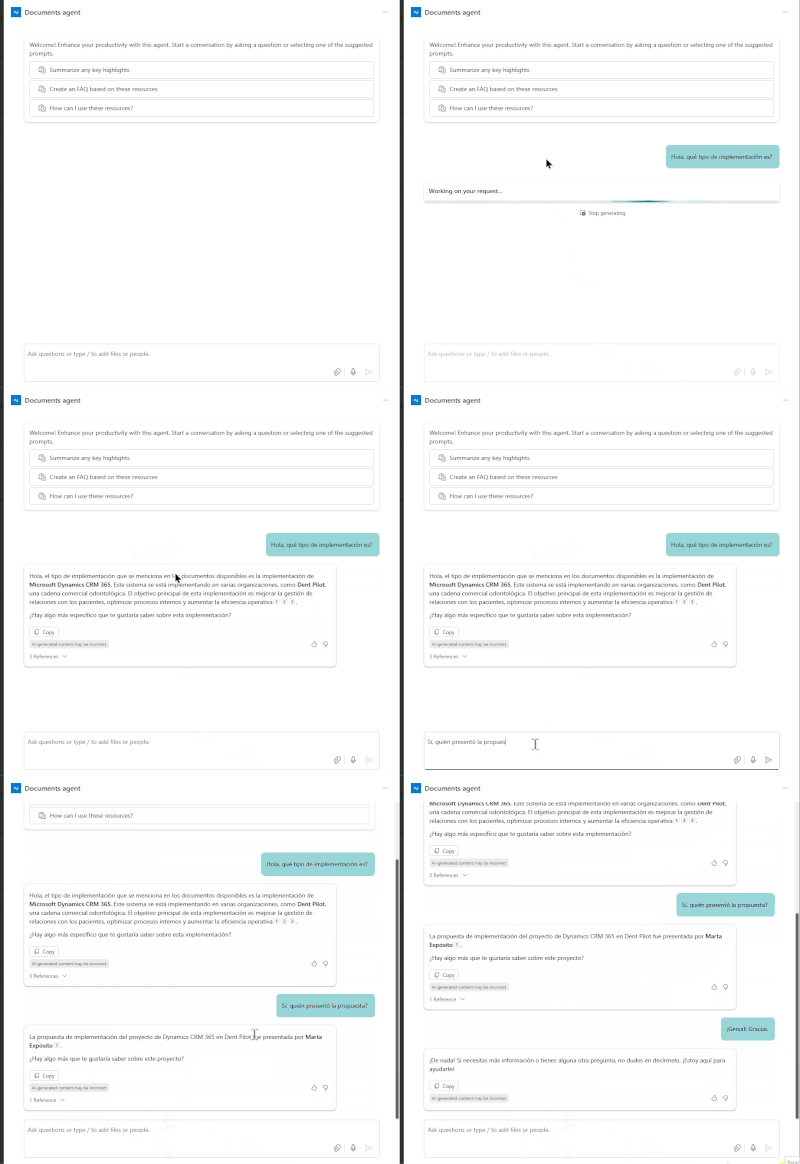
To quickly test it, we can use the side menu or simply click on the agent icon. Either option will allow us to start a chat with the Agent.
Now, let’s ask it some questions!

Use it in a Teams chat
You might be thinking: “This is great, but I don’t want to go to the SharePoint site every time to ask the chat questions. Also, I want the Agent to interact with more people.”
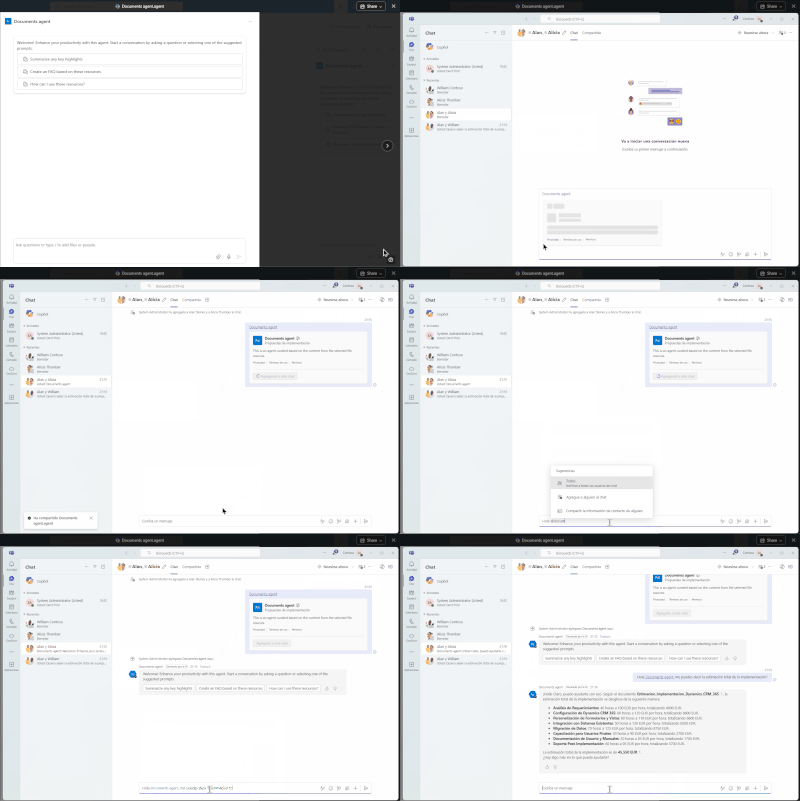
No problem! We can add the Agent as an assistant in a Teams group. To do this, simply share the agent and integrate it into the group of your choice.

In short, creating SharePoint Agents is incredibly easy and provides us with very useful functionalities for our day-to-day tasks.


