How to upload Employee images in Dynamics 365 Finance and Operations.
In the fast-paced world of business technology, efficient human resource management has become more crucial than ever. The ability to connect with your employees in a more personalised and visual way can make all the difference in productivity, morale and team cohesion. In this digital age, where information flows without boundaries, it is critical to leverage advanced solutions to optimize HR management.
The Human Resources module in F&O stands out as an essential tool for managing an organisation’s workforce. It’s not just about keeping accurate employee records, but also about forging deeper and more meaningful connections. One powerful way to achieve this is through the inclusion of employee images in their profiles.
The integration of employee images can be done from data management for import and export, through the designated data entity for personal images, known as HcmPersonImageEntity.
Below is a detailed guide on how to perform this image integration process.
Step 1:
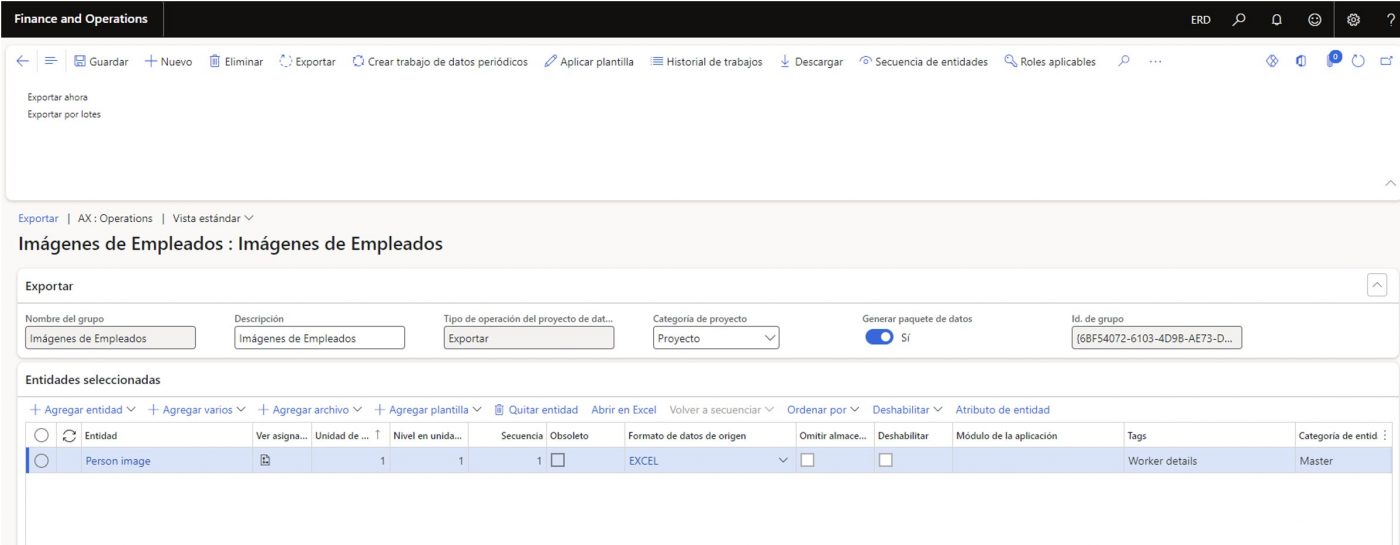
Log into D365 F&O , select Data Management > Export > Create a new export job with the entity Person Image.
Step 2:
Select Export to execute the process

Step 3:
Once the process is successfully executed download the package and extract the file in zip format.

Step 4:
Opening the Resources folder displays the photos currently in the system, deletes all unnecessary images and adds only the new ones to be imported or updated ( The images must be in JPG, PNG. BMP or GIF format) and can be sorted according to need, person’s name, ID number, etc.

Step 5:
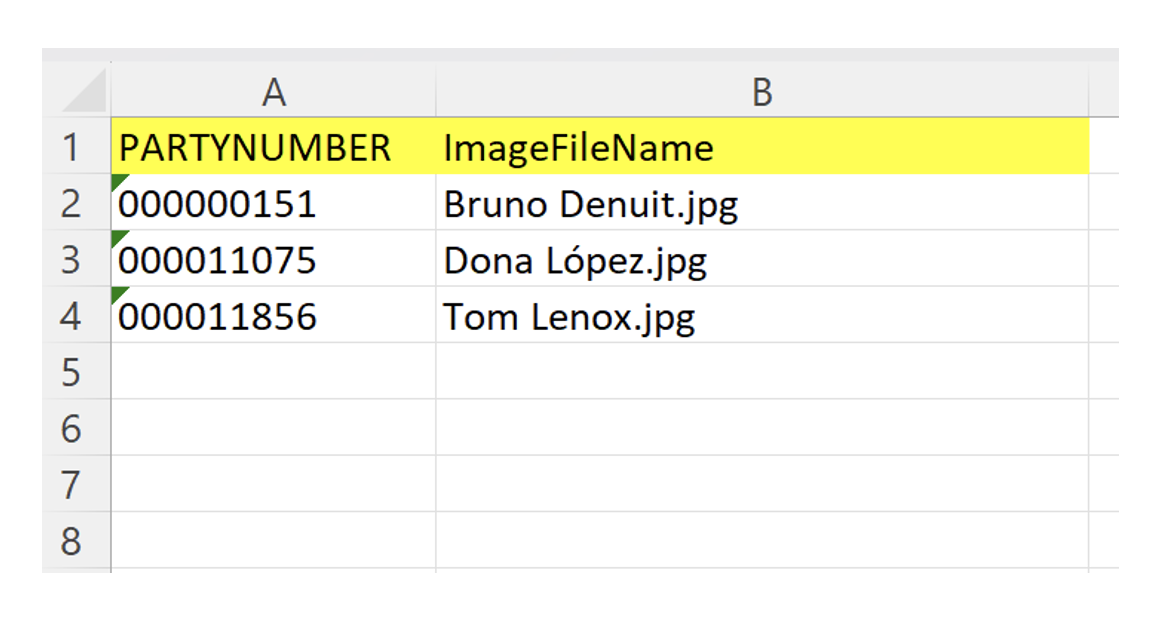
Within the downloaded Zip package open the People Images Excel file and upload the list of images to be uploaded that match the correct assigned personnel number ( Party ID ) and the file name with its extension.
Tip for displaying Party IDs
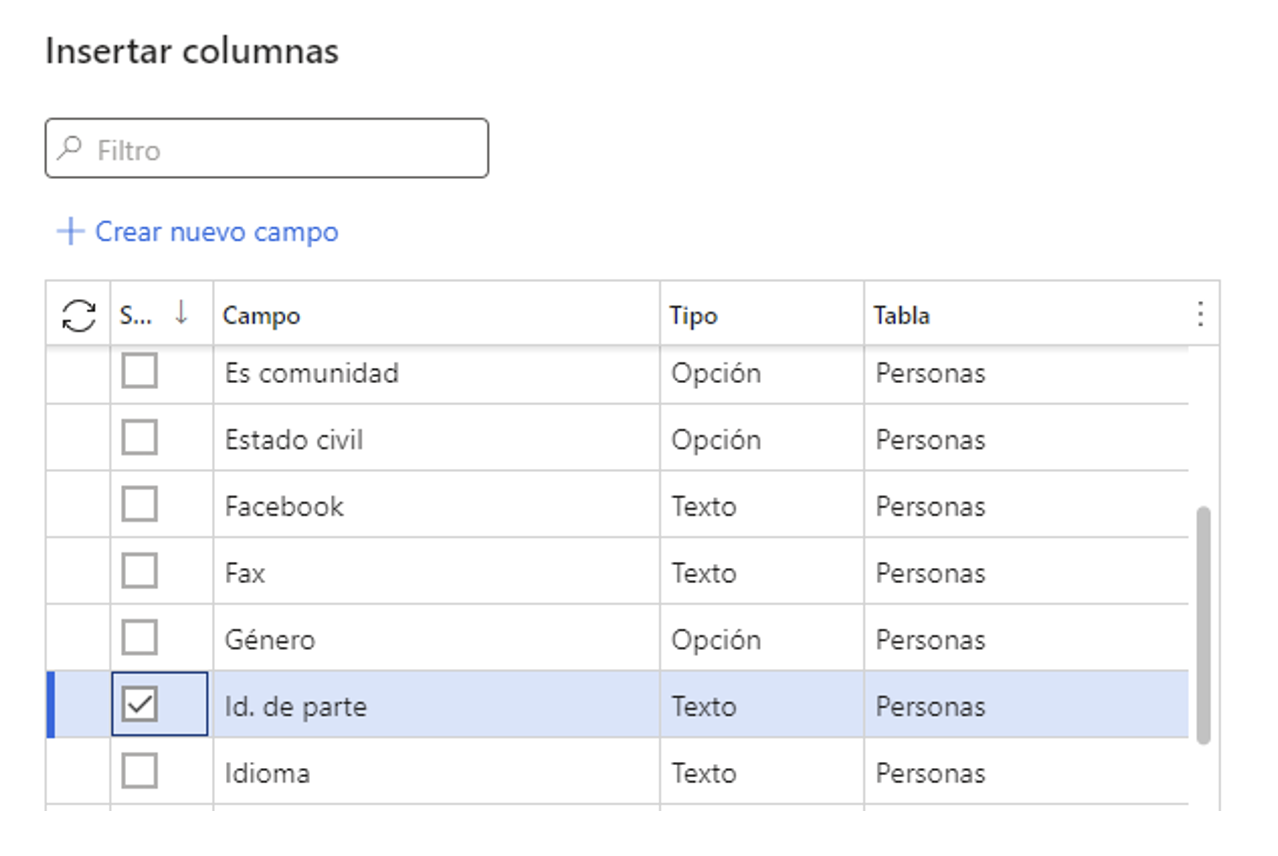
Party IDs can be added to the displayed list by going to Personnel Administration > Employees > Insert Column and selecting Party ID, this will include the number in our list to complete the information in the file to be imported..
Step 6:
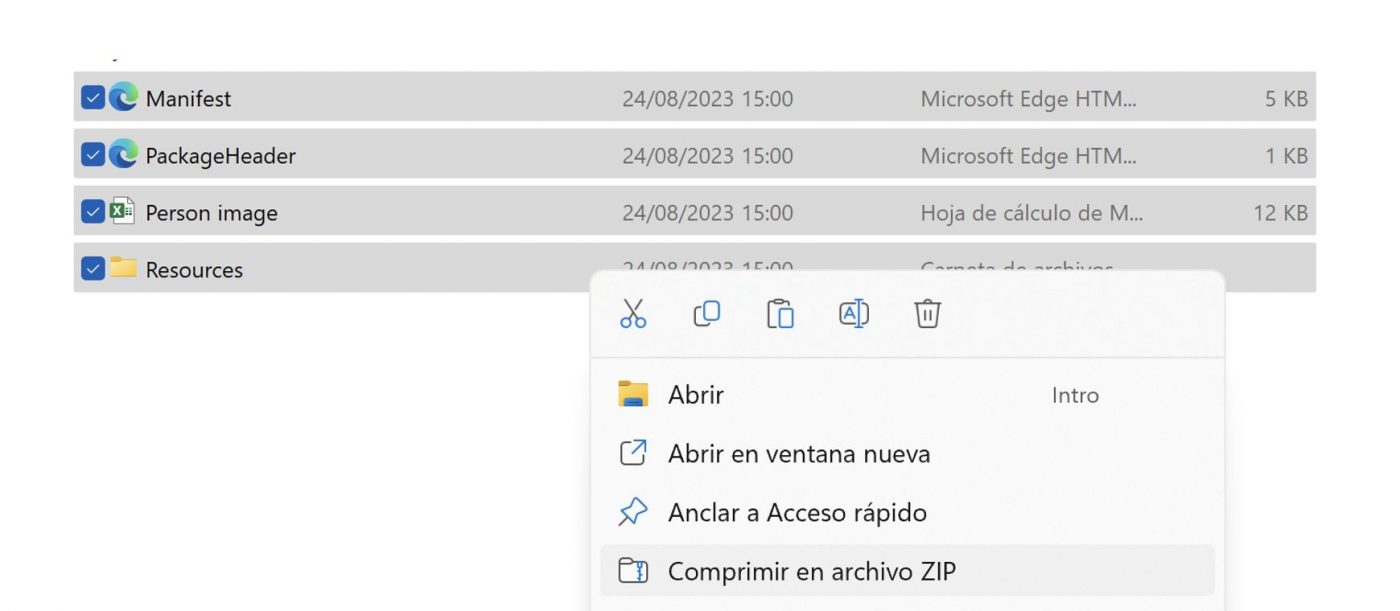
Once the above steps have been performed, select the 4 files and compress them in Zip format.
Step 7:
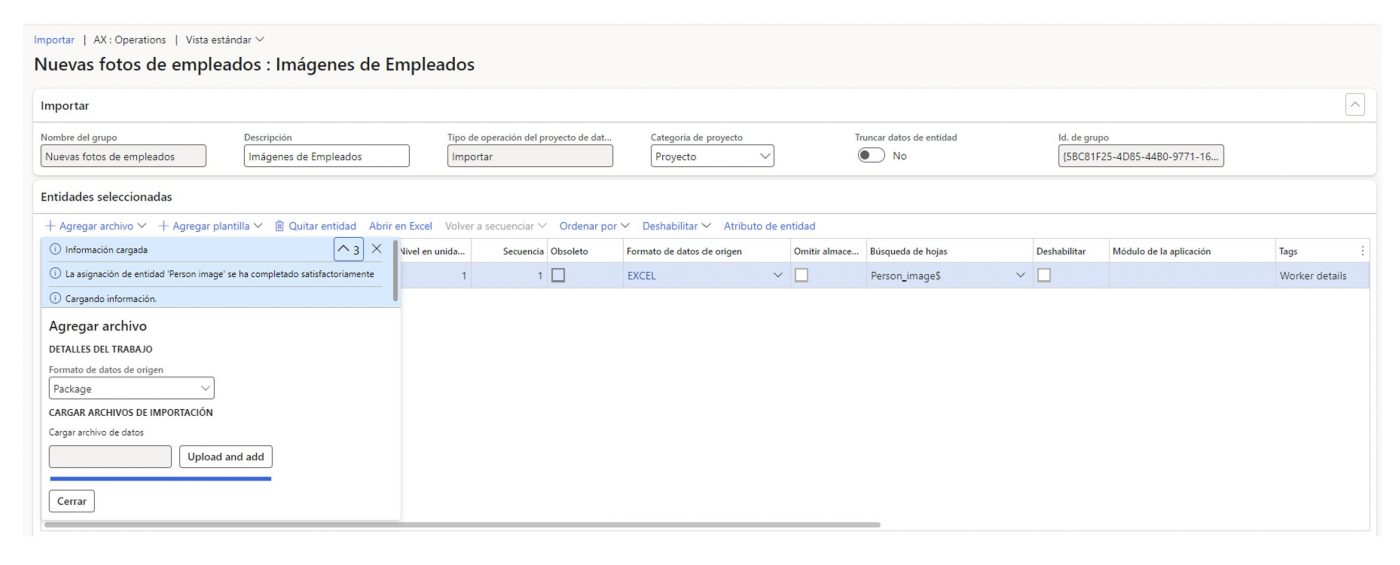
Back to the system , select Data Management > Import > new import project and select the Zip package from the previous step.
Step 8:
Last step ! select import

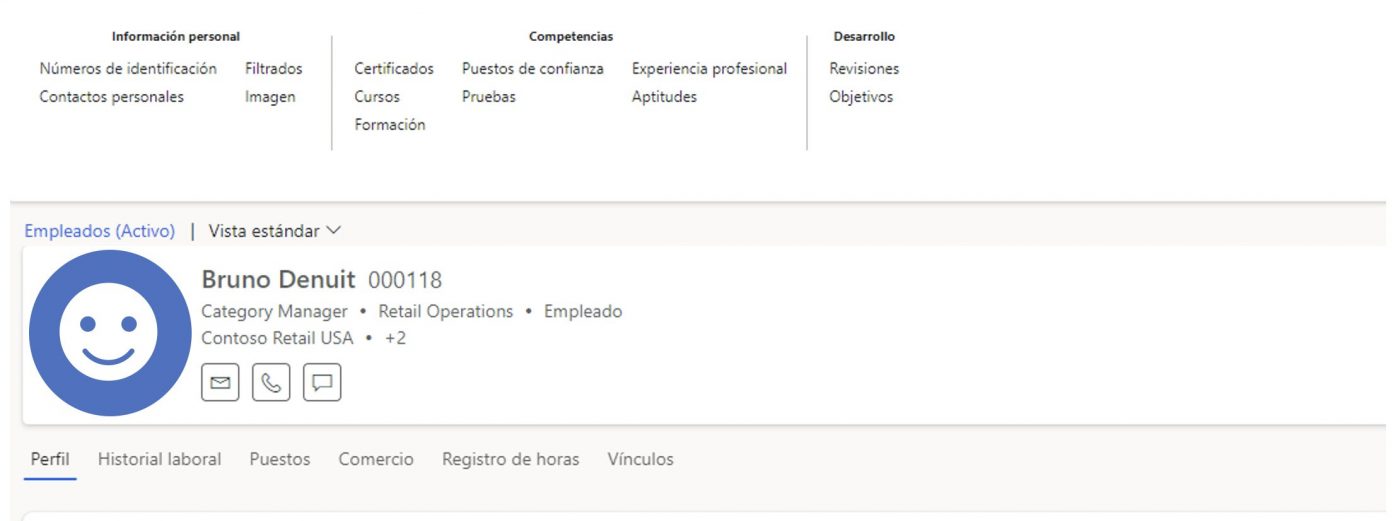
Once the detailed steps have been completed, we can verify the new images in the employees’ personal files.
I hope that this simple and detailed guide will help you to optimise and contribute to your human resources strategy.
Let’s continue to drive success together!


