Working with the customer’s balance in the POS (Point of Sale) can sometimes be a bit cumbersome, which is why I wanted to show you how you can manage it.
I have divided this post into three parts:
+ Parametrización: Parameterization: Which setup is needed to work with a customer’s balance.
+ Uso:Usage: I demonstrate how you can work with POS.
+ Consultas: Queries: Showing the balance queries in HQ
Necessary parameterisation/strong>
I begin by showing all the points that need to be configured in D365 to be able to use this functionality. I then add the setup of the credit limit so that will appear in the queries made in the POS. As a summary, the sections to be configured are the following:
• Set up the credit limit
• Allow credit payment in the client
• Create a credit payment method
• Set up the numerical sequence of the payment receipts
• Set up the buttons of the screen layout
Parameterisation of a customer’s credit payment
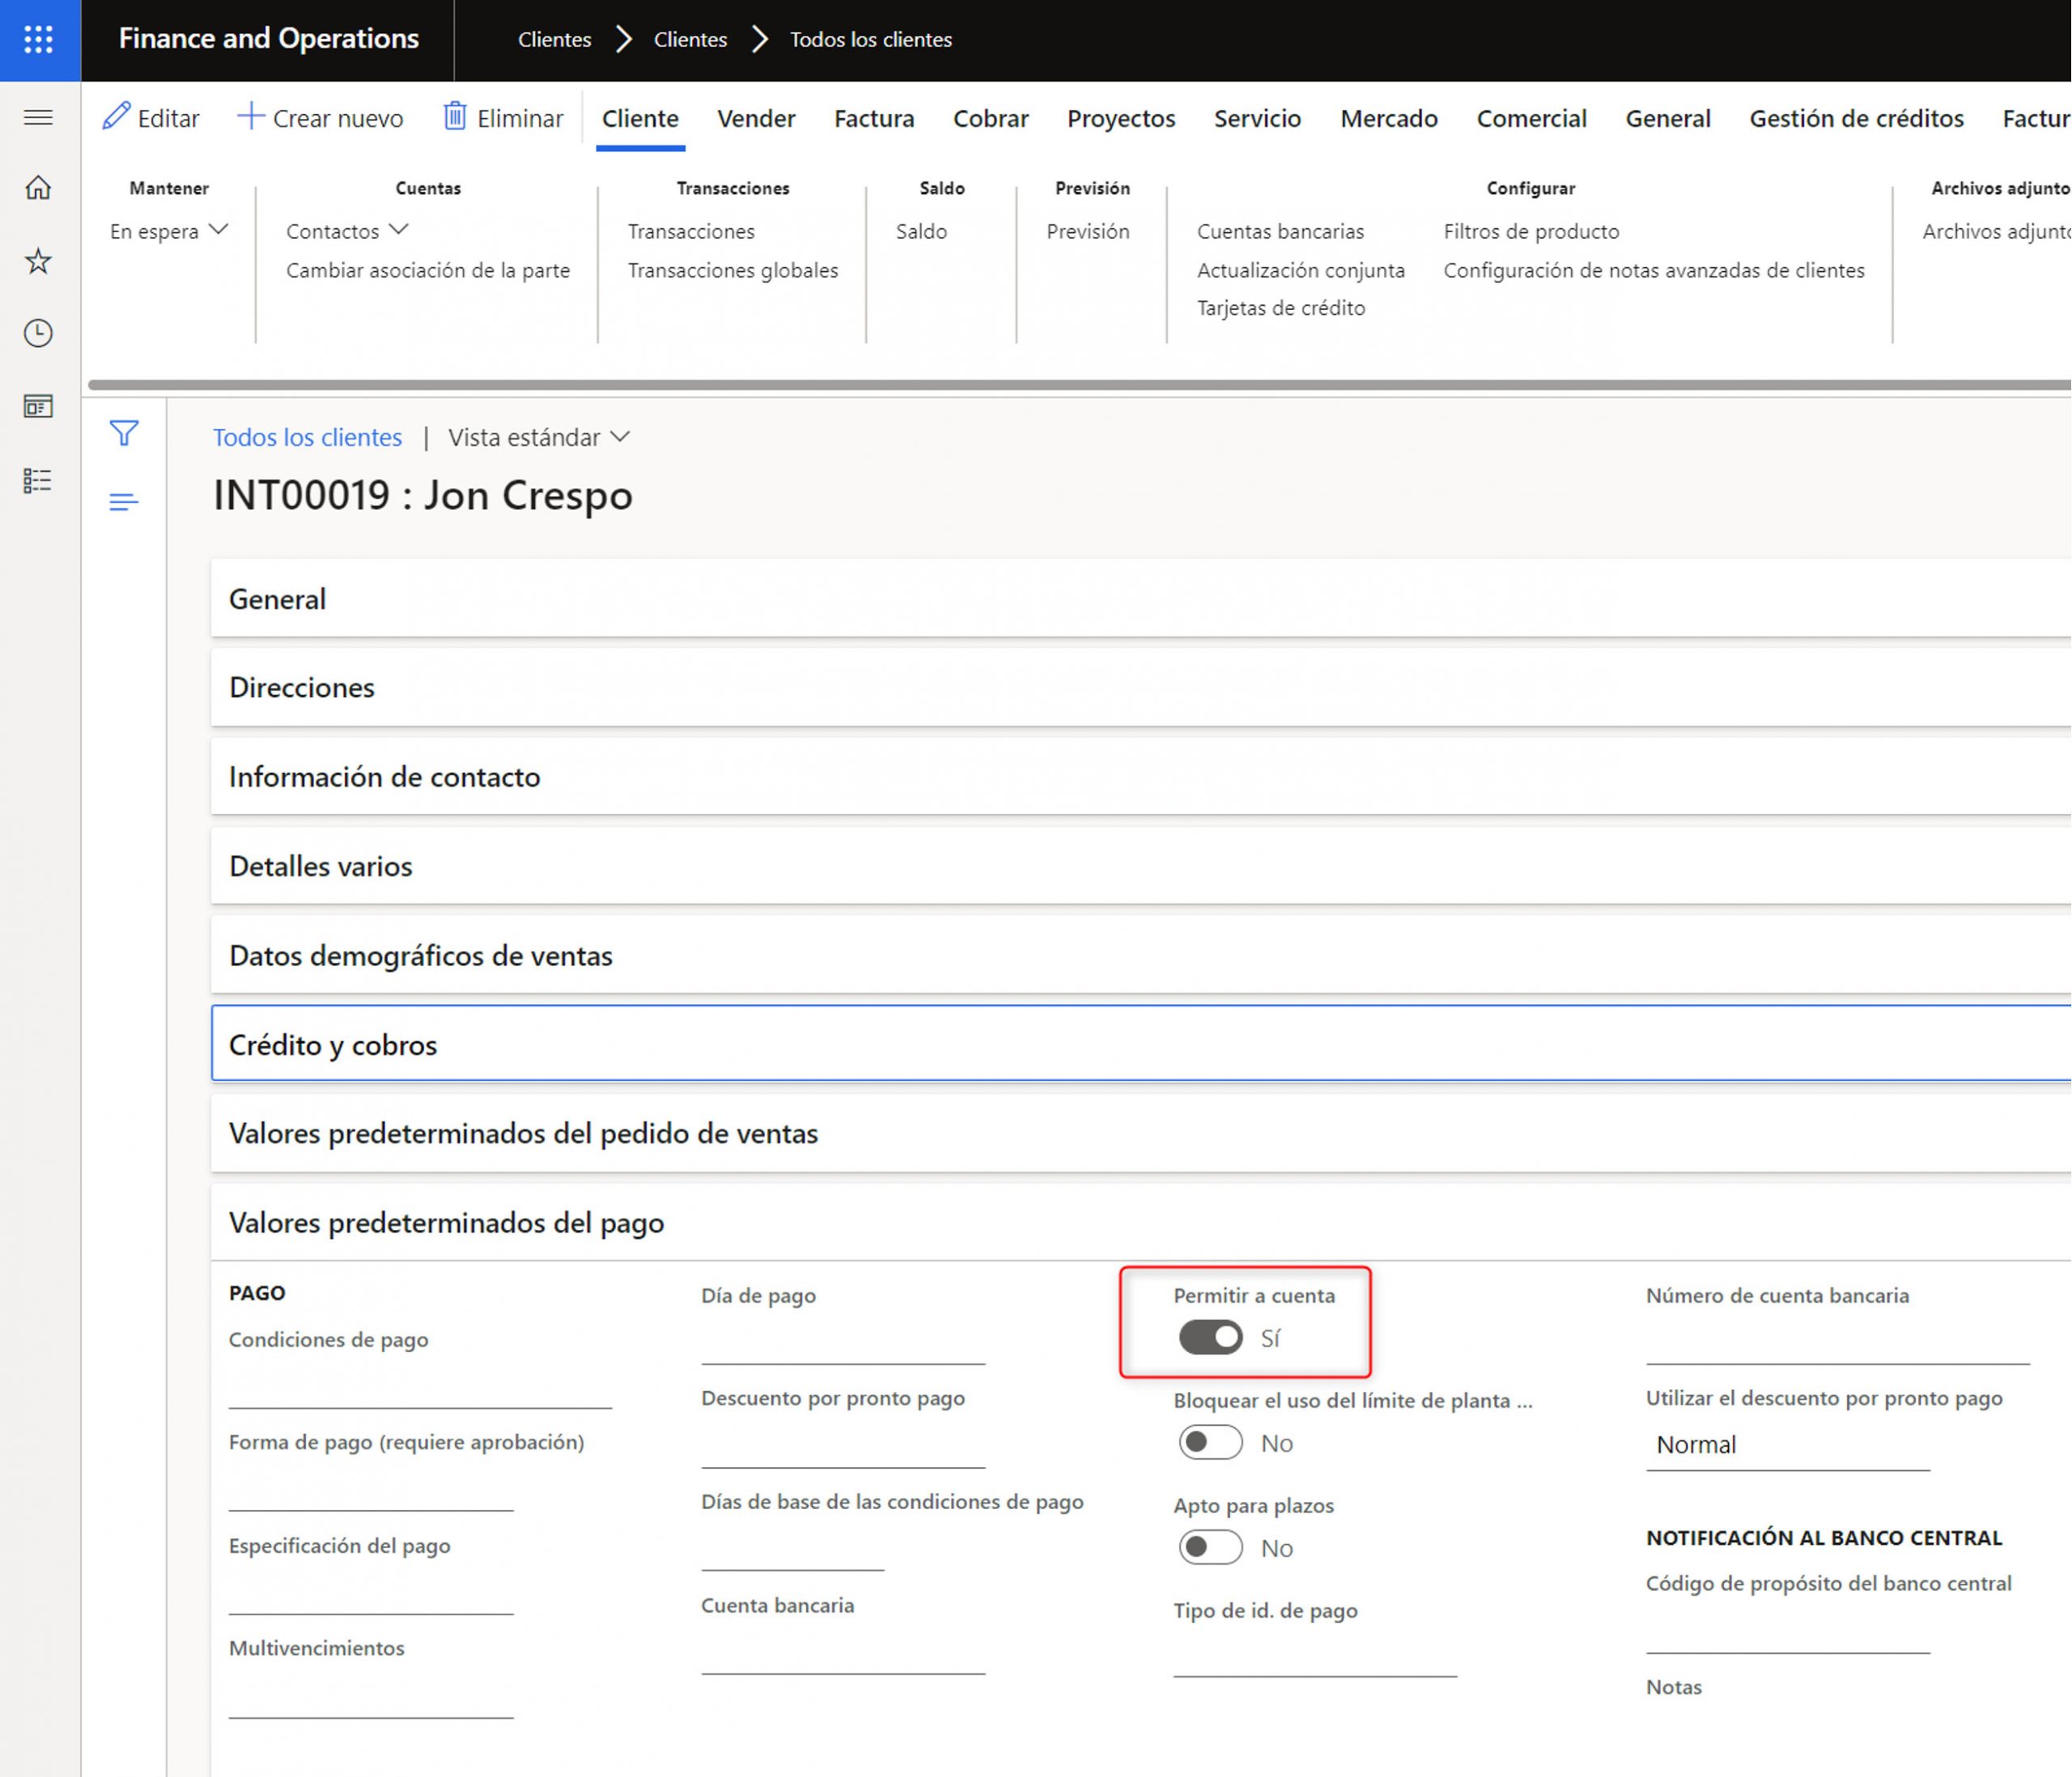
The first point we are going to parameterise is the use of credit payment by a customer. In order to be able to use it, a parameter must be marked in the customer’s file called “Allow on account”. In this way we are enabling the selected customer as a customer with an accepted credit payment method.
This setup must be made for each customer for whom you are going to allow payment by credit.
Parameterisation of a customer’s credit limit
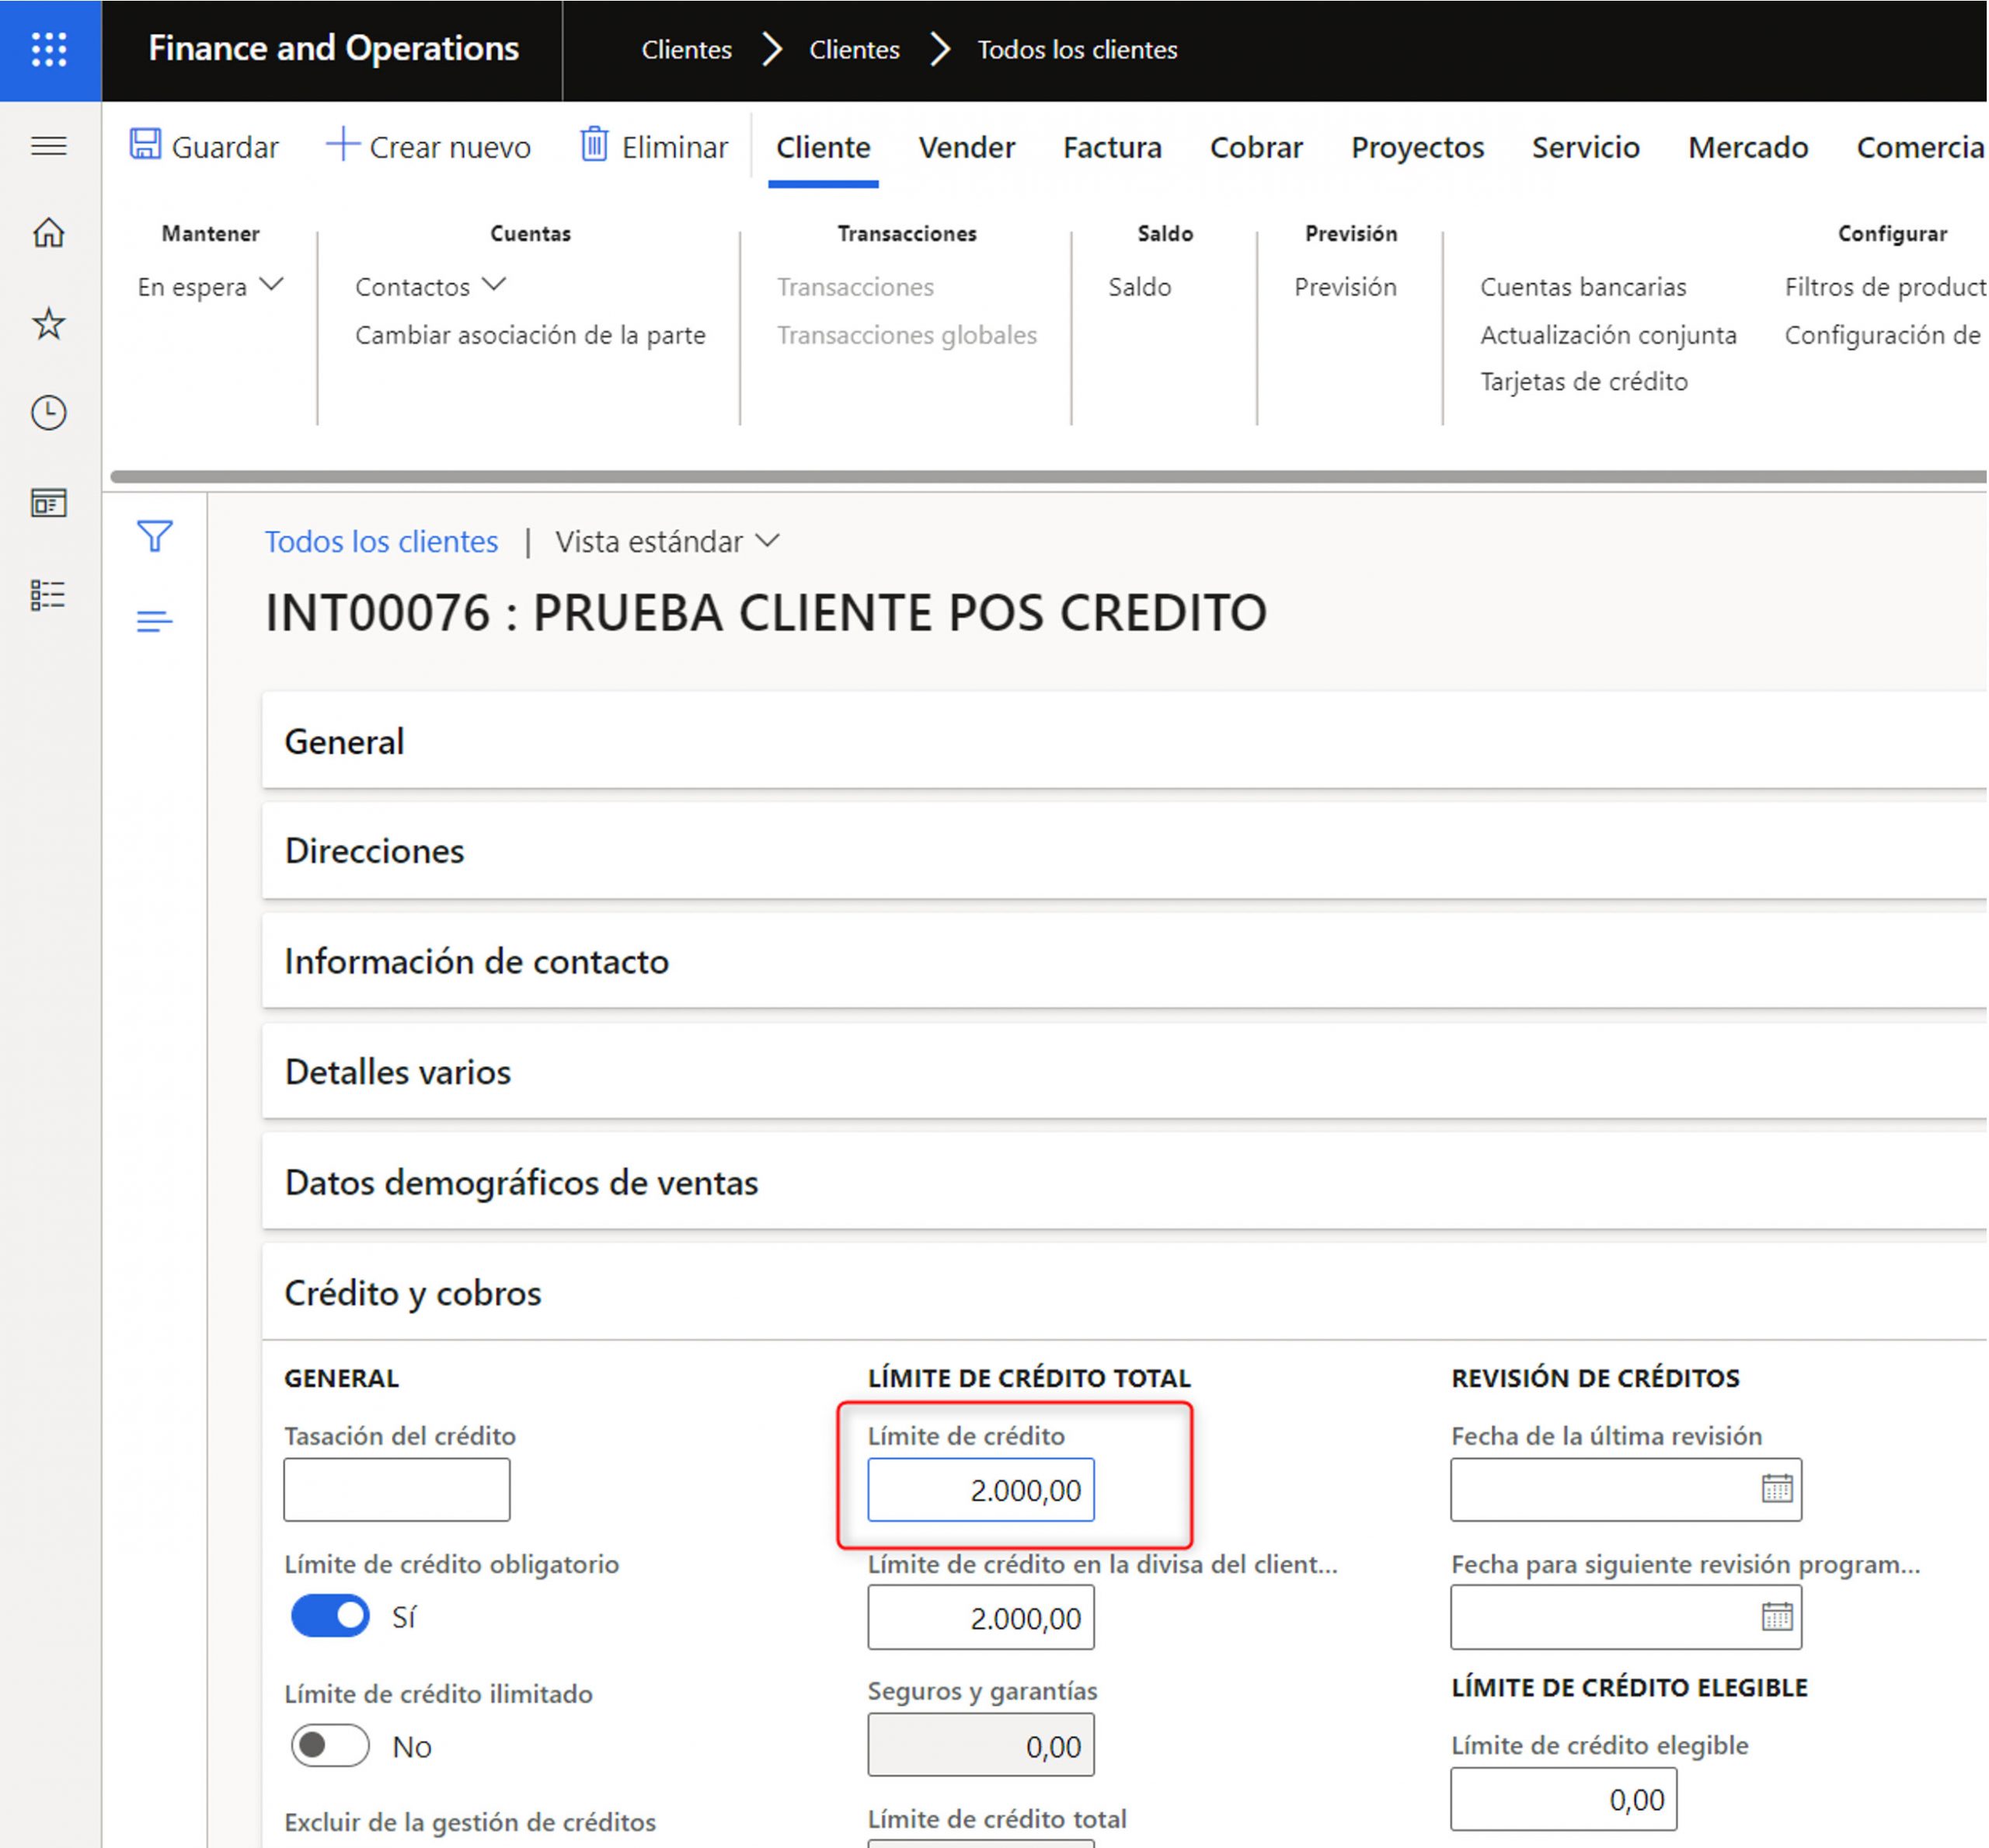
Another point that we must configure is the customer’s credit limit. In another post I indicate how to create customers from the POS with default data, and this is one of them. But if you want to have a customised limit for a specific client, you must configure it from Headquarters in the client’s file. The parameters to be configured are the following:
• Mandatory credit limit: Yes
• Credit limit: in this example I am going to set it to 2000€
Parameterisation of the credit payment method in the shop
Once the customers have been configured, we must create a payment method in order to complete the sale. First, we must create a payment method of the type “Customer”:
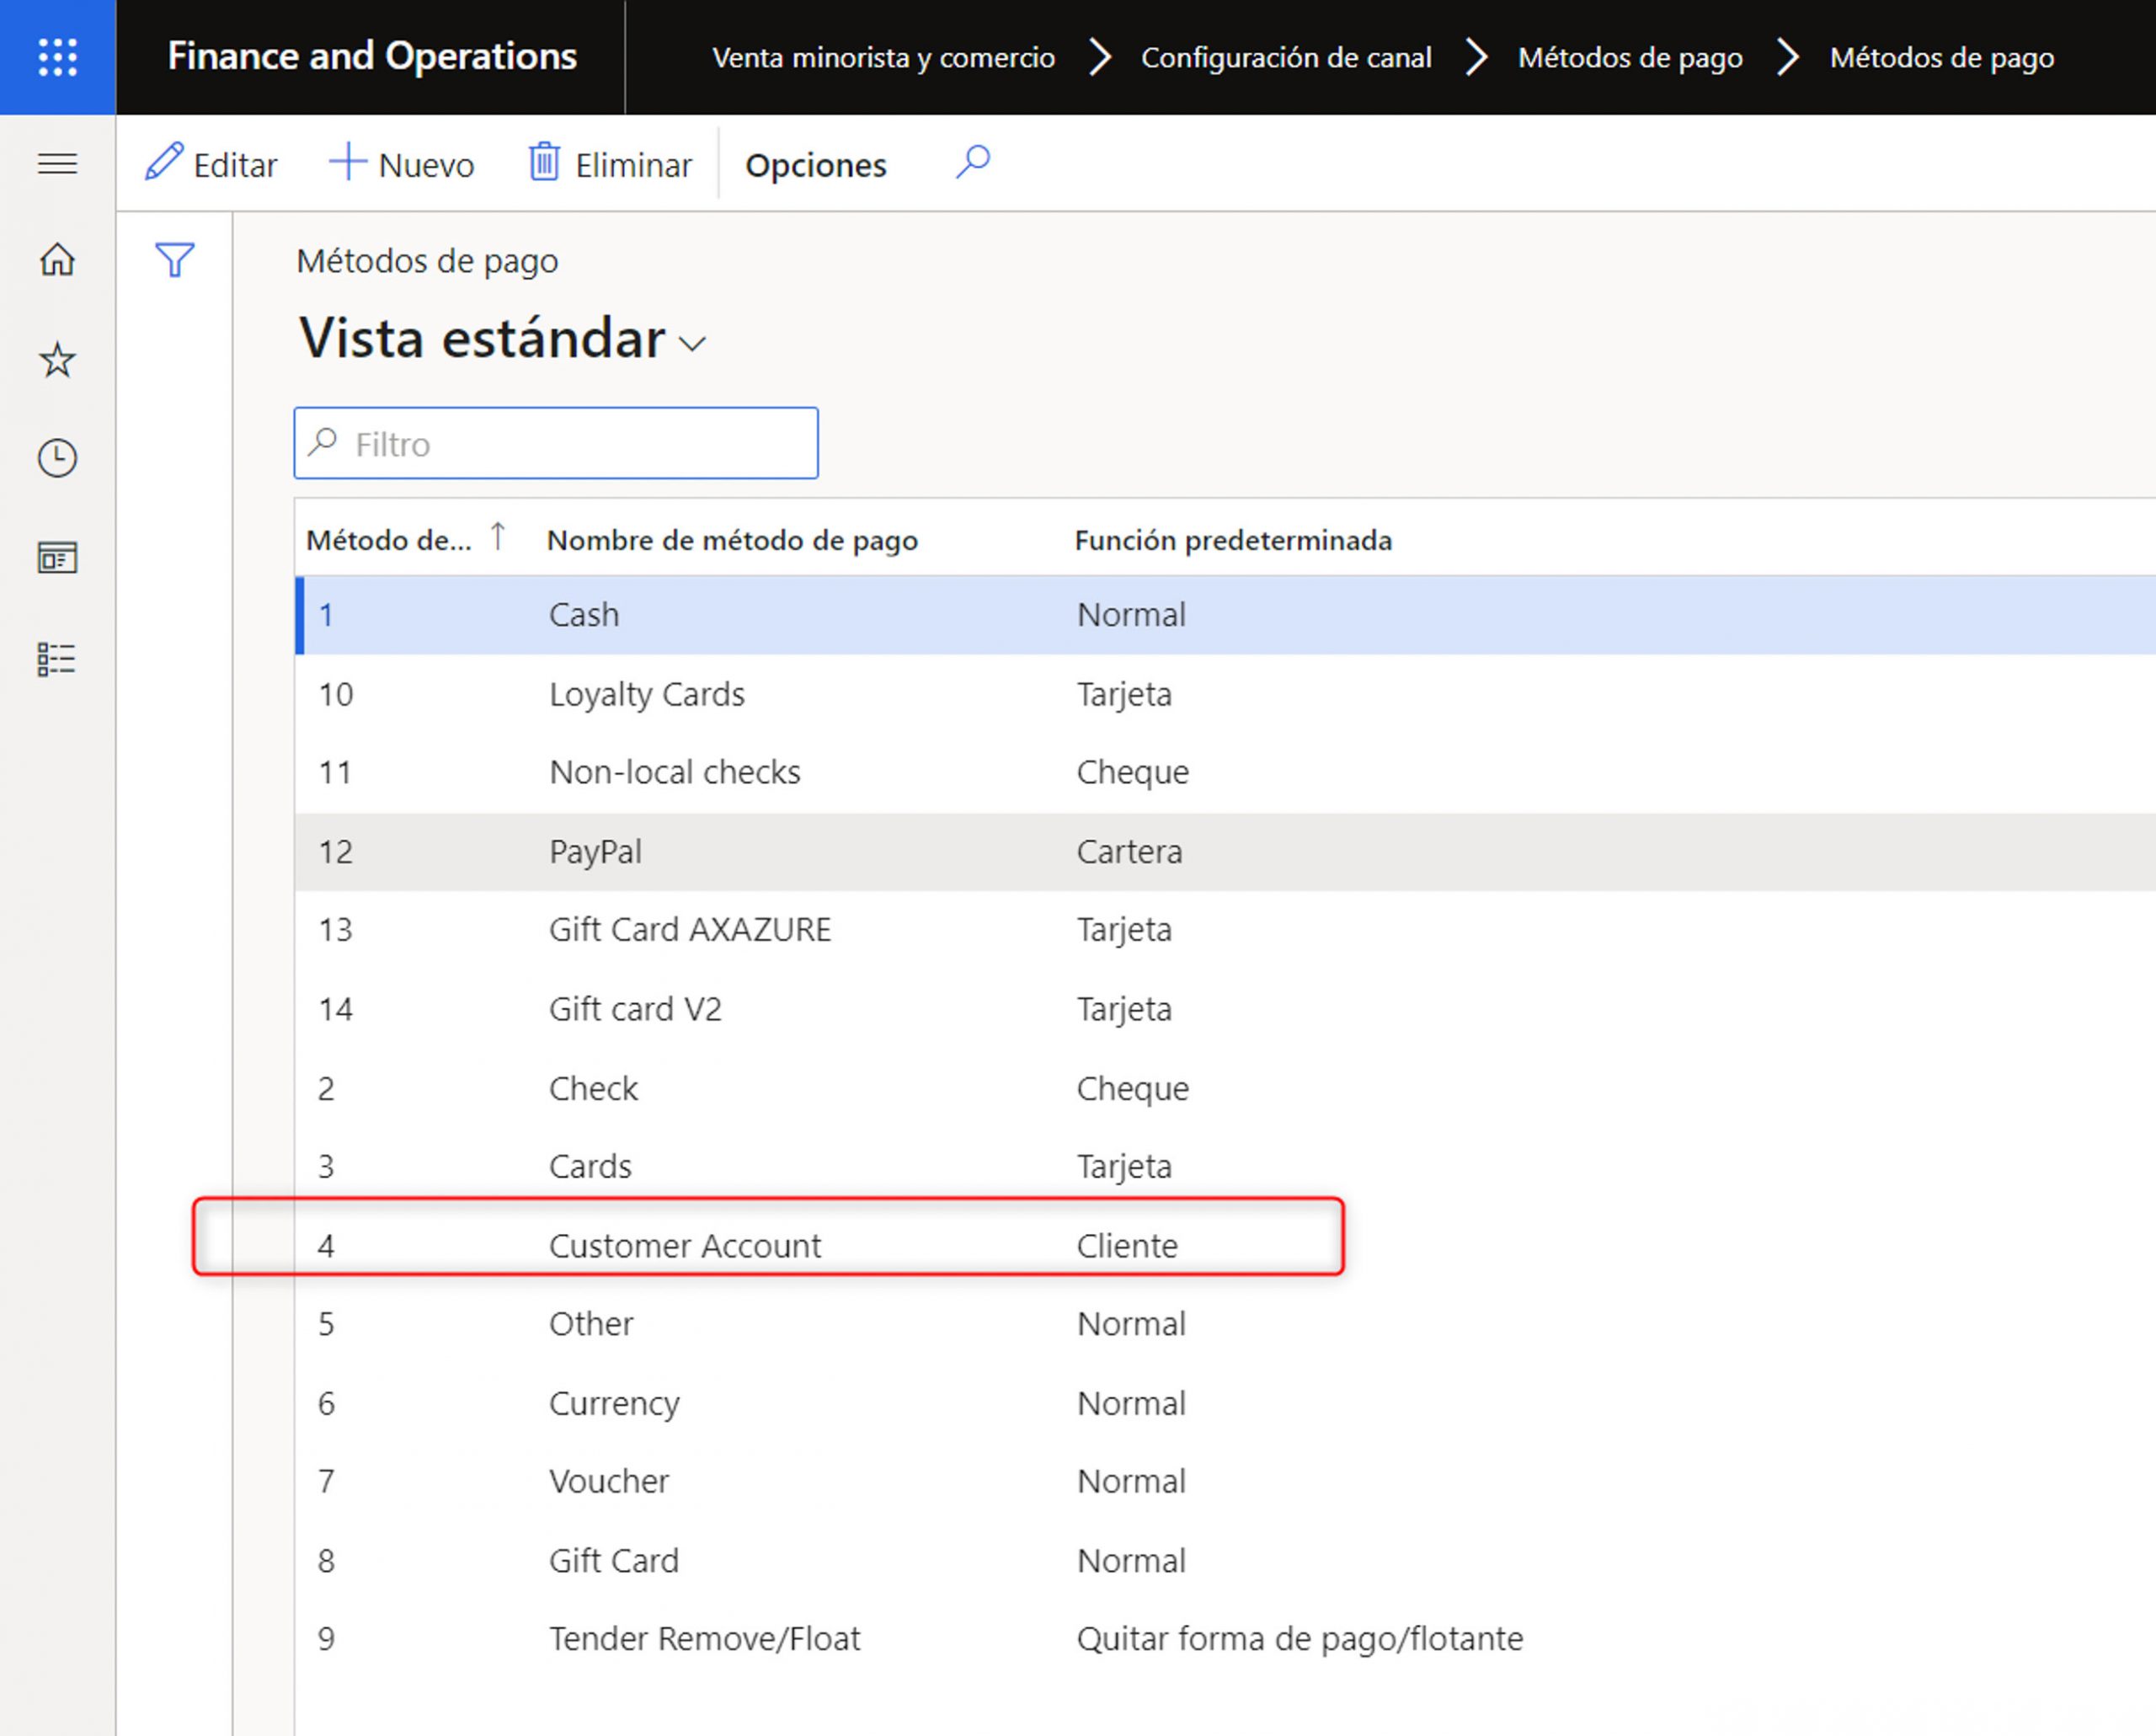
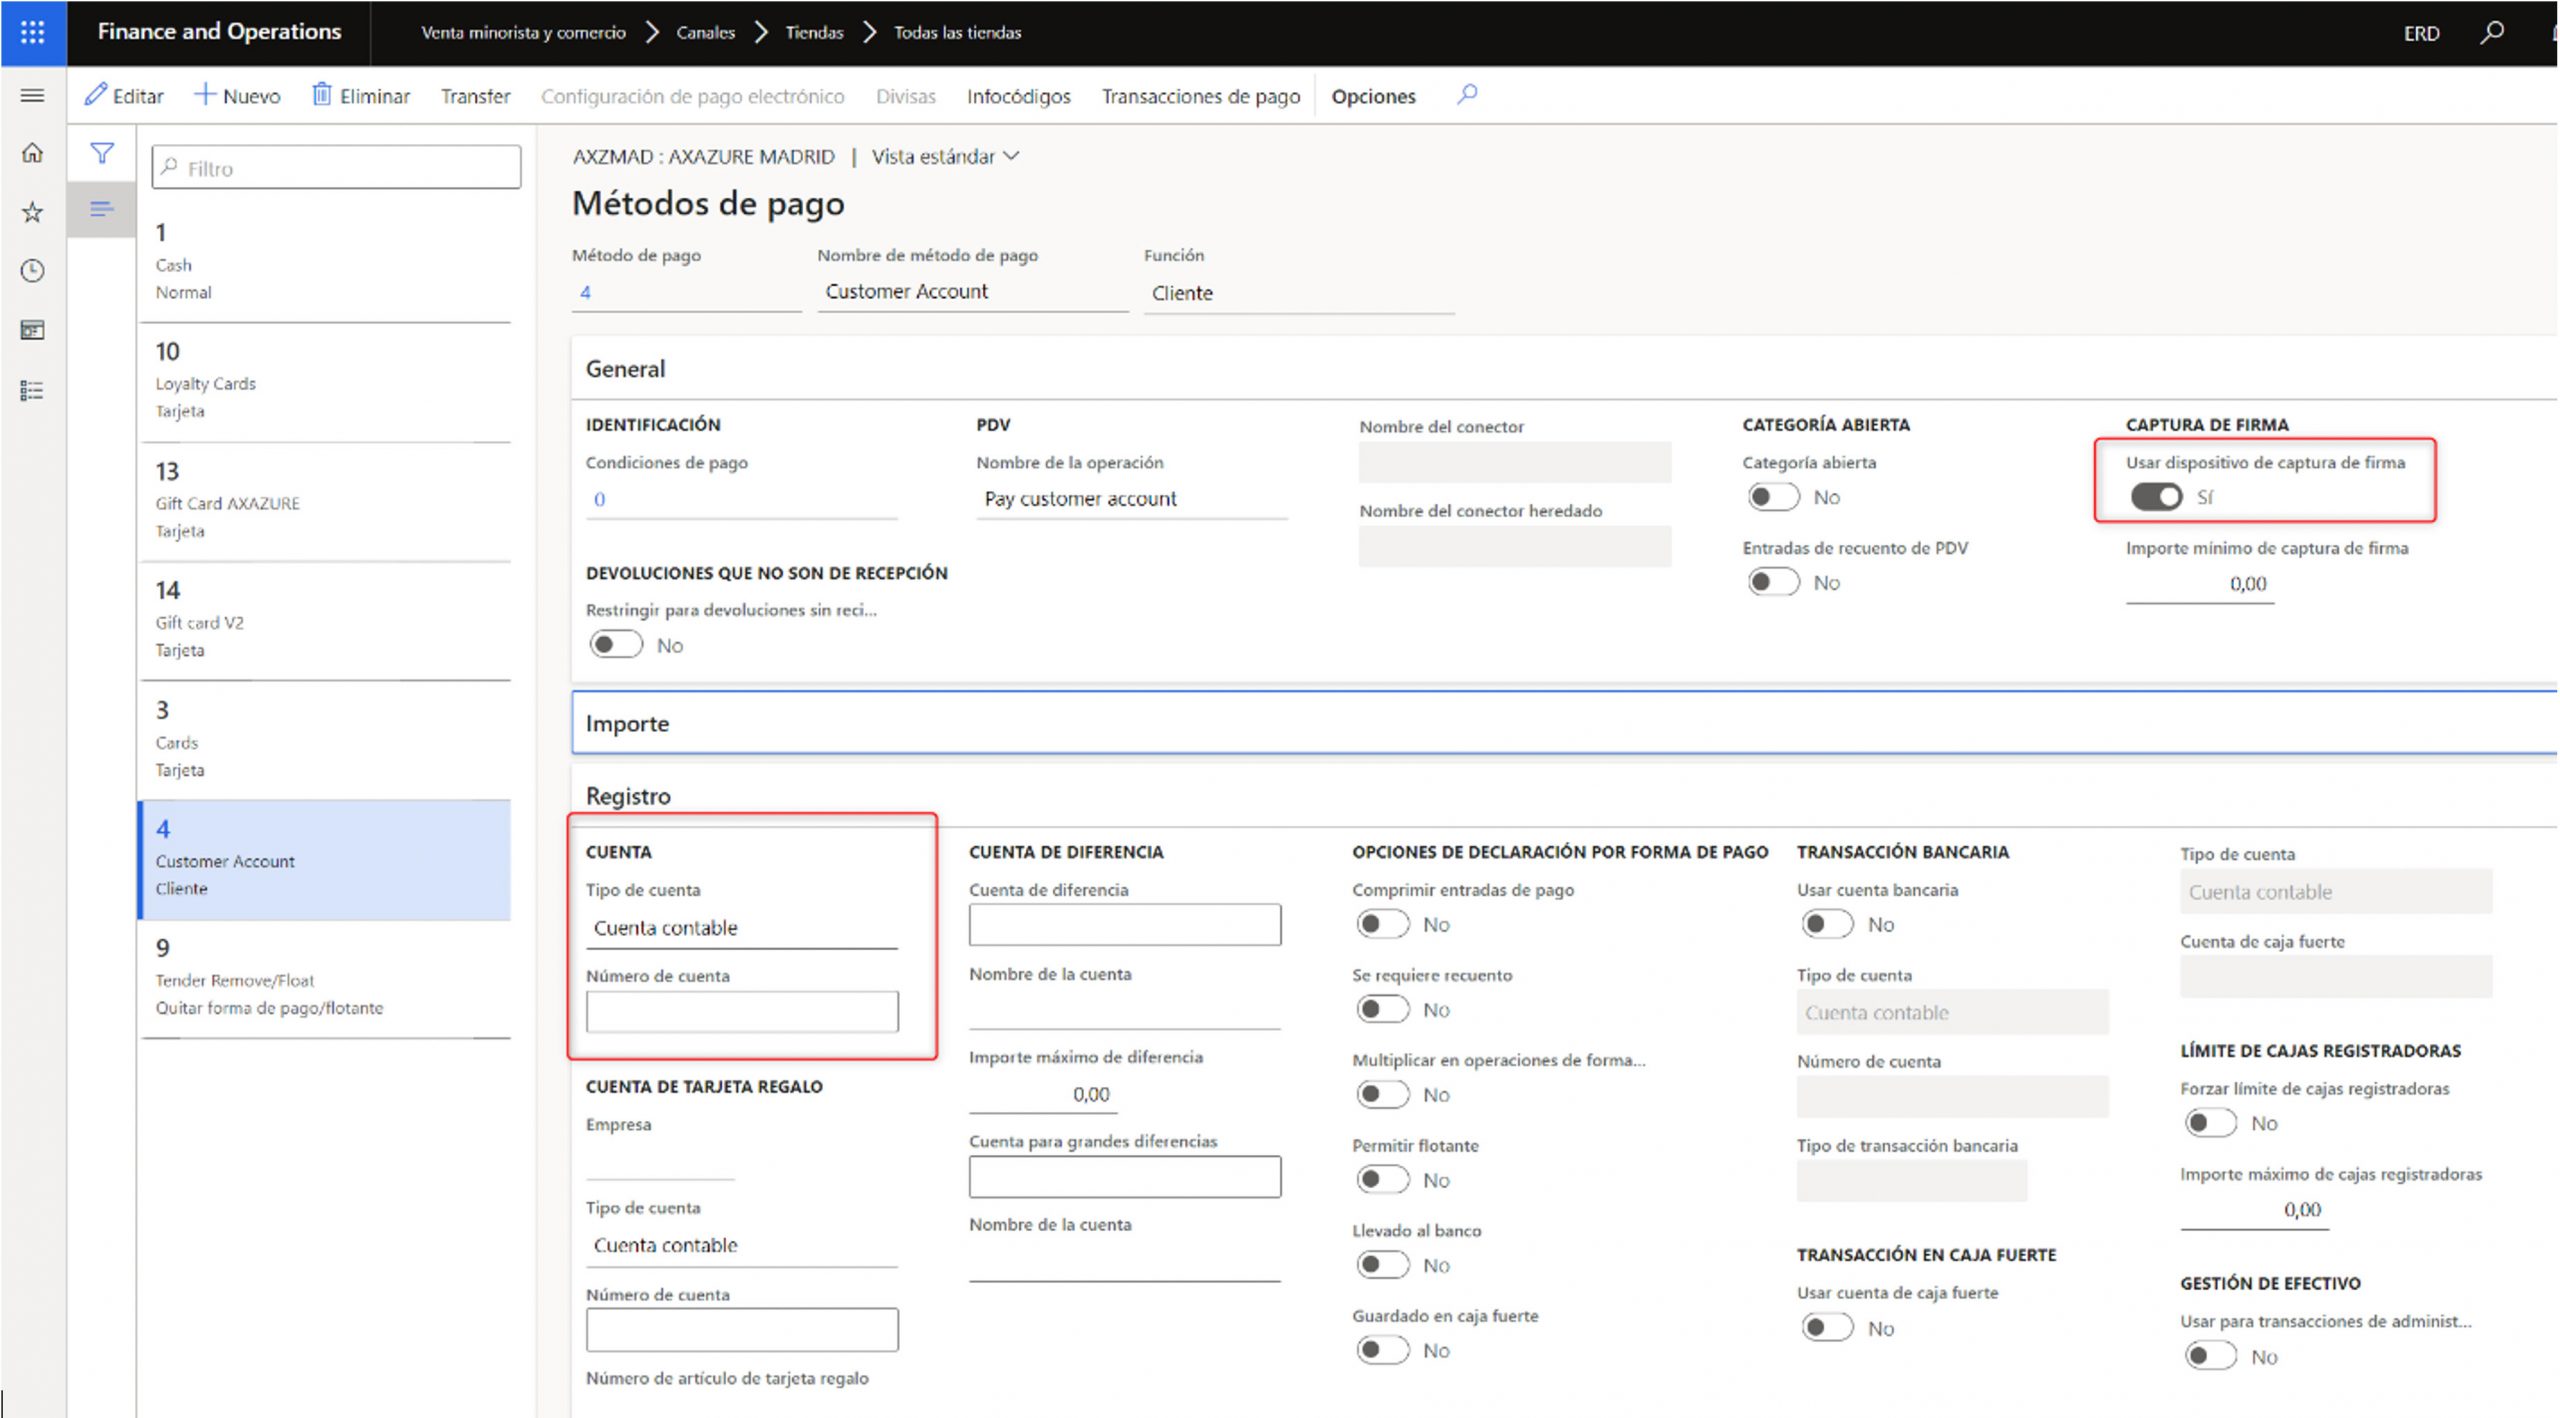
Once we have created the payment method, we must configure it for the different channels for which it will be used. These are some of the features that apply to it:
+ The POS function that it must be associated to is Pay Customer Account.
+ It is not necessary to associate any accounting account for the register since it is not going to create a collection journal.
In this example, I have also configured the use of signature capture, although it is not mandatory.
Parameterisation of the numerical sequence of payment slips
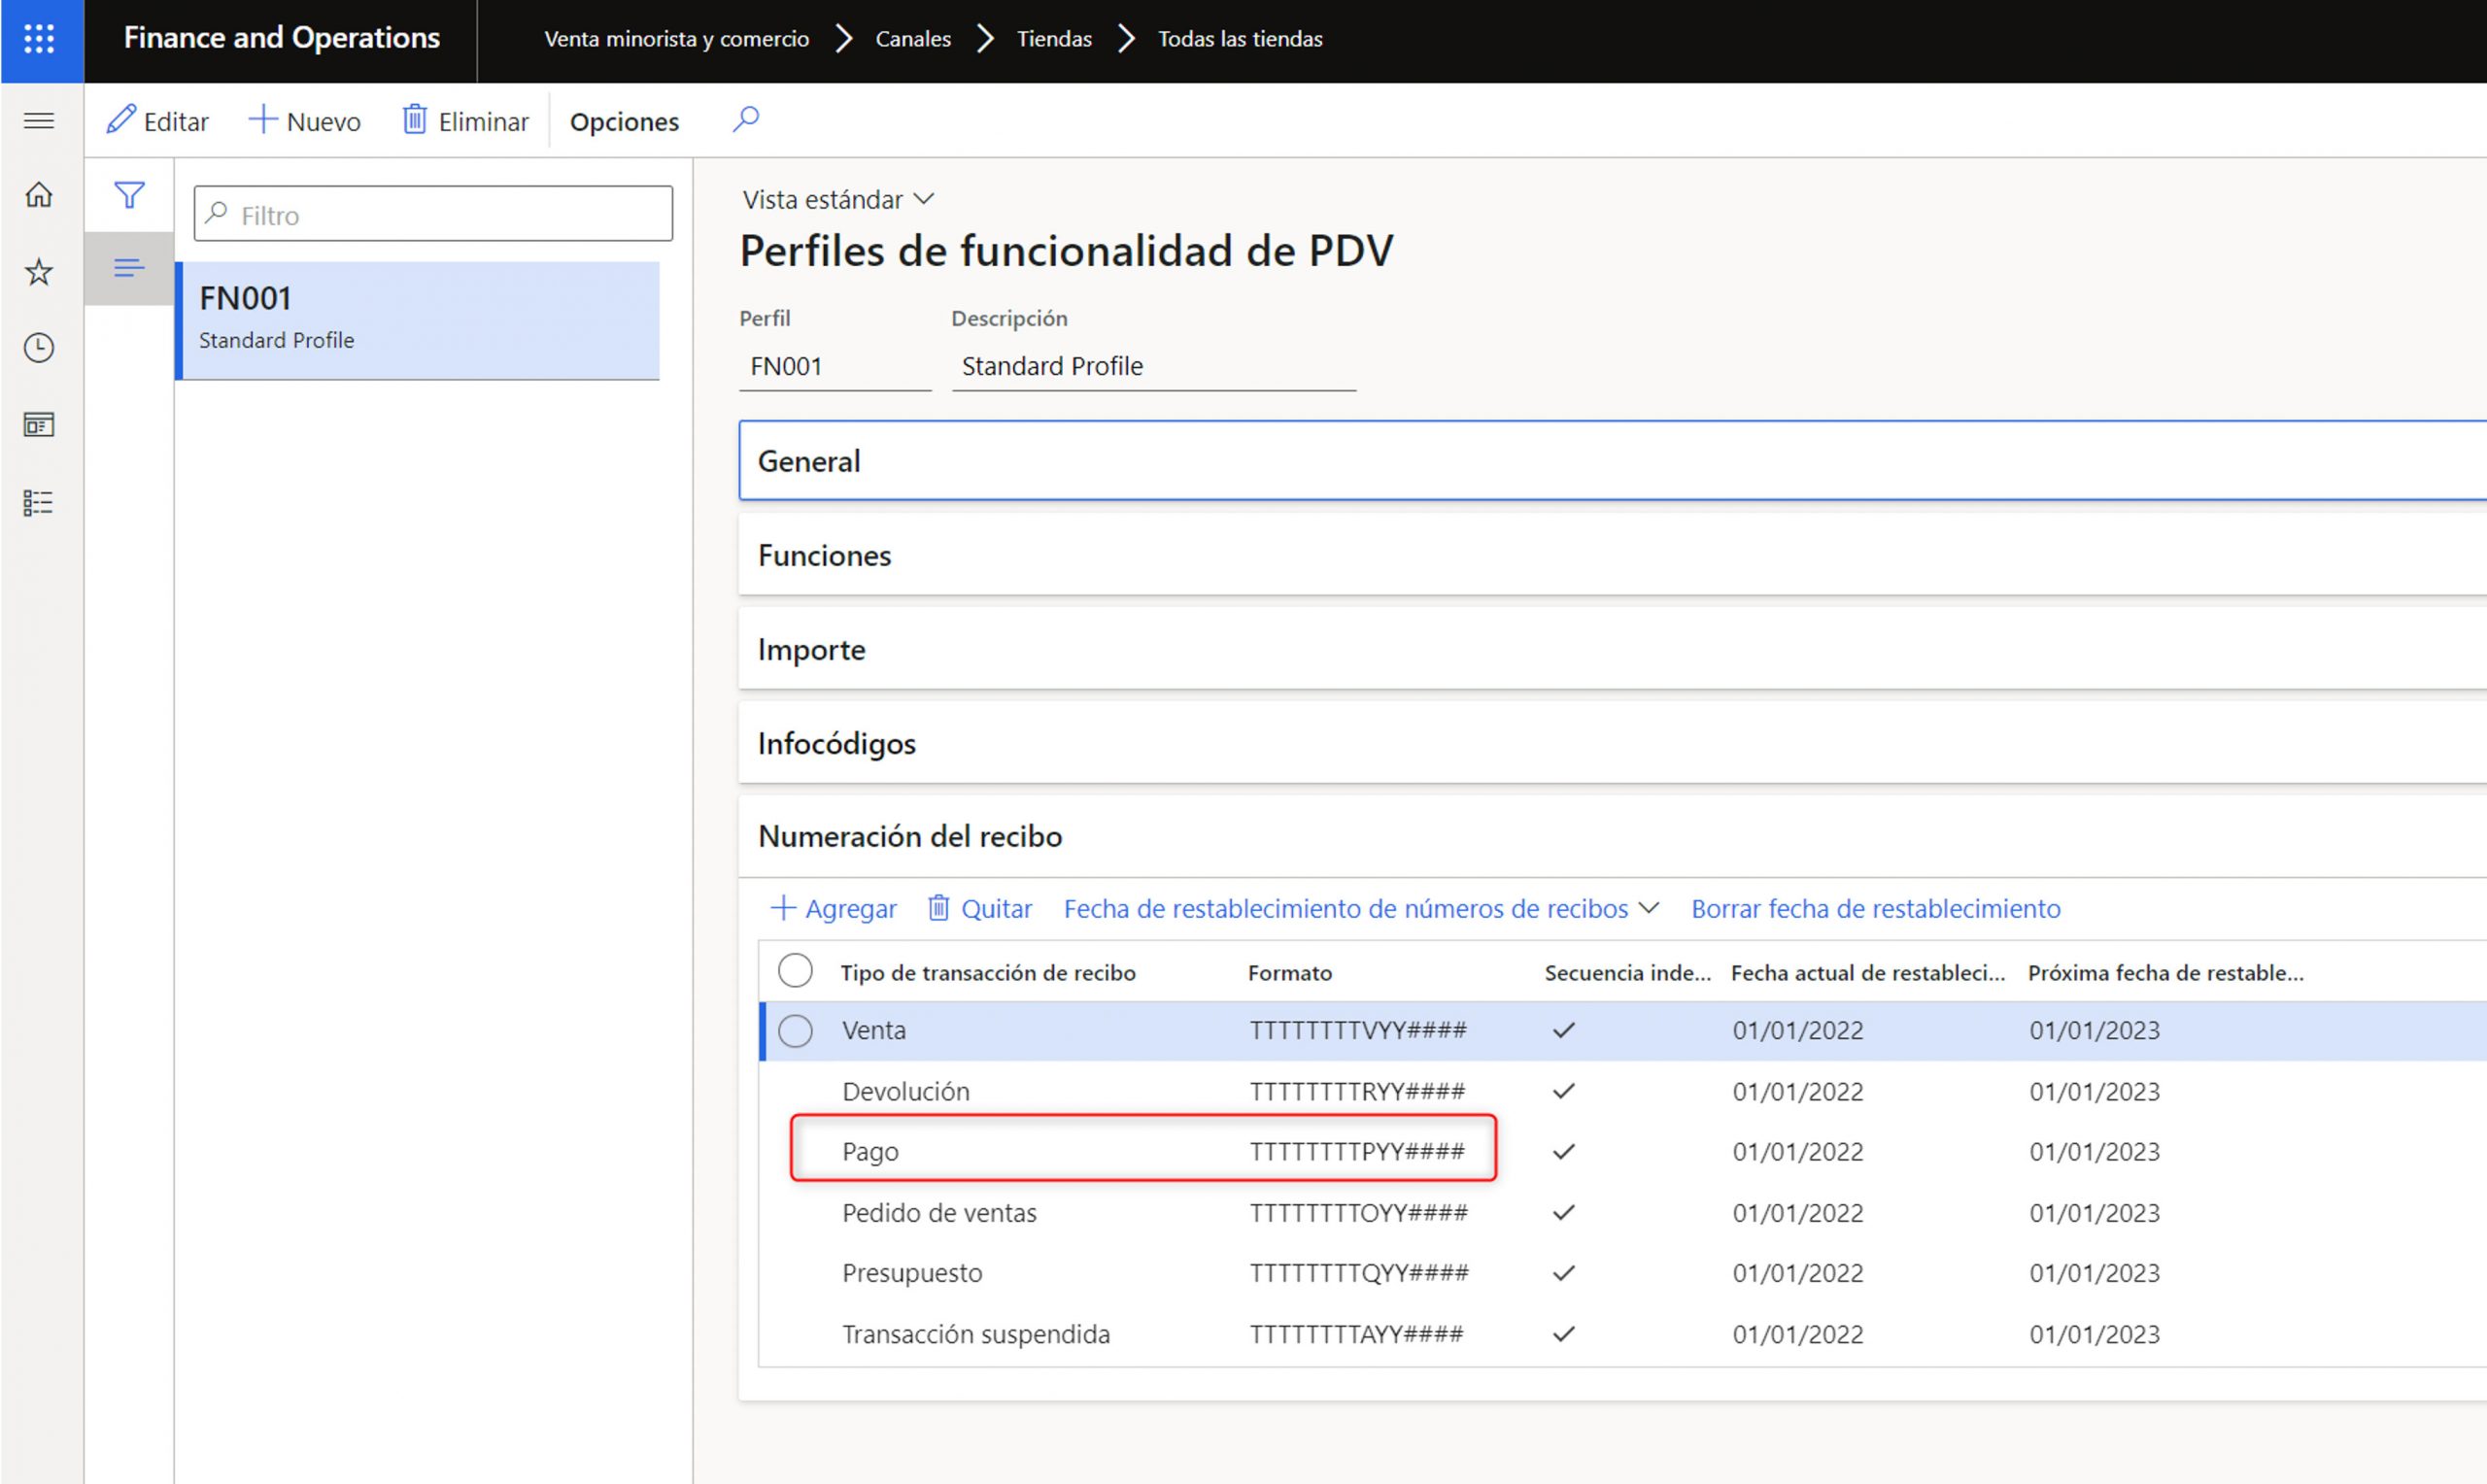
Another section to configure is the numerical sequence of the balance payment receipts. This is an operation that can be carried out in the POS so that a customer can make payments from the open balance he has, without carrying out any sales operation.
• We are going to configure a separate numerical sequence for the numbering of the POS receipt for payment transactions.
• This configuration is done in the Functionality Profile associated to the shop.
Parameterisation of POS buttons
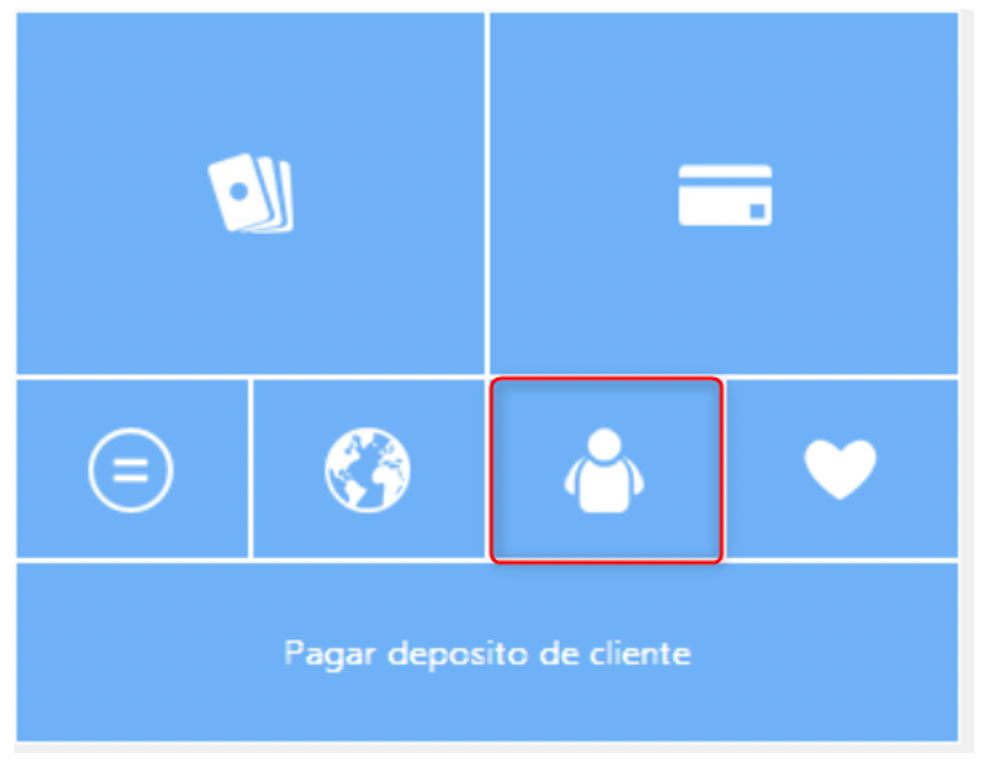
Finally, we must configure the POS buttons in the screen design to be able to make the payment with the payment method configured, and to be able to make the payment of the customer’s balance in operations independent of the sale. First, I show you how to configure the Customer payment method.
- We add a button in the Payment methods button group.
- We assign the action Pay customer account, with the function that we have configured as a credit payment method.
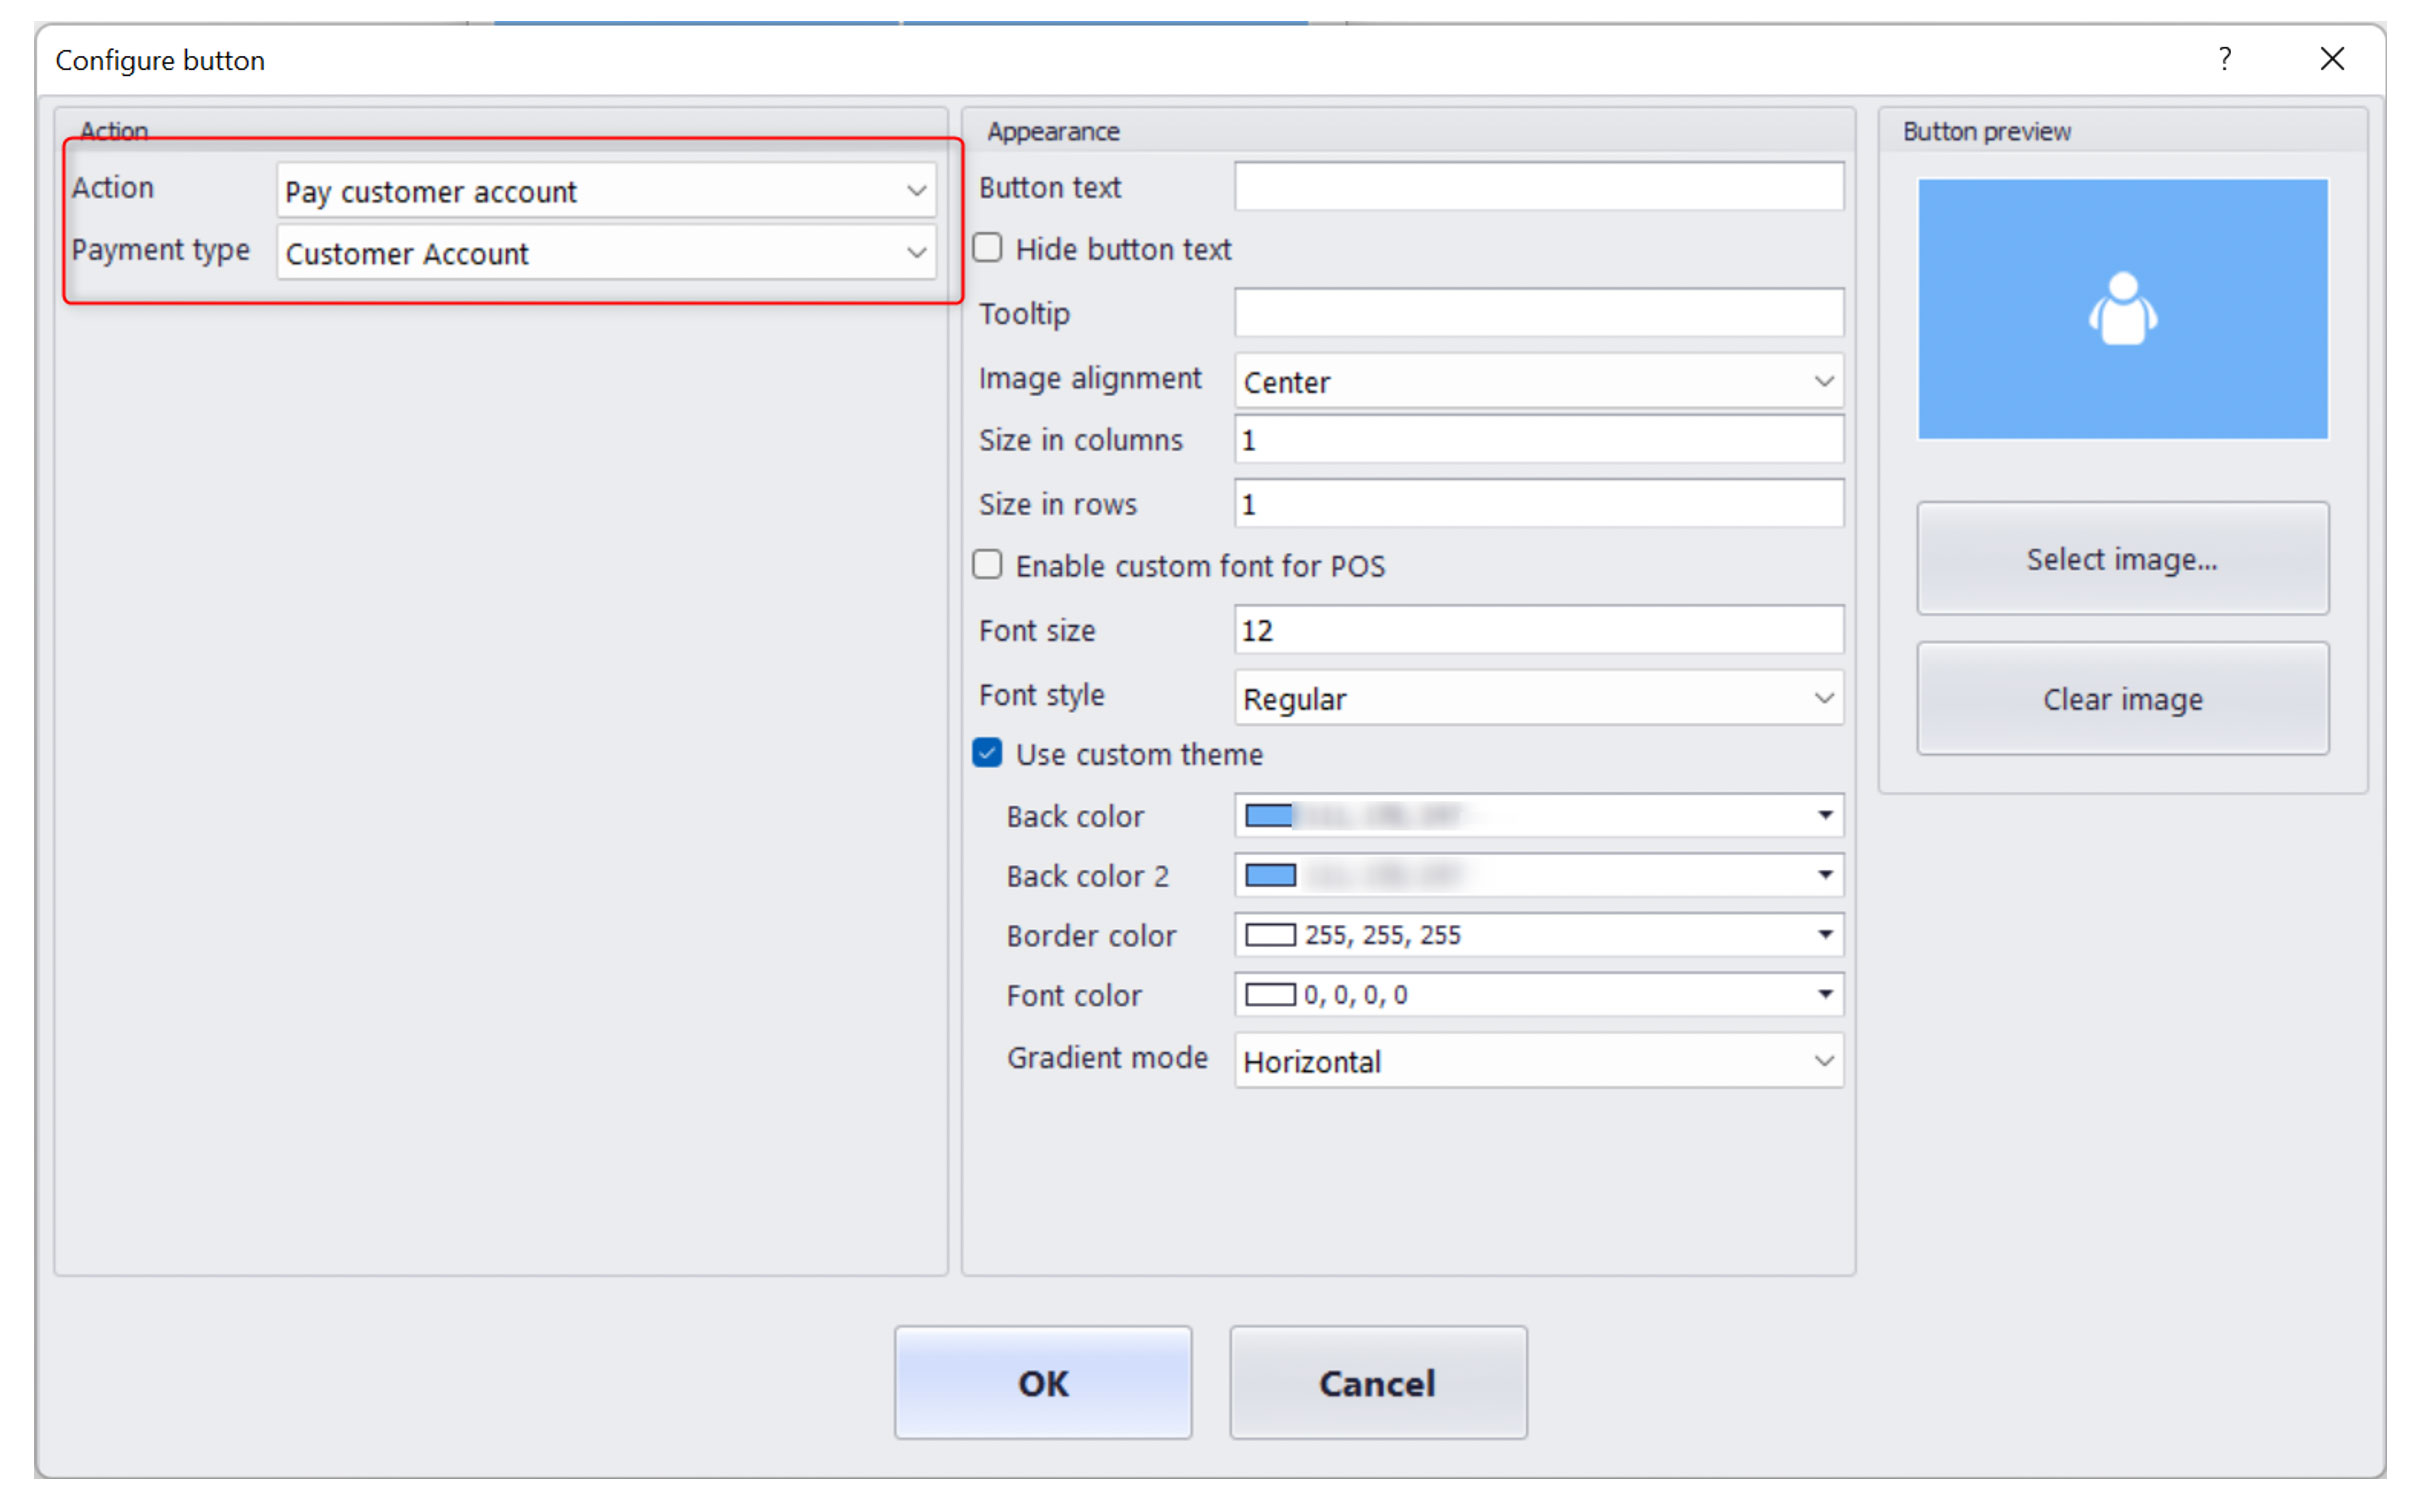
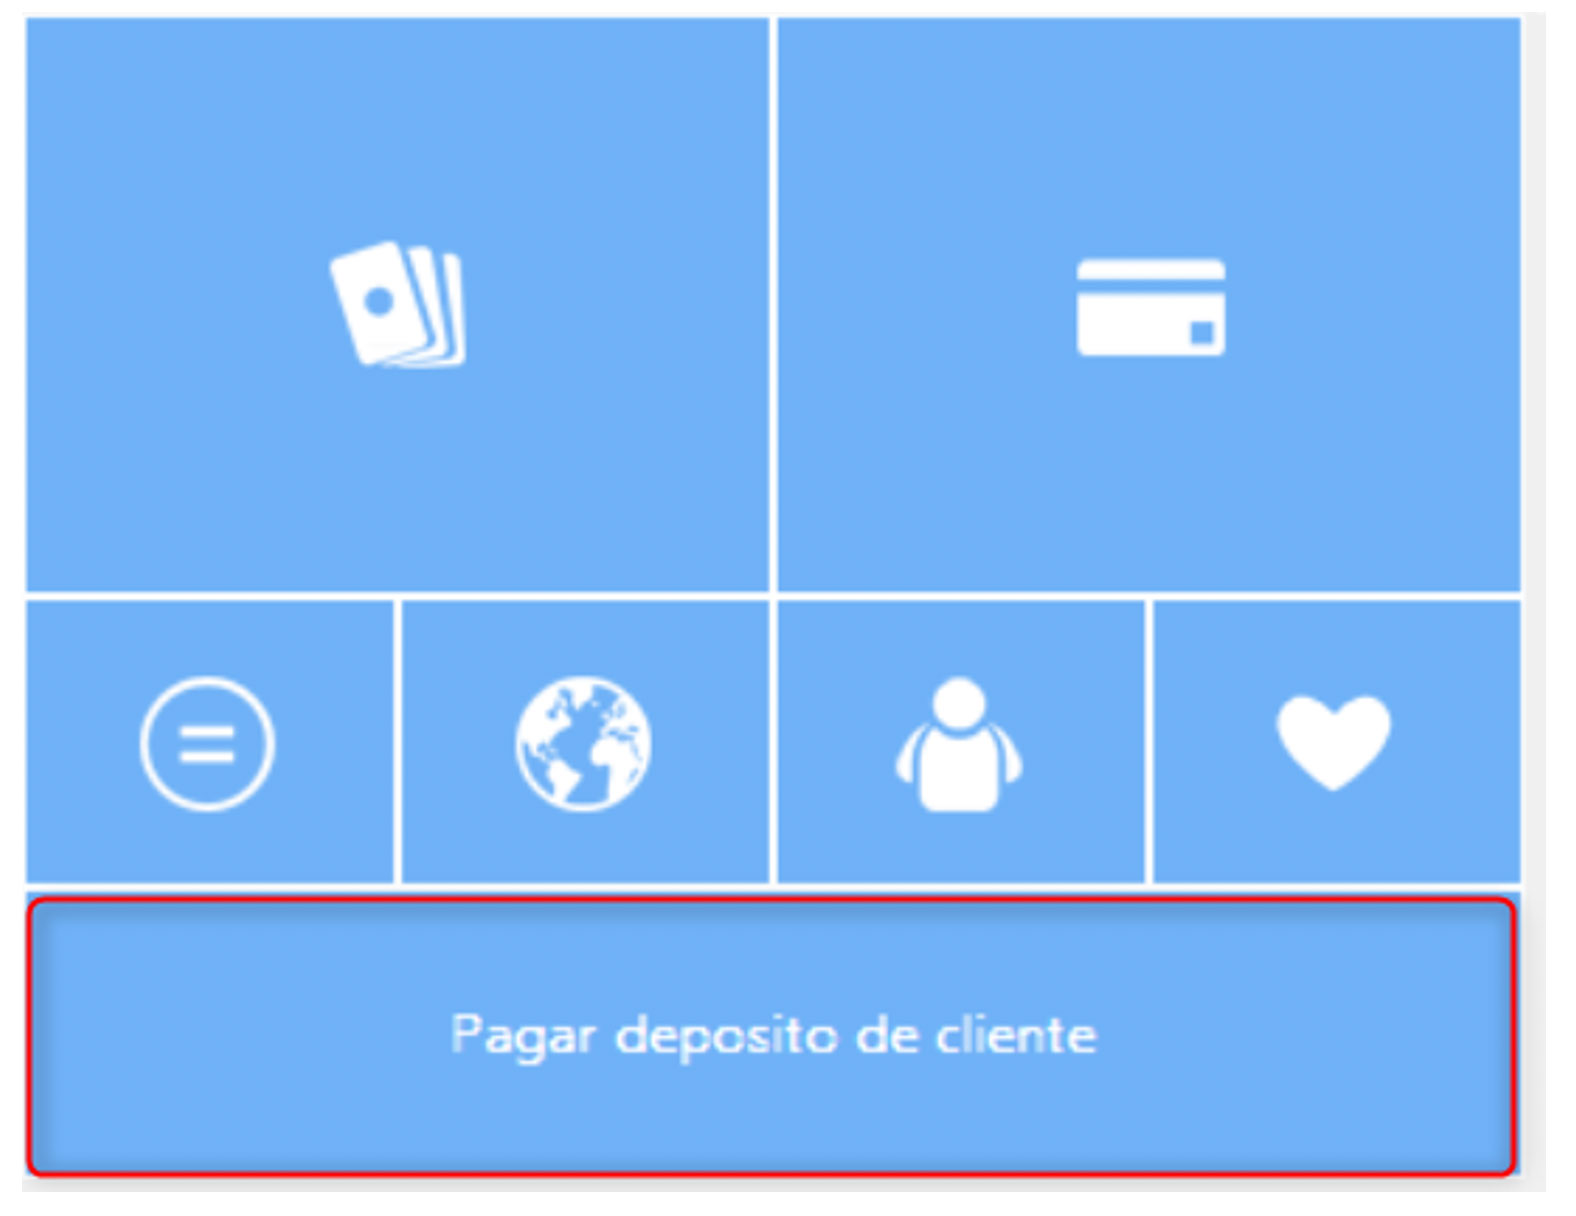
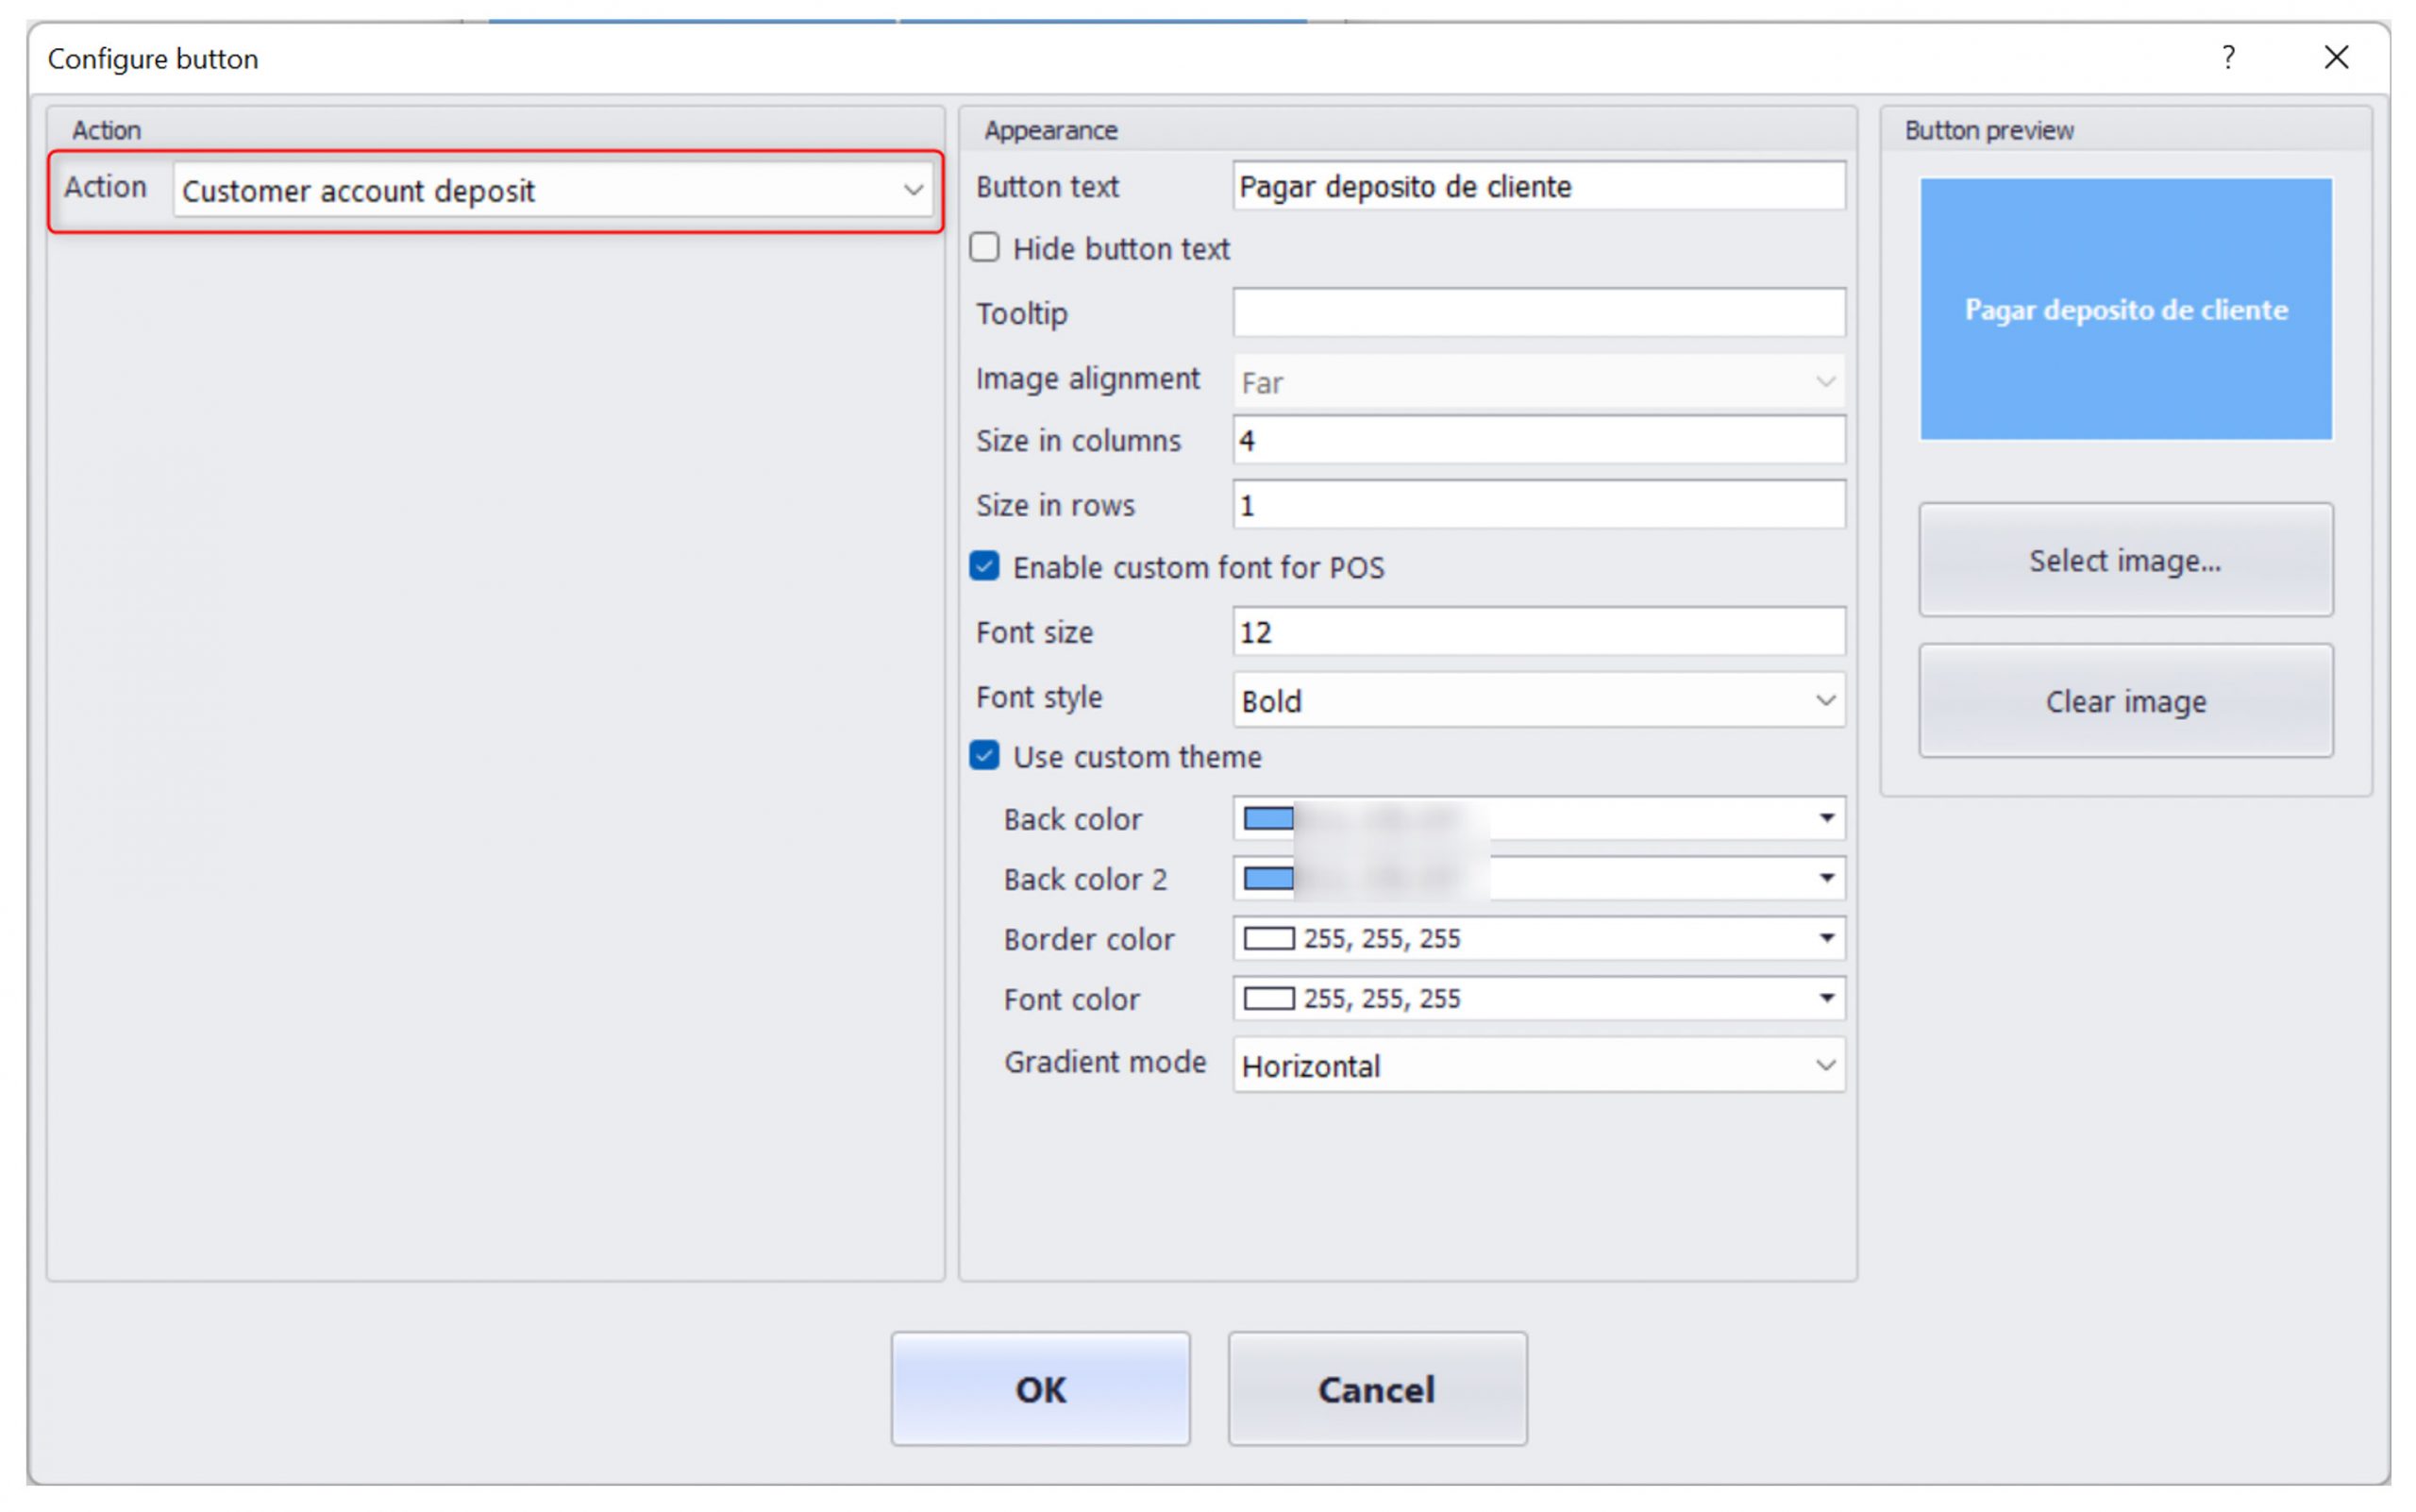
And now, what properties should the credit payment button have?
- The function we will use is the Customer account deposit
Use of customer credit and balance at the POS
In this section we are going to see different examples of the use of the credit payment method and the payment of the customer’s balance. But let’s start by showing how to check the customer’s balance and credit limit in the POS.
Customer credit and balance enquiry
To check the balance and credit limit of a customer in the POS, the customer must be added to the receipt screen.
Once the customer has been added, you can see that the credit limit is shown in the customer’s card, but not the balance (although you can see the text balance and a button next to it for consultation). This query is launched by Real-Time, and that is why it is not shown when loading the customer.
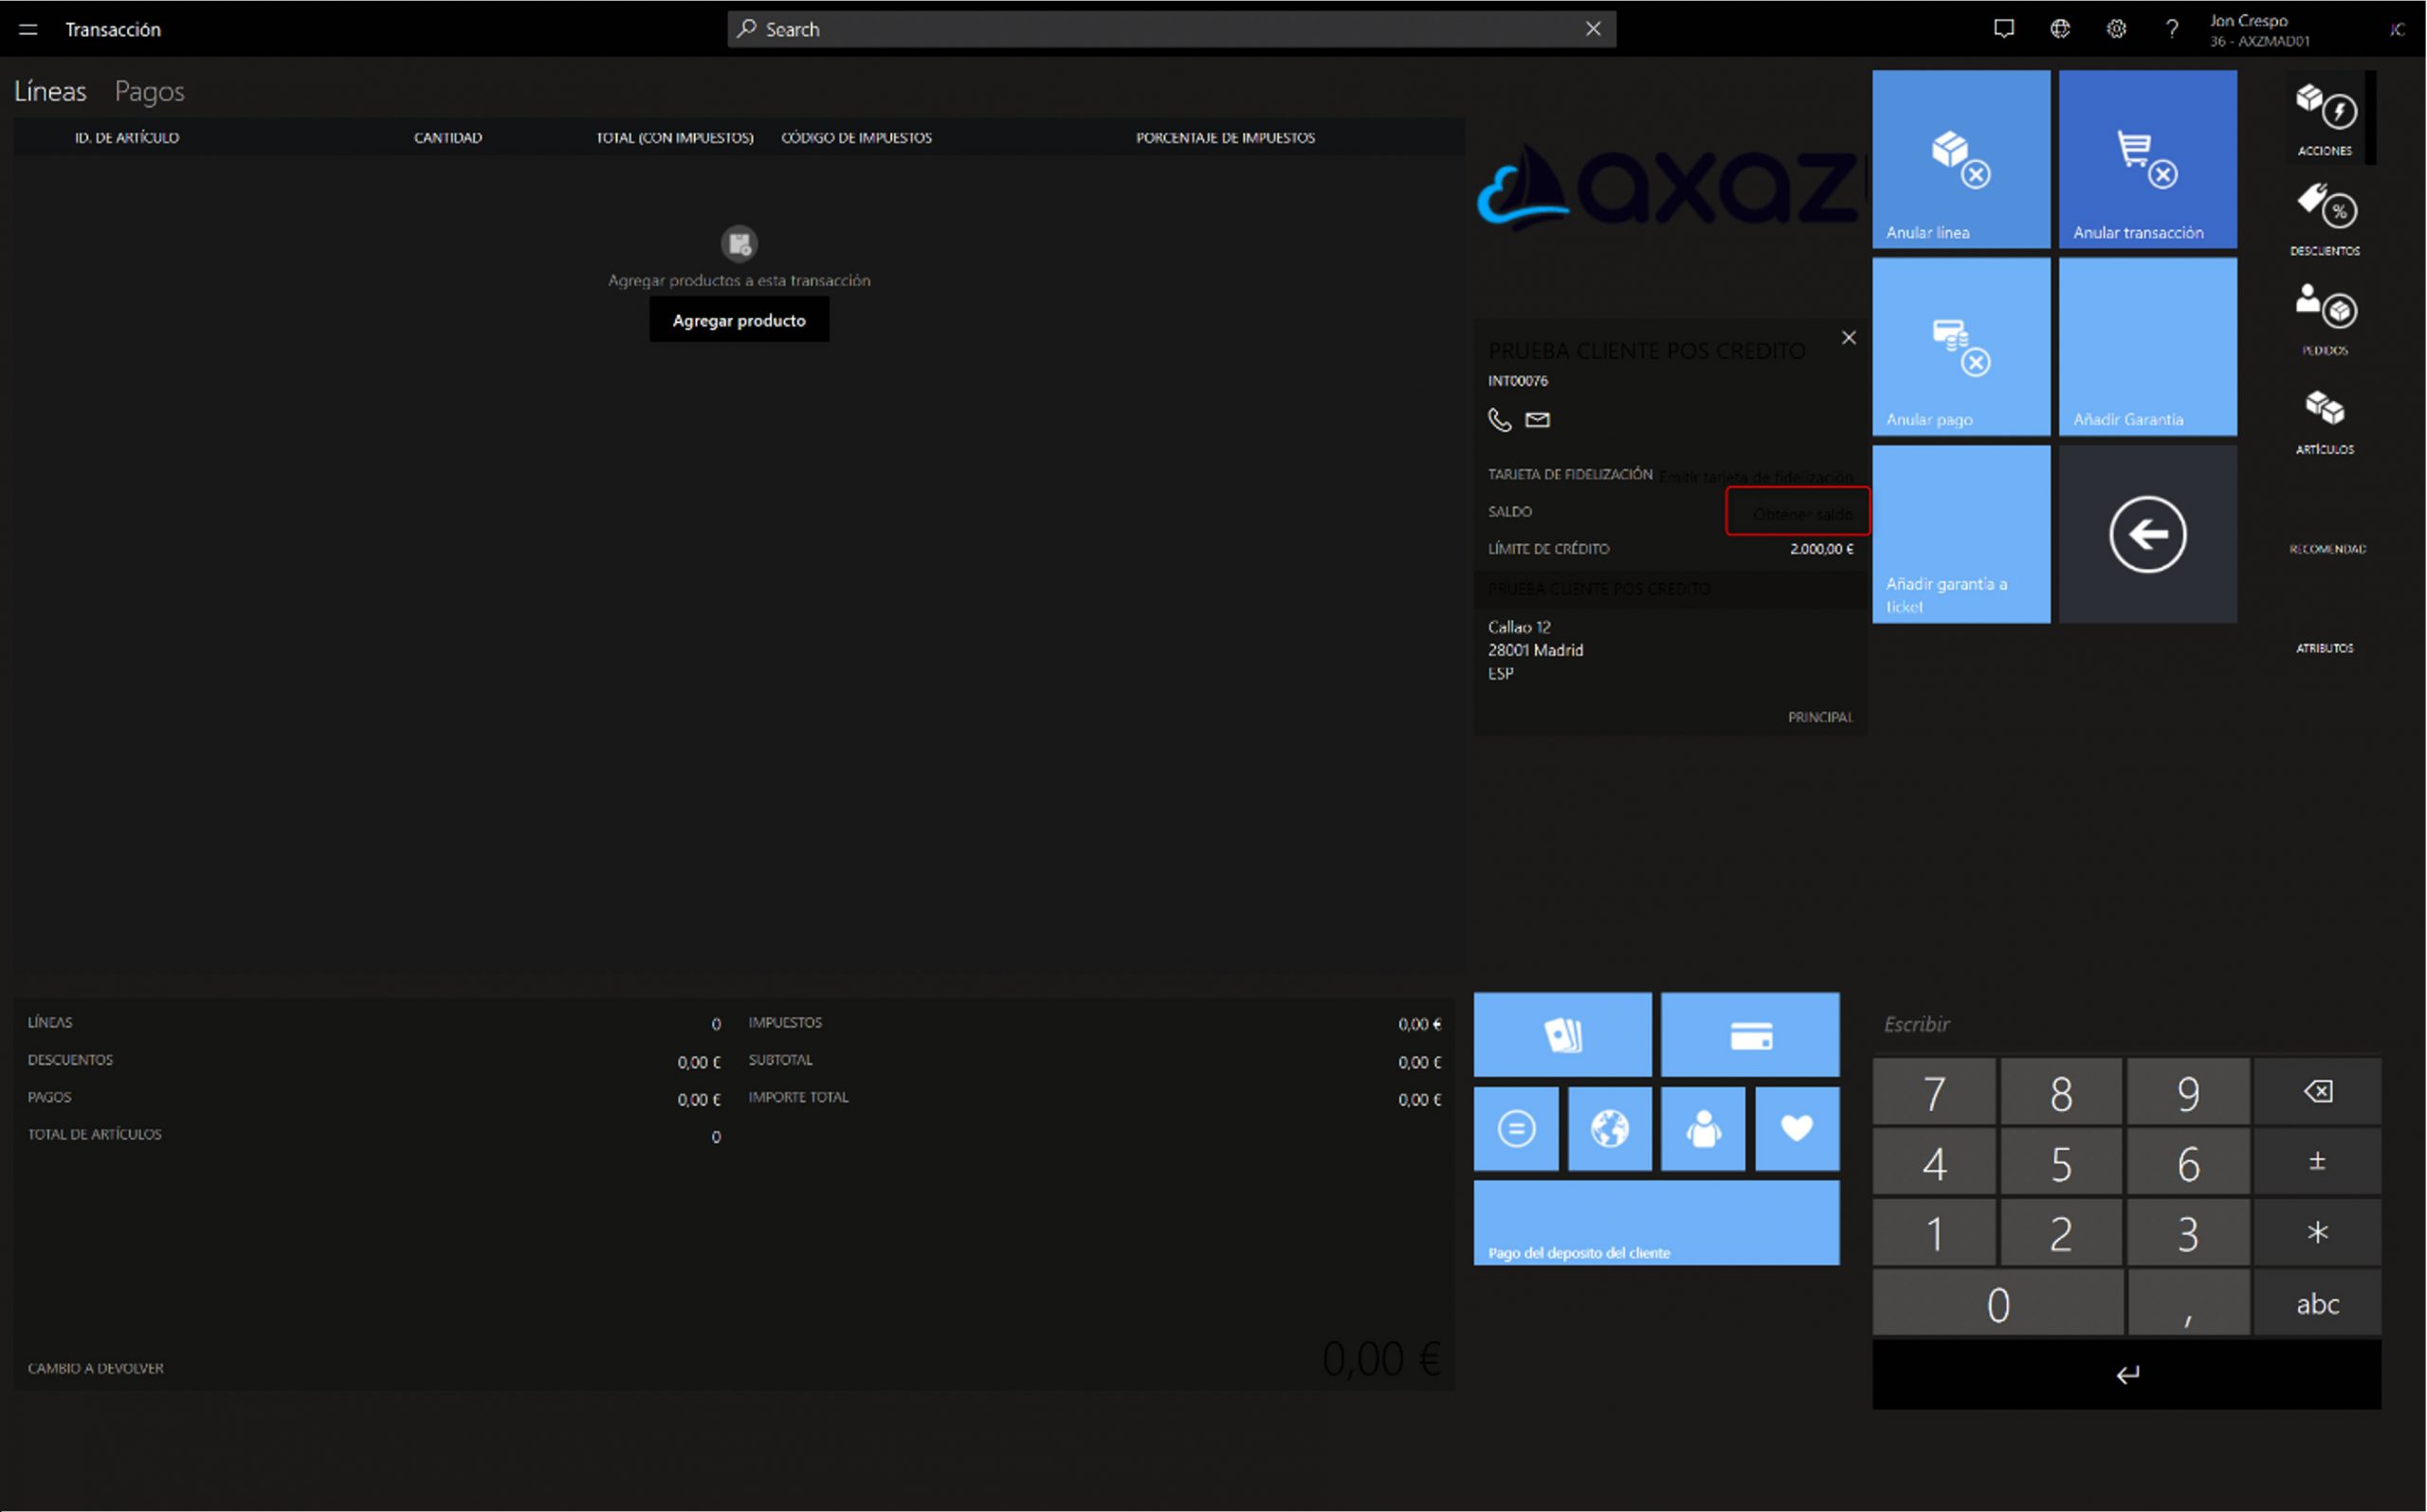
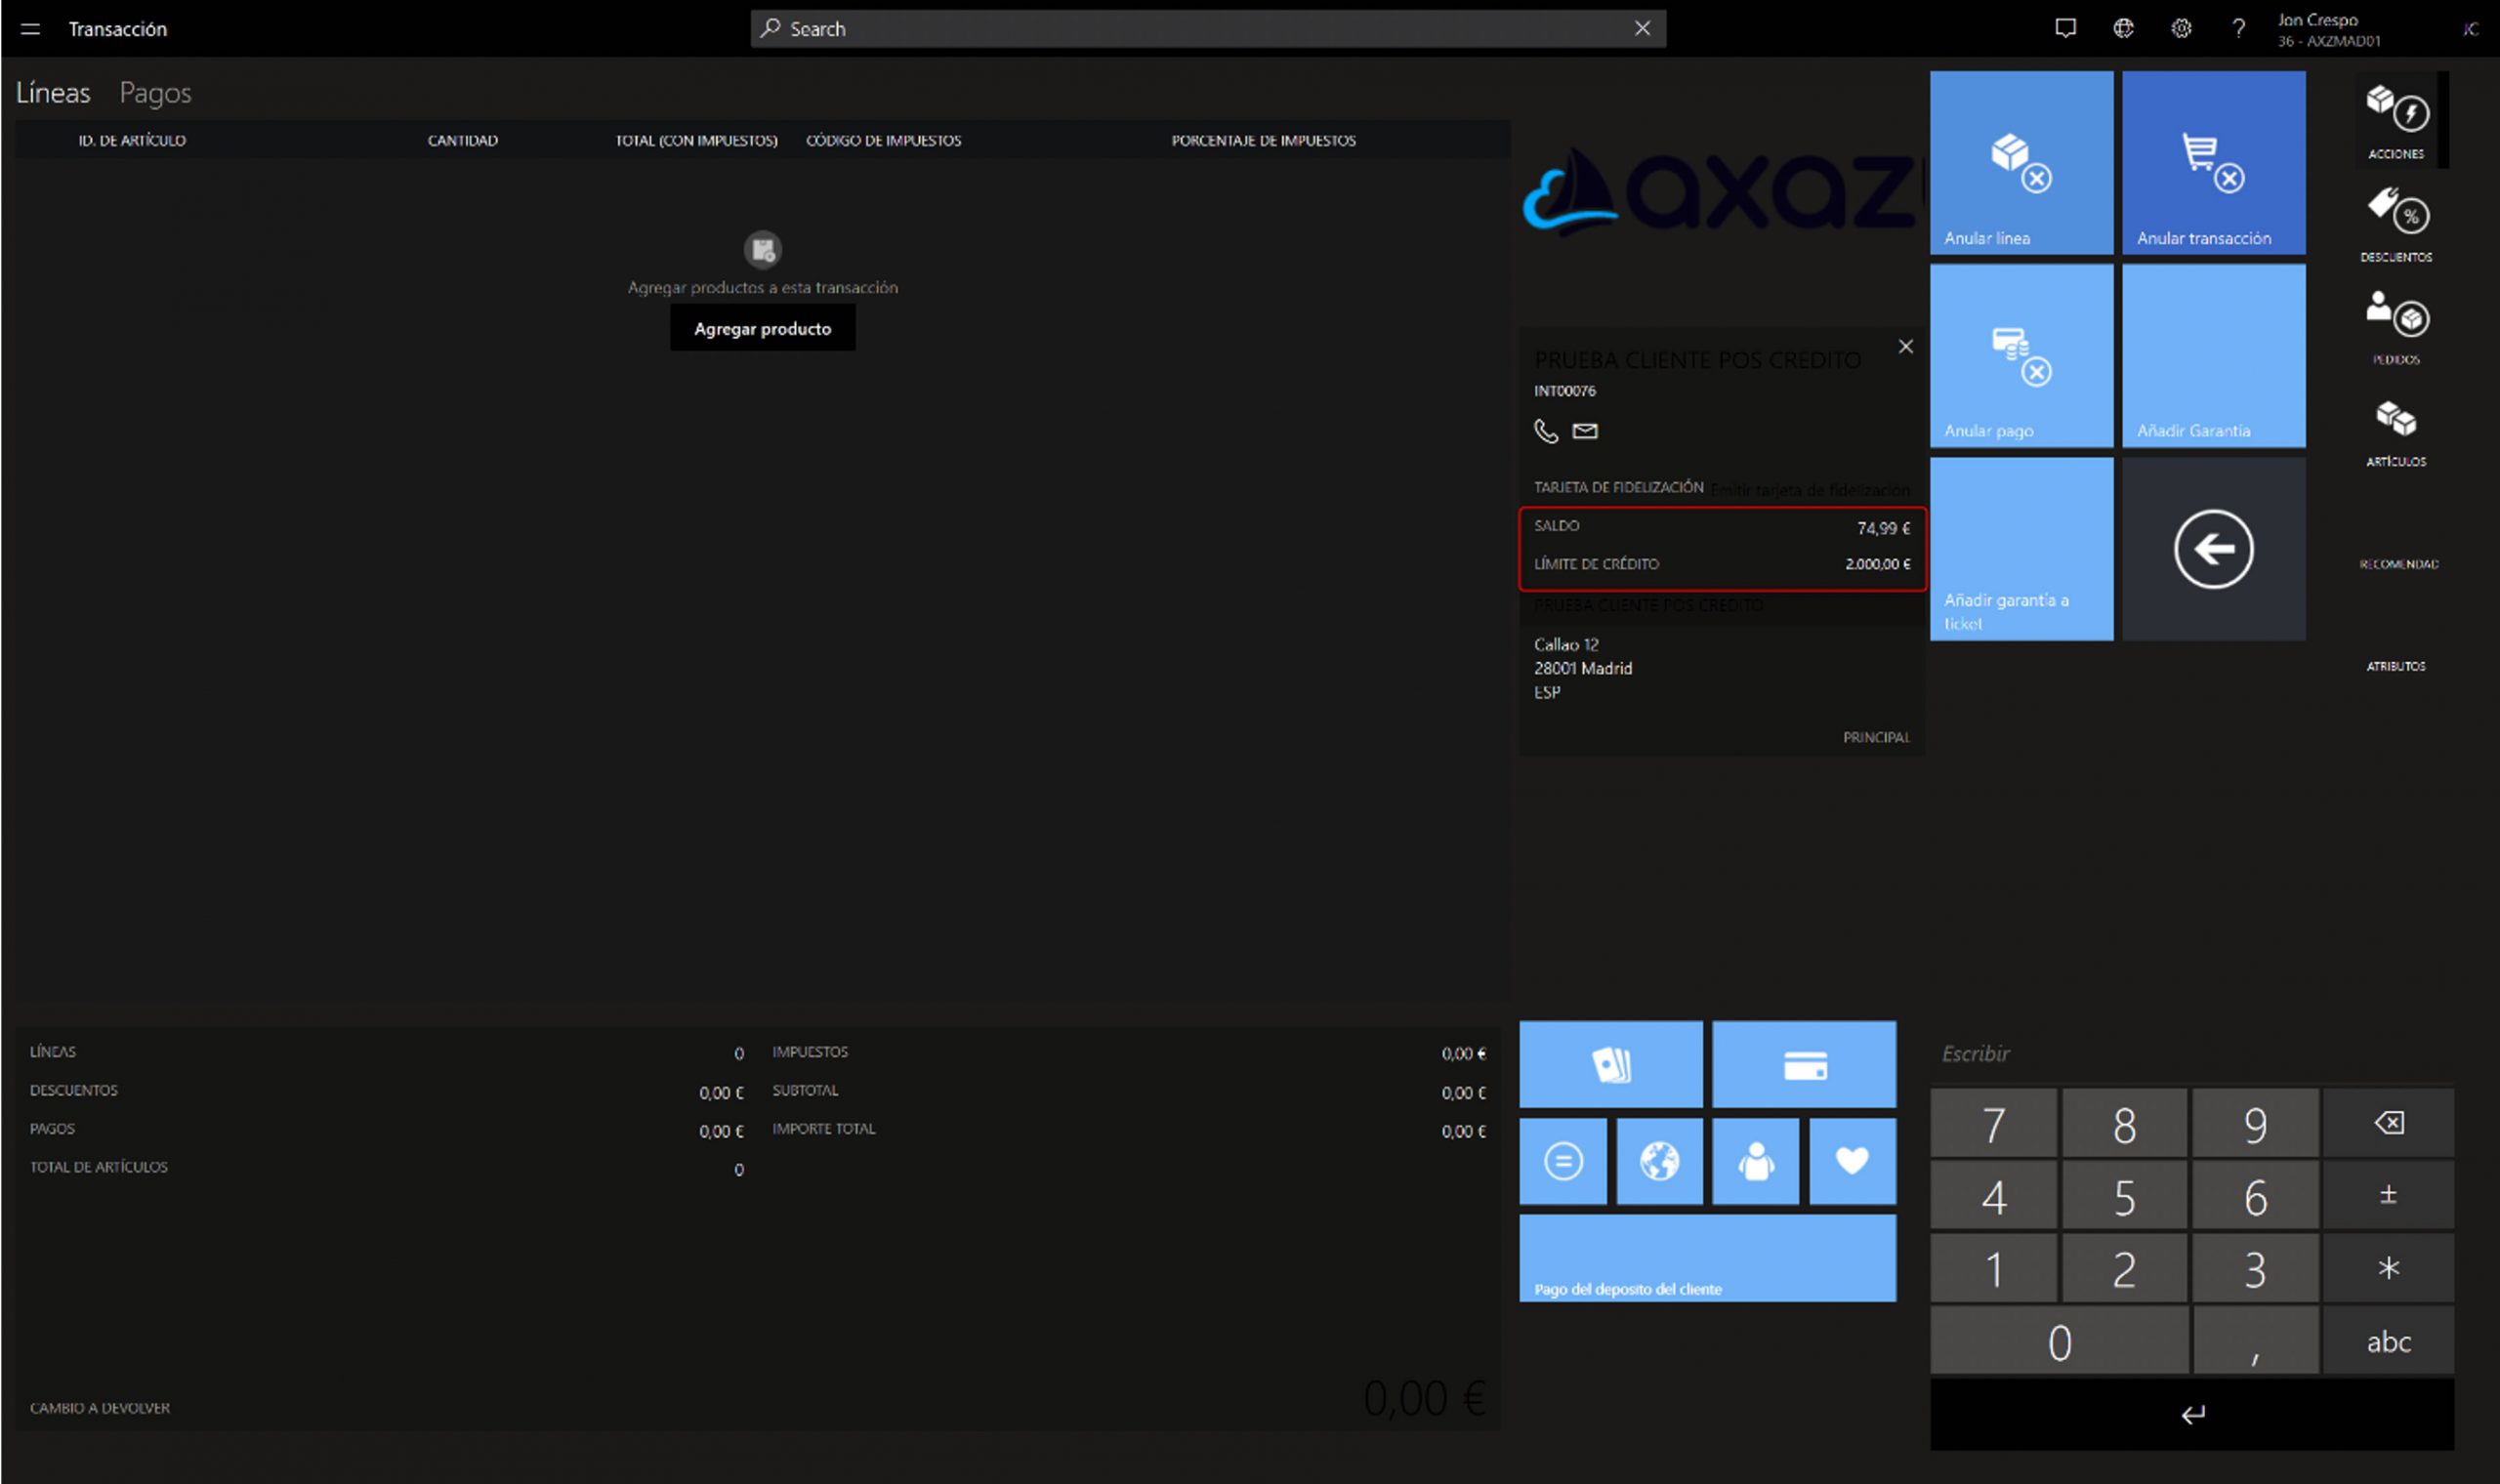
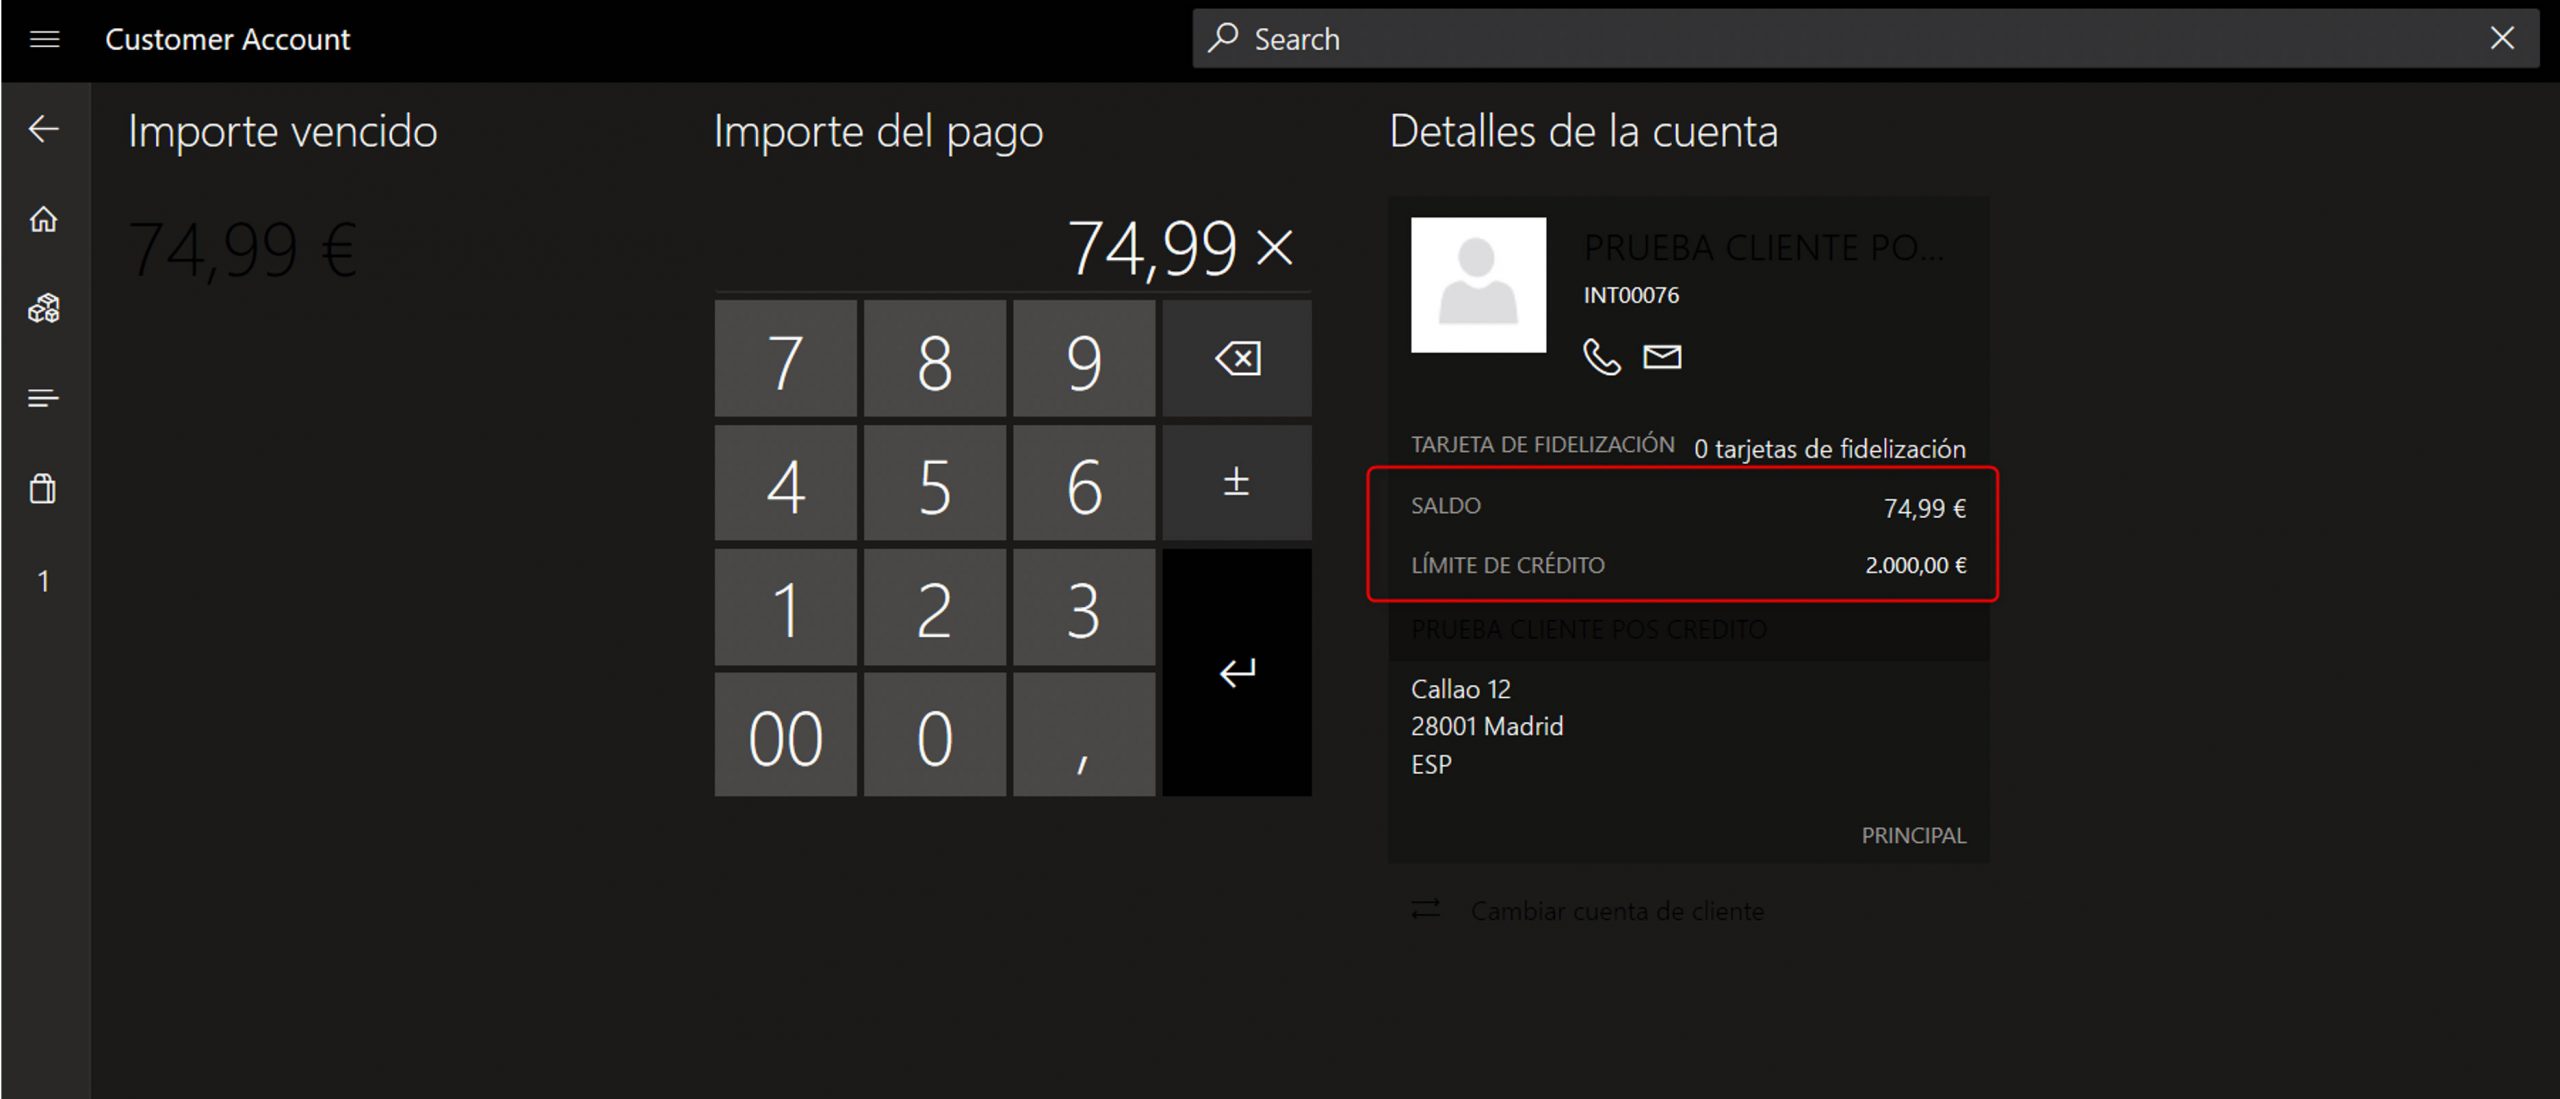
Once the button is pressed, the POS launches the real-time query against HQ, and retrieves the customer’s balance at that moment.
Payment of a ticket on credit
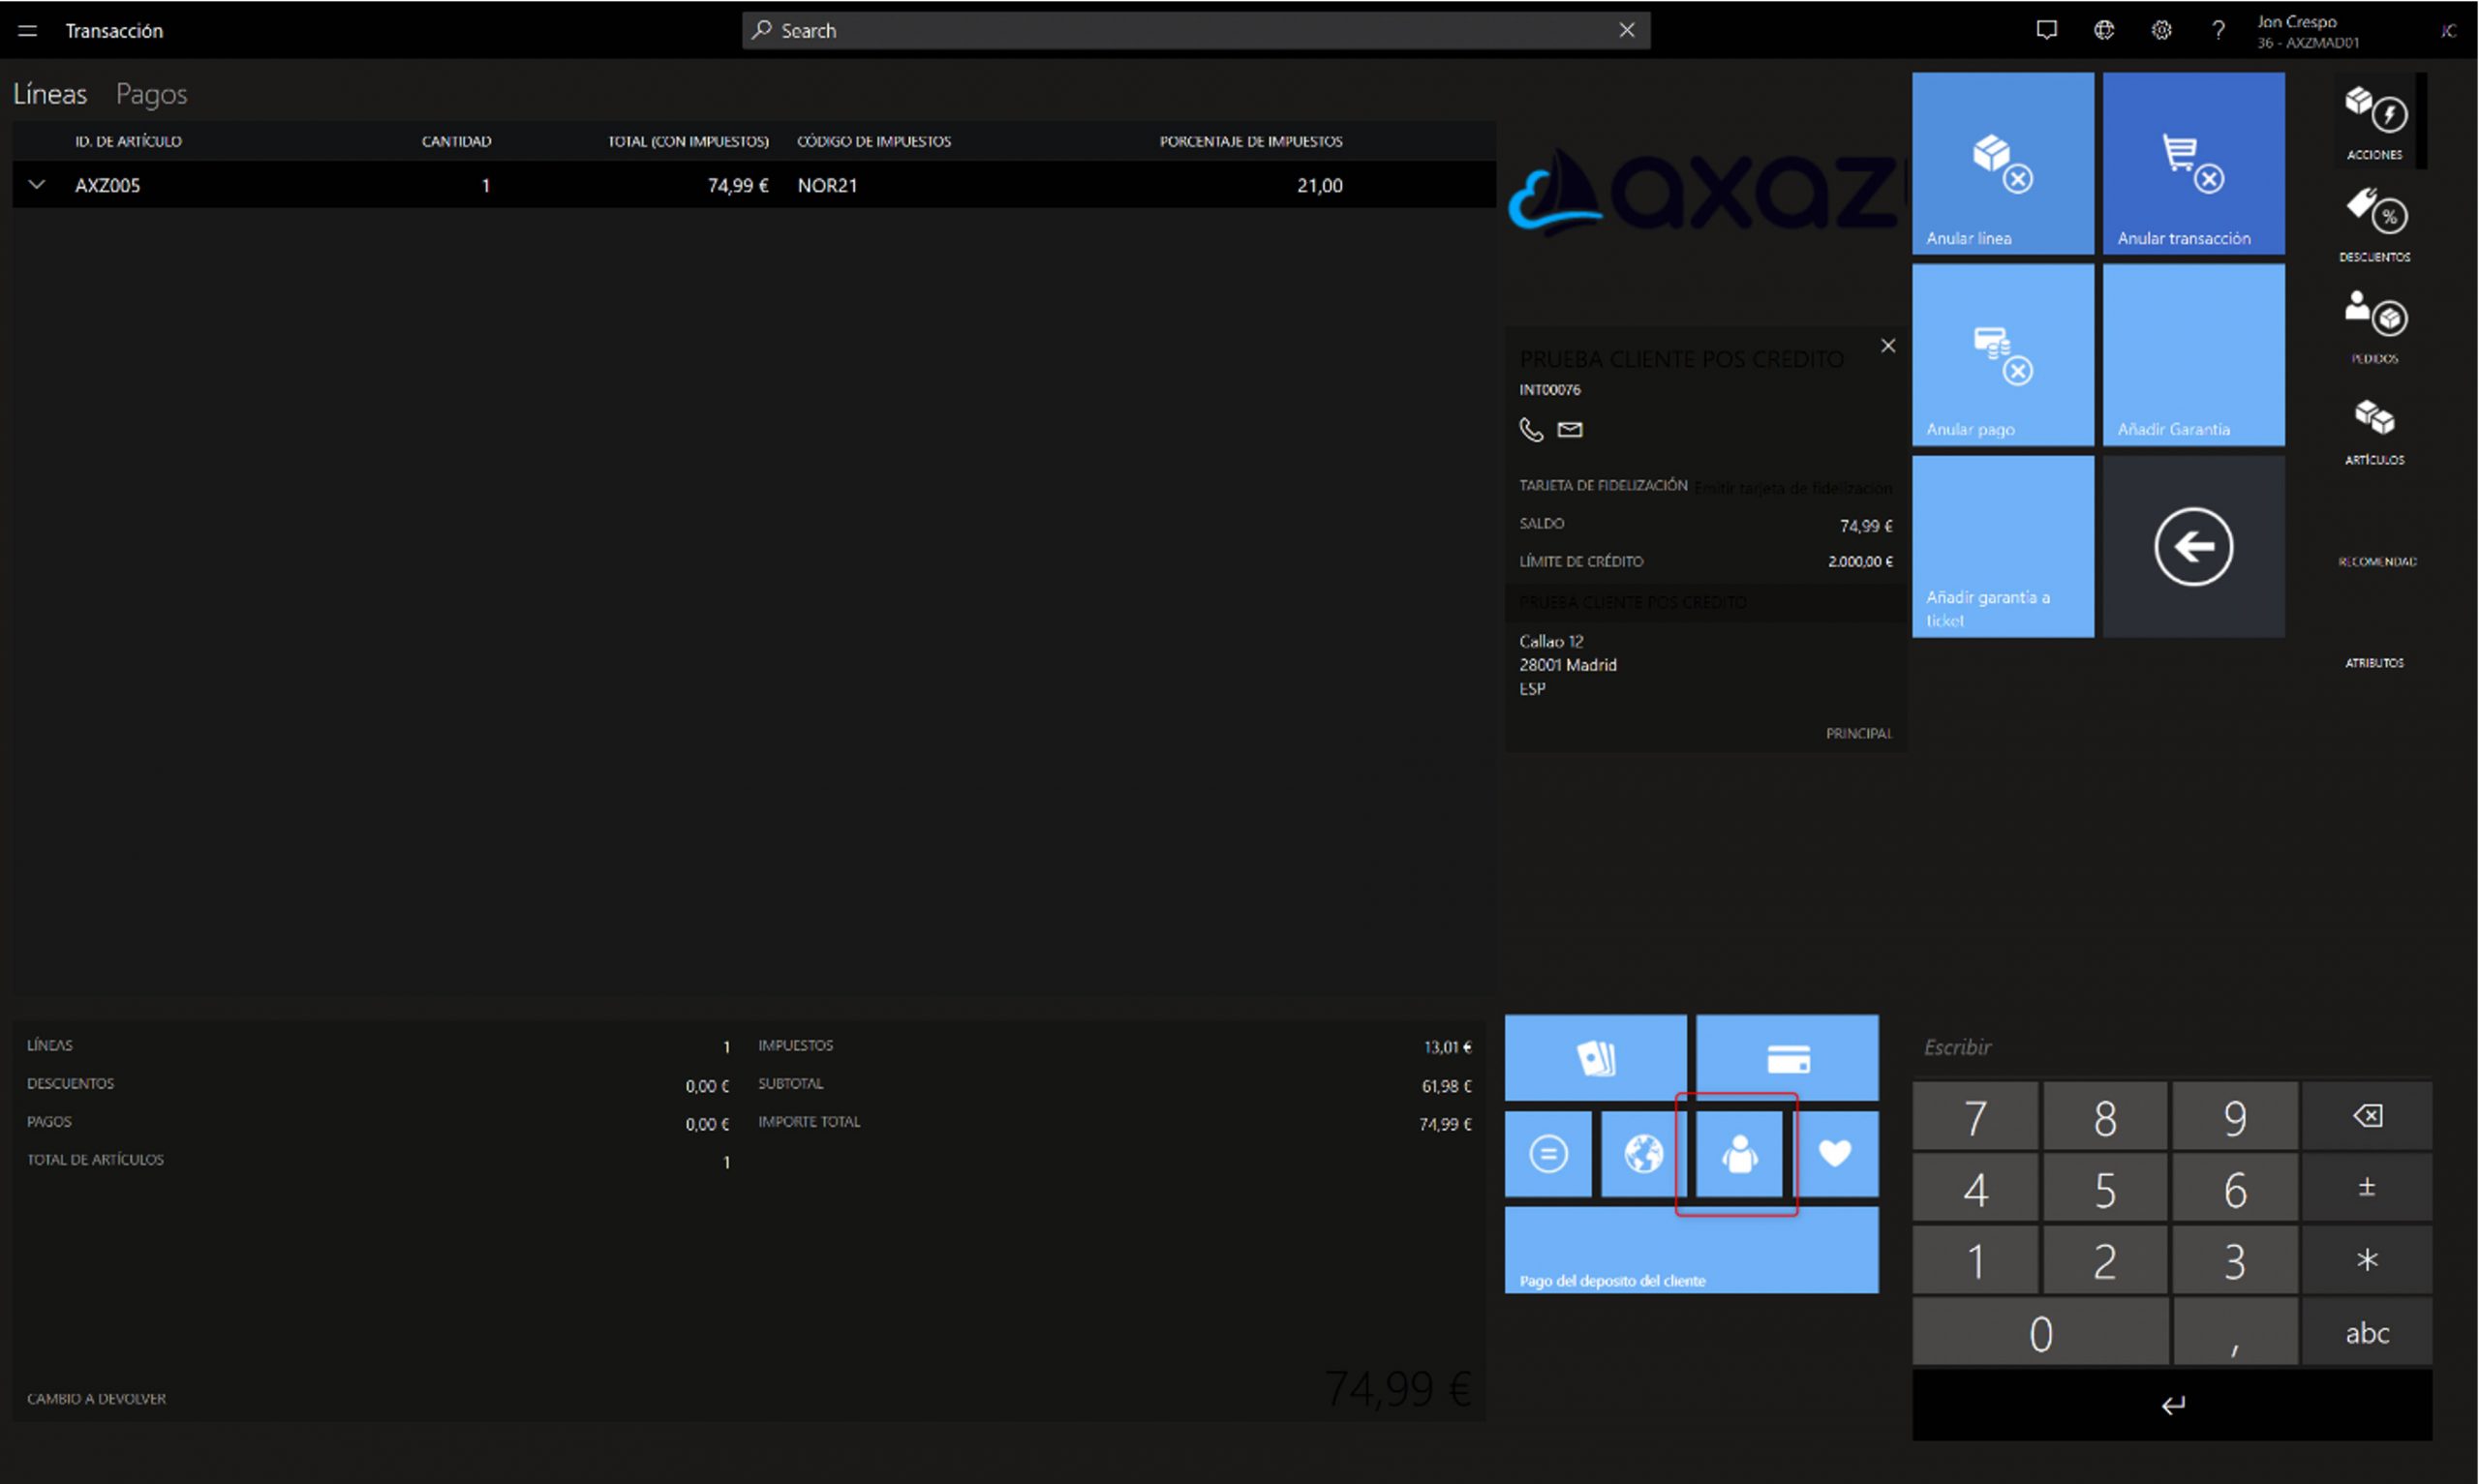
This example shows how to pay a receipt using the credit payment method. In order to be able to pay by credit, it is essential that the customer is associated to the sale. Once the products have been placed in the shopping cart, the payment is made using the button configured for this purpose.
In the payment form, the customer’s file is displayed and the balance enquiry can be re-launched if desired.
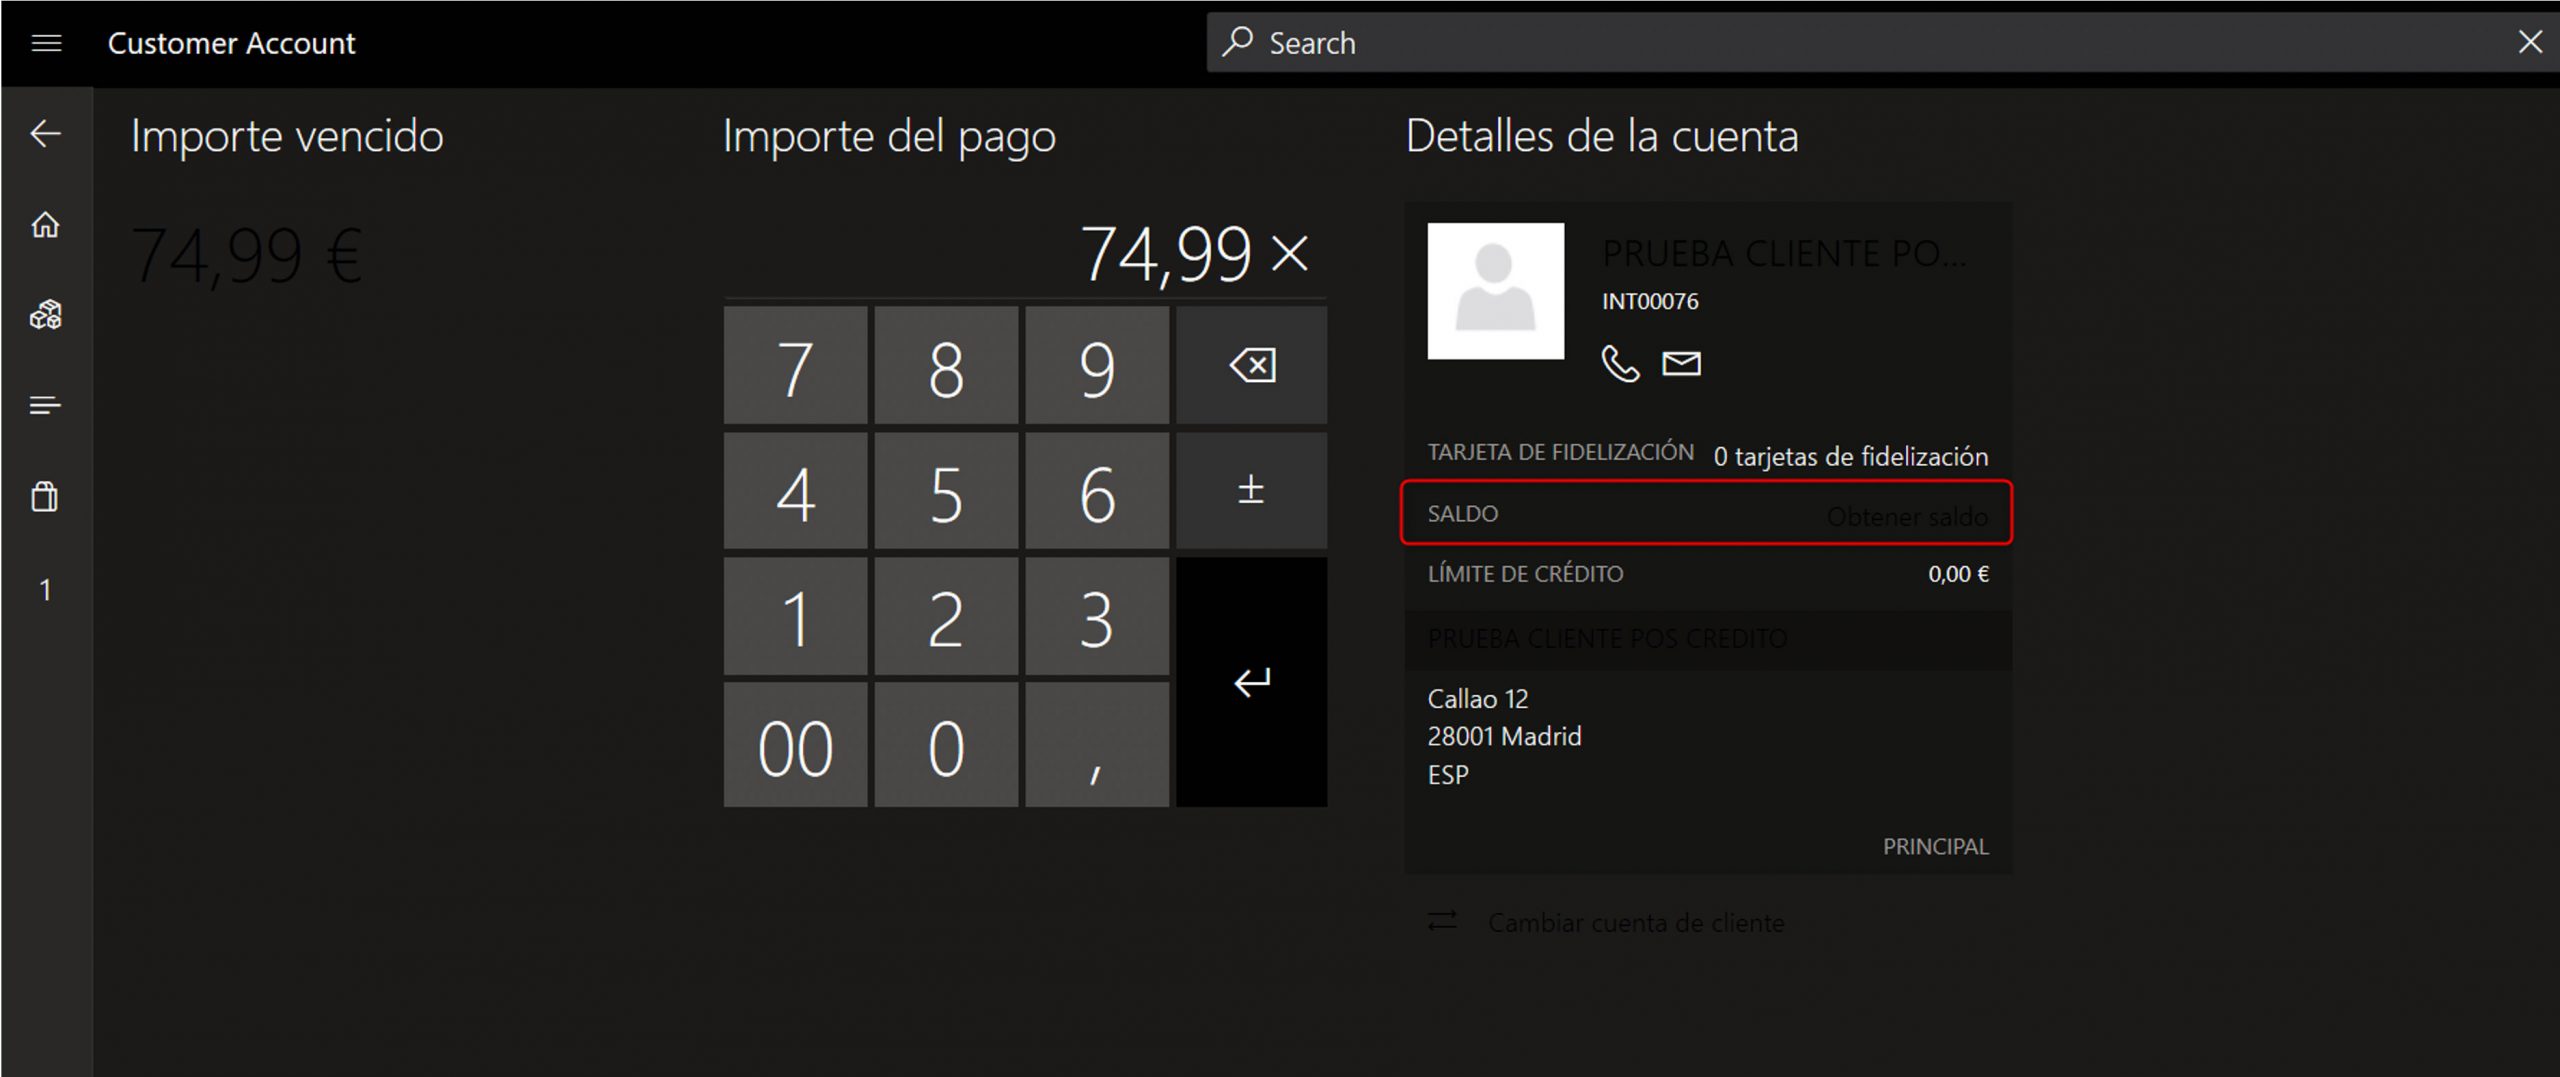
Once the button has been pressed, the balance is displayed (this is an operation that the system performs in real-time, which is why it has to be executed each time).
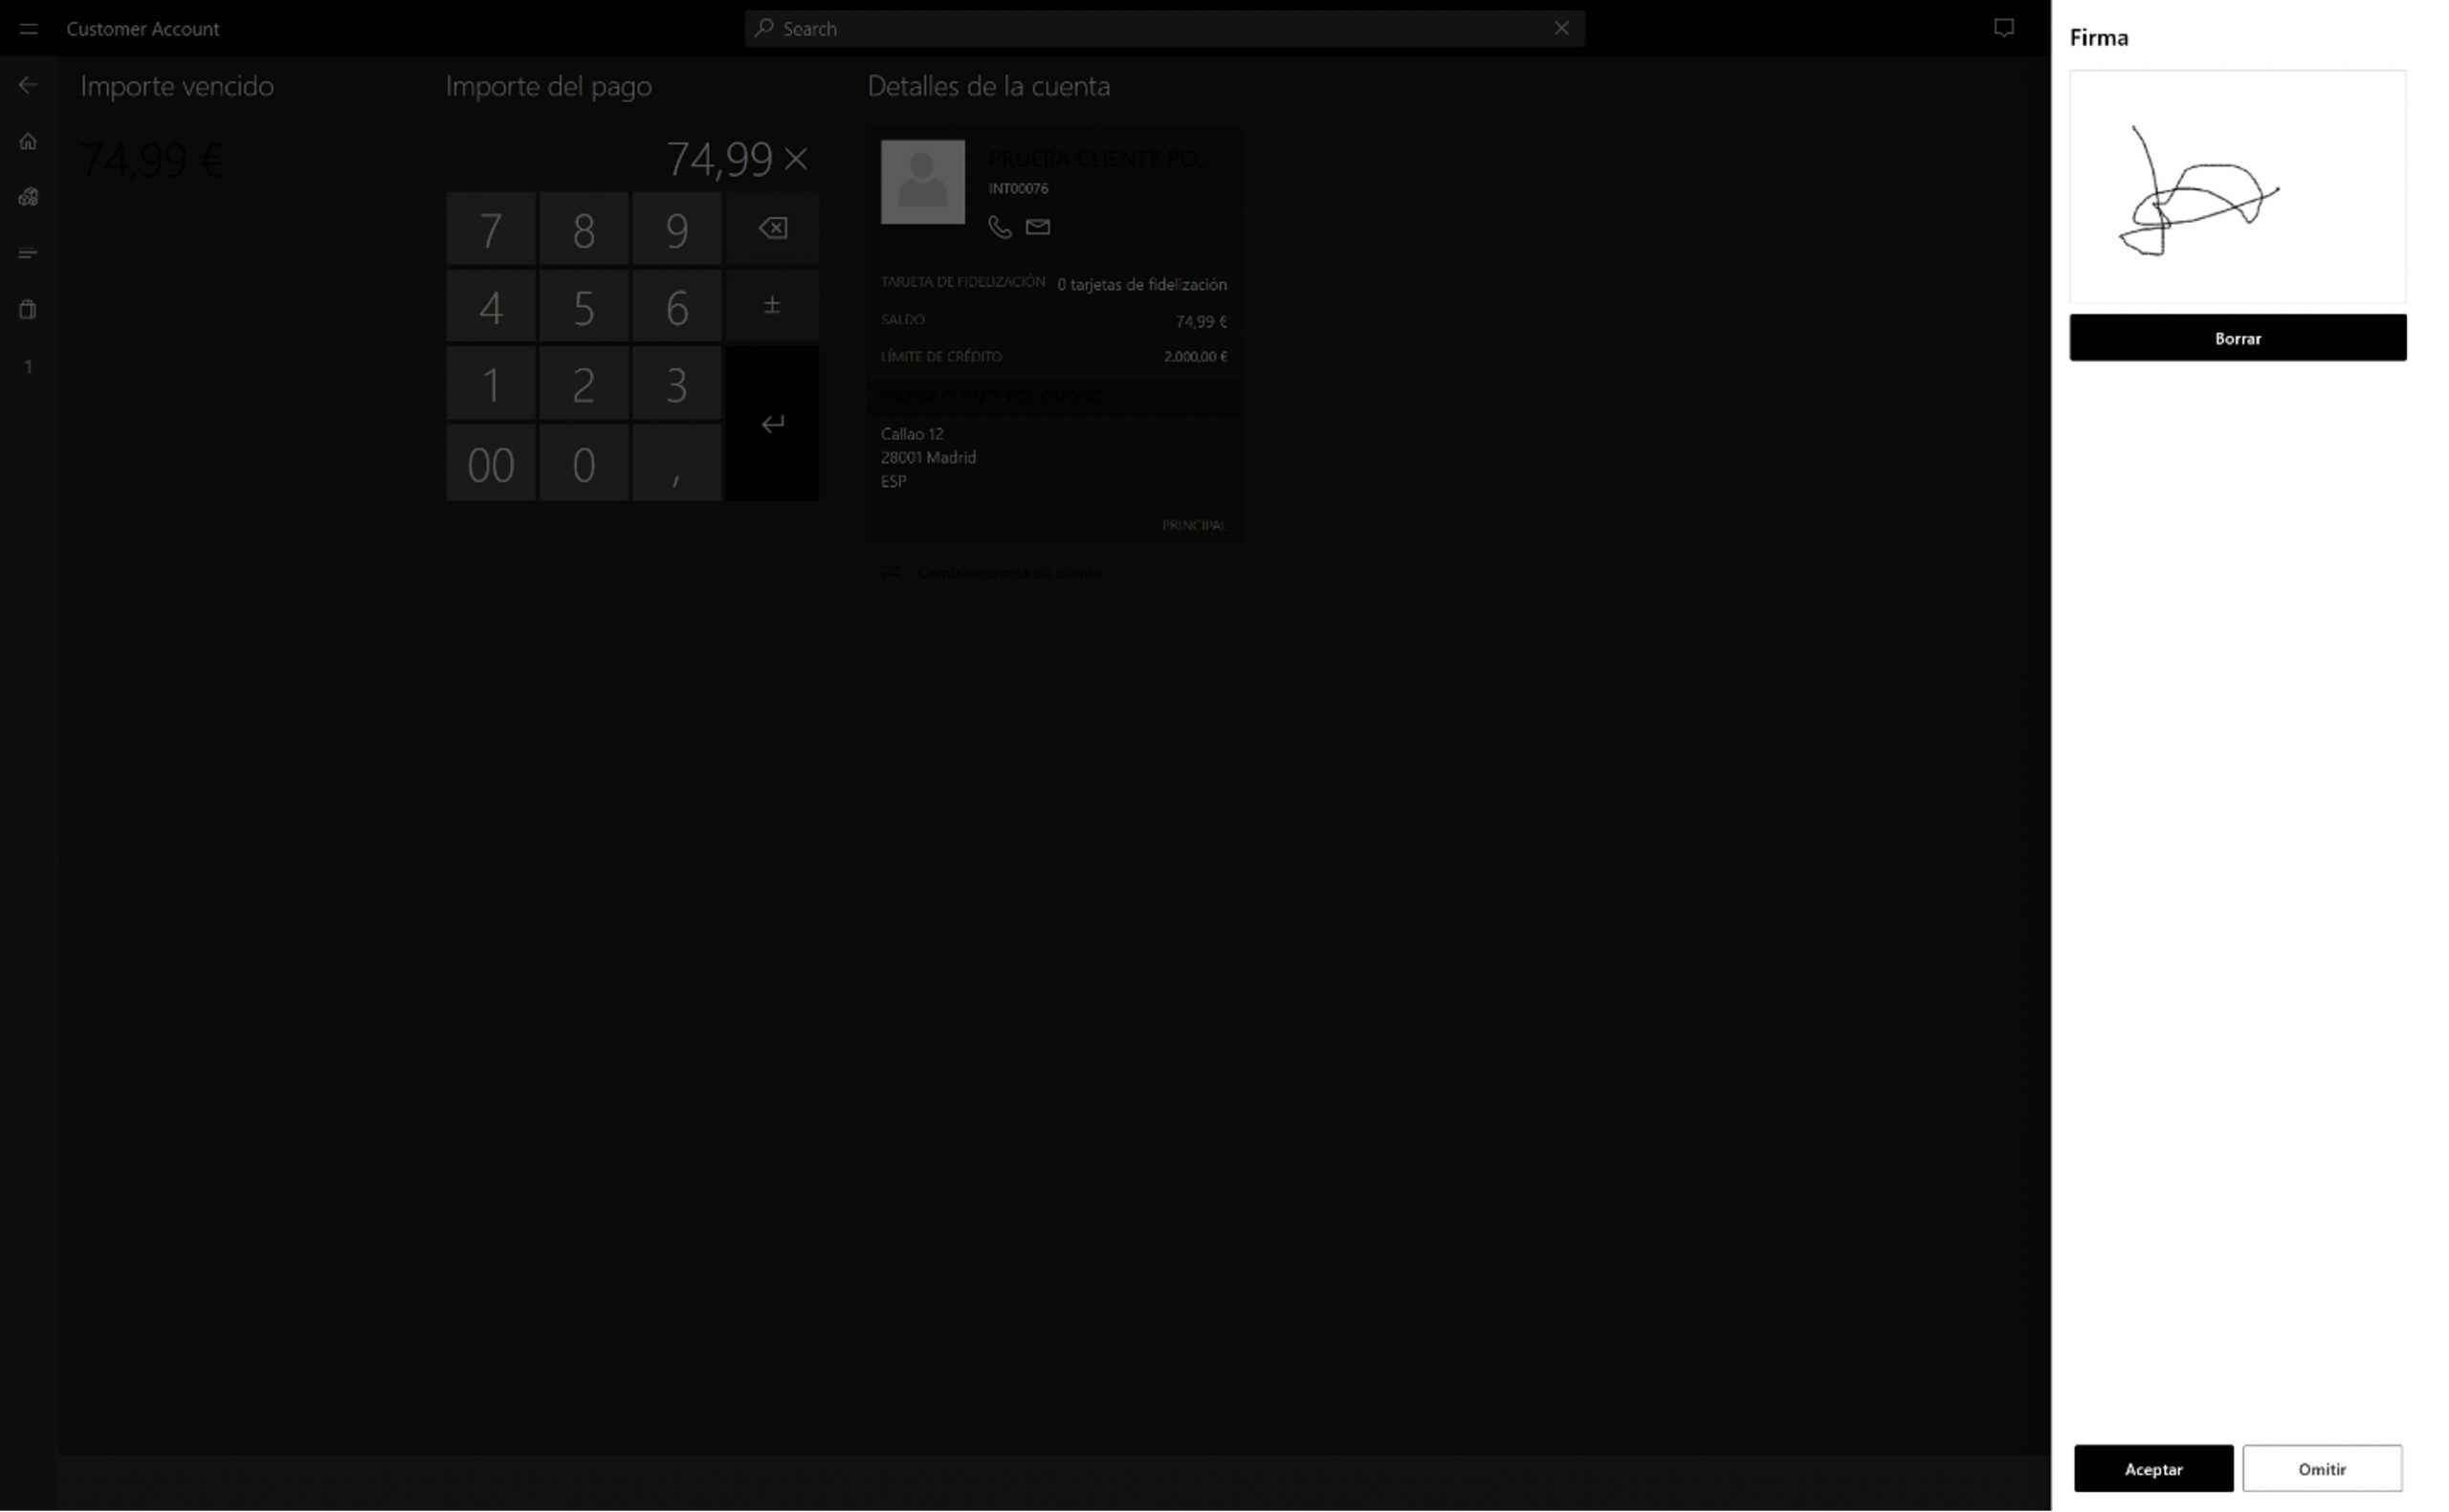
Once we have the balance, we proceed to complete the payment, the system asks us for the signature (as I am the one that has configured this option, i want to make clear that it is not a mandatory step for this payment method).
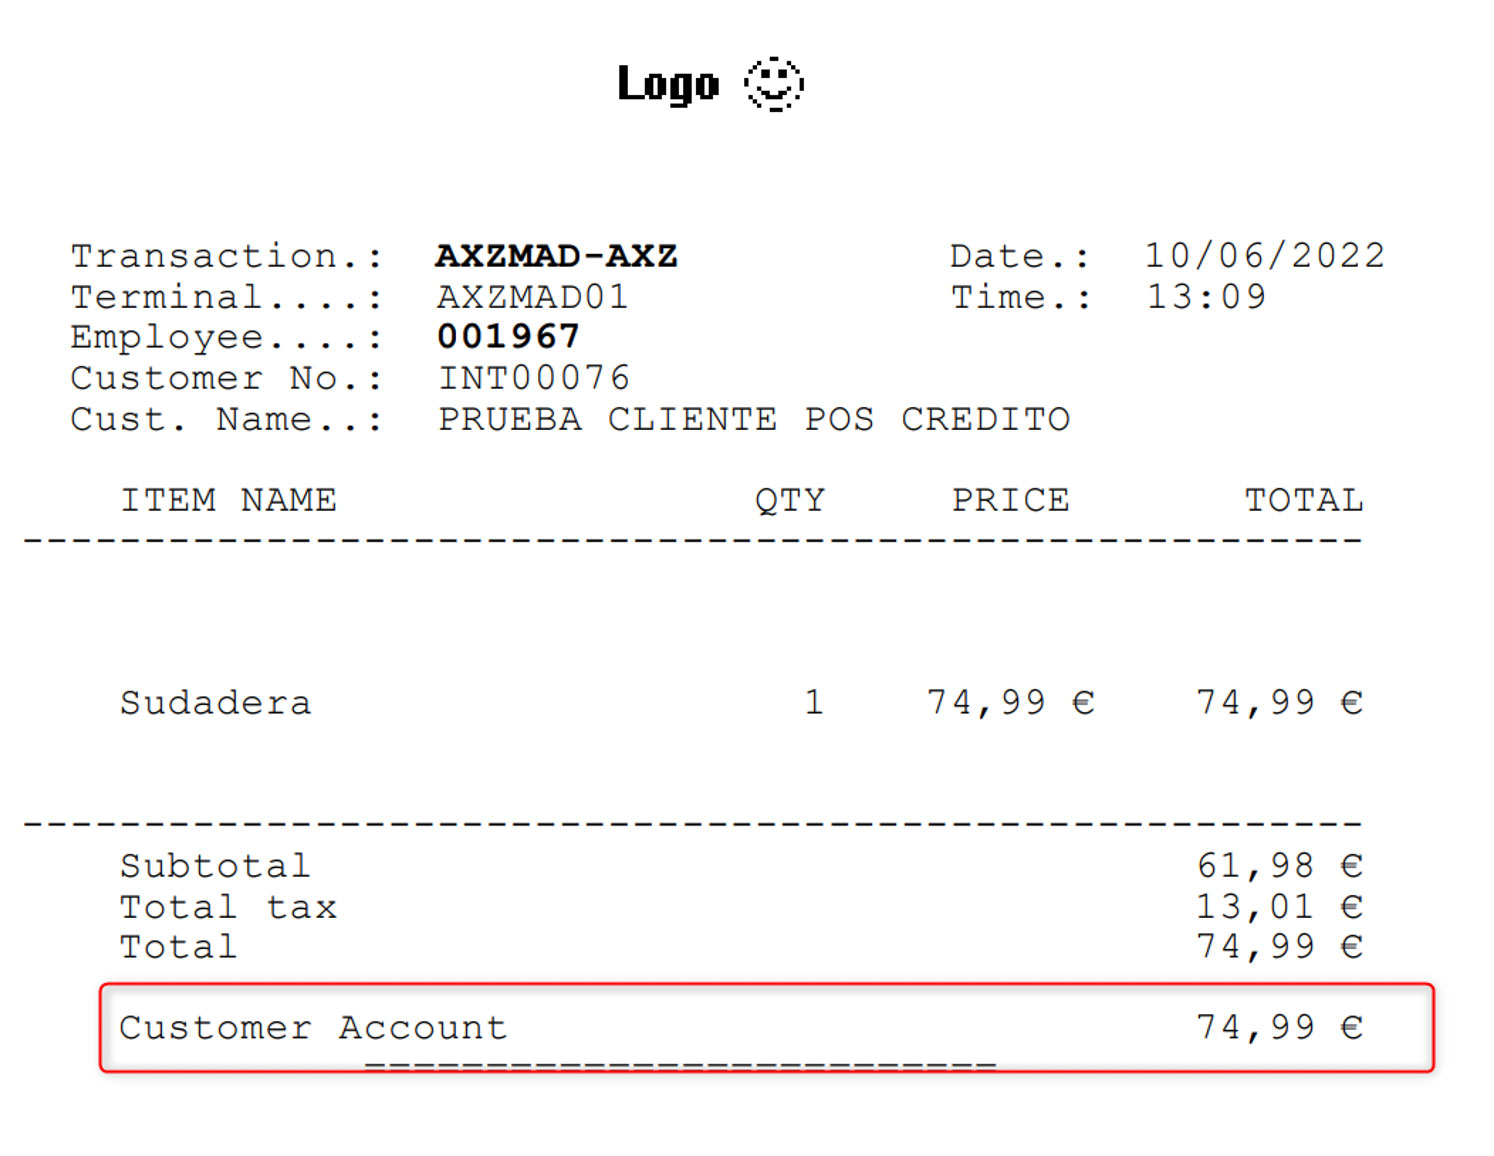
Once the signature is completed, a receipt is generated indicating the method of payment.
Podemos consultar el nuevo saldo del cliente añadiéndolo a una transacción de venta y consultando el saldo.
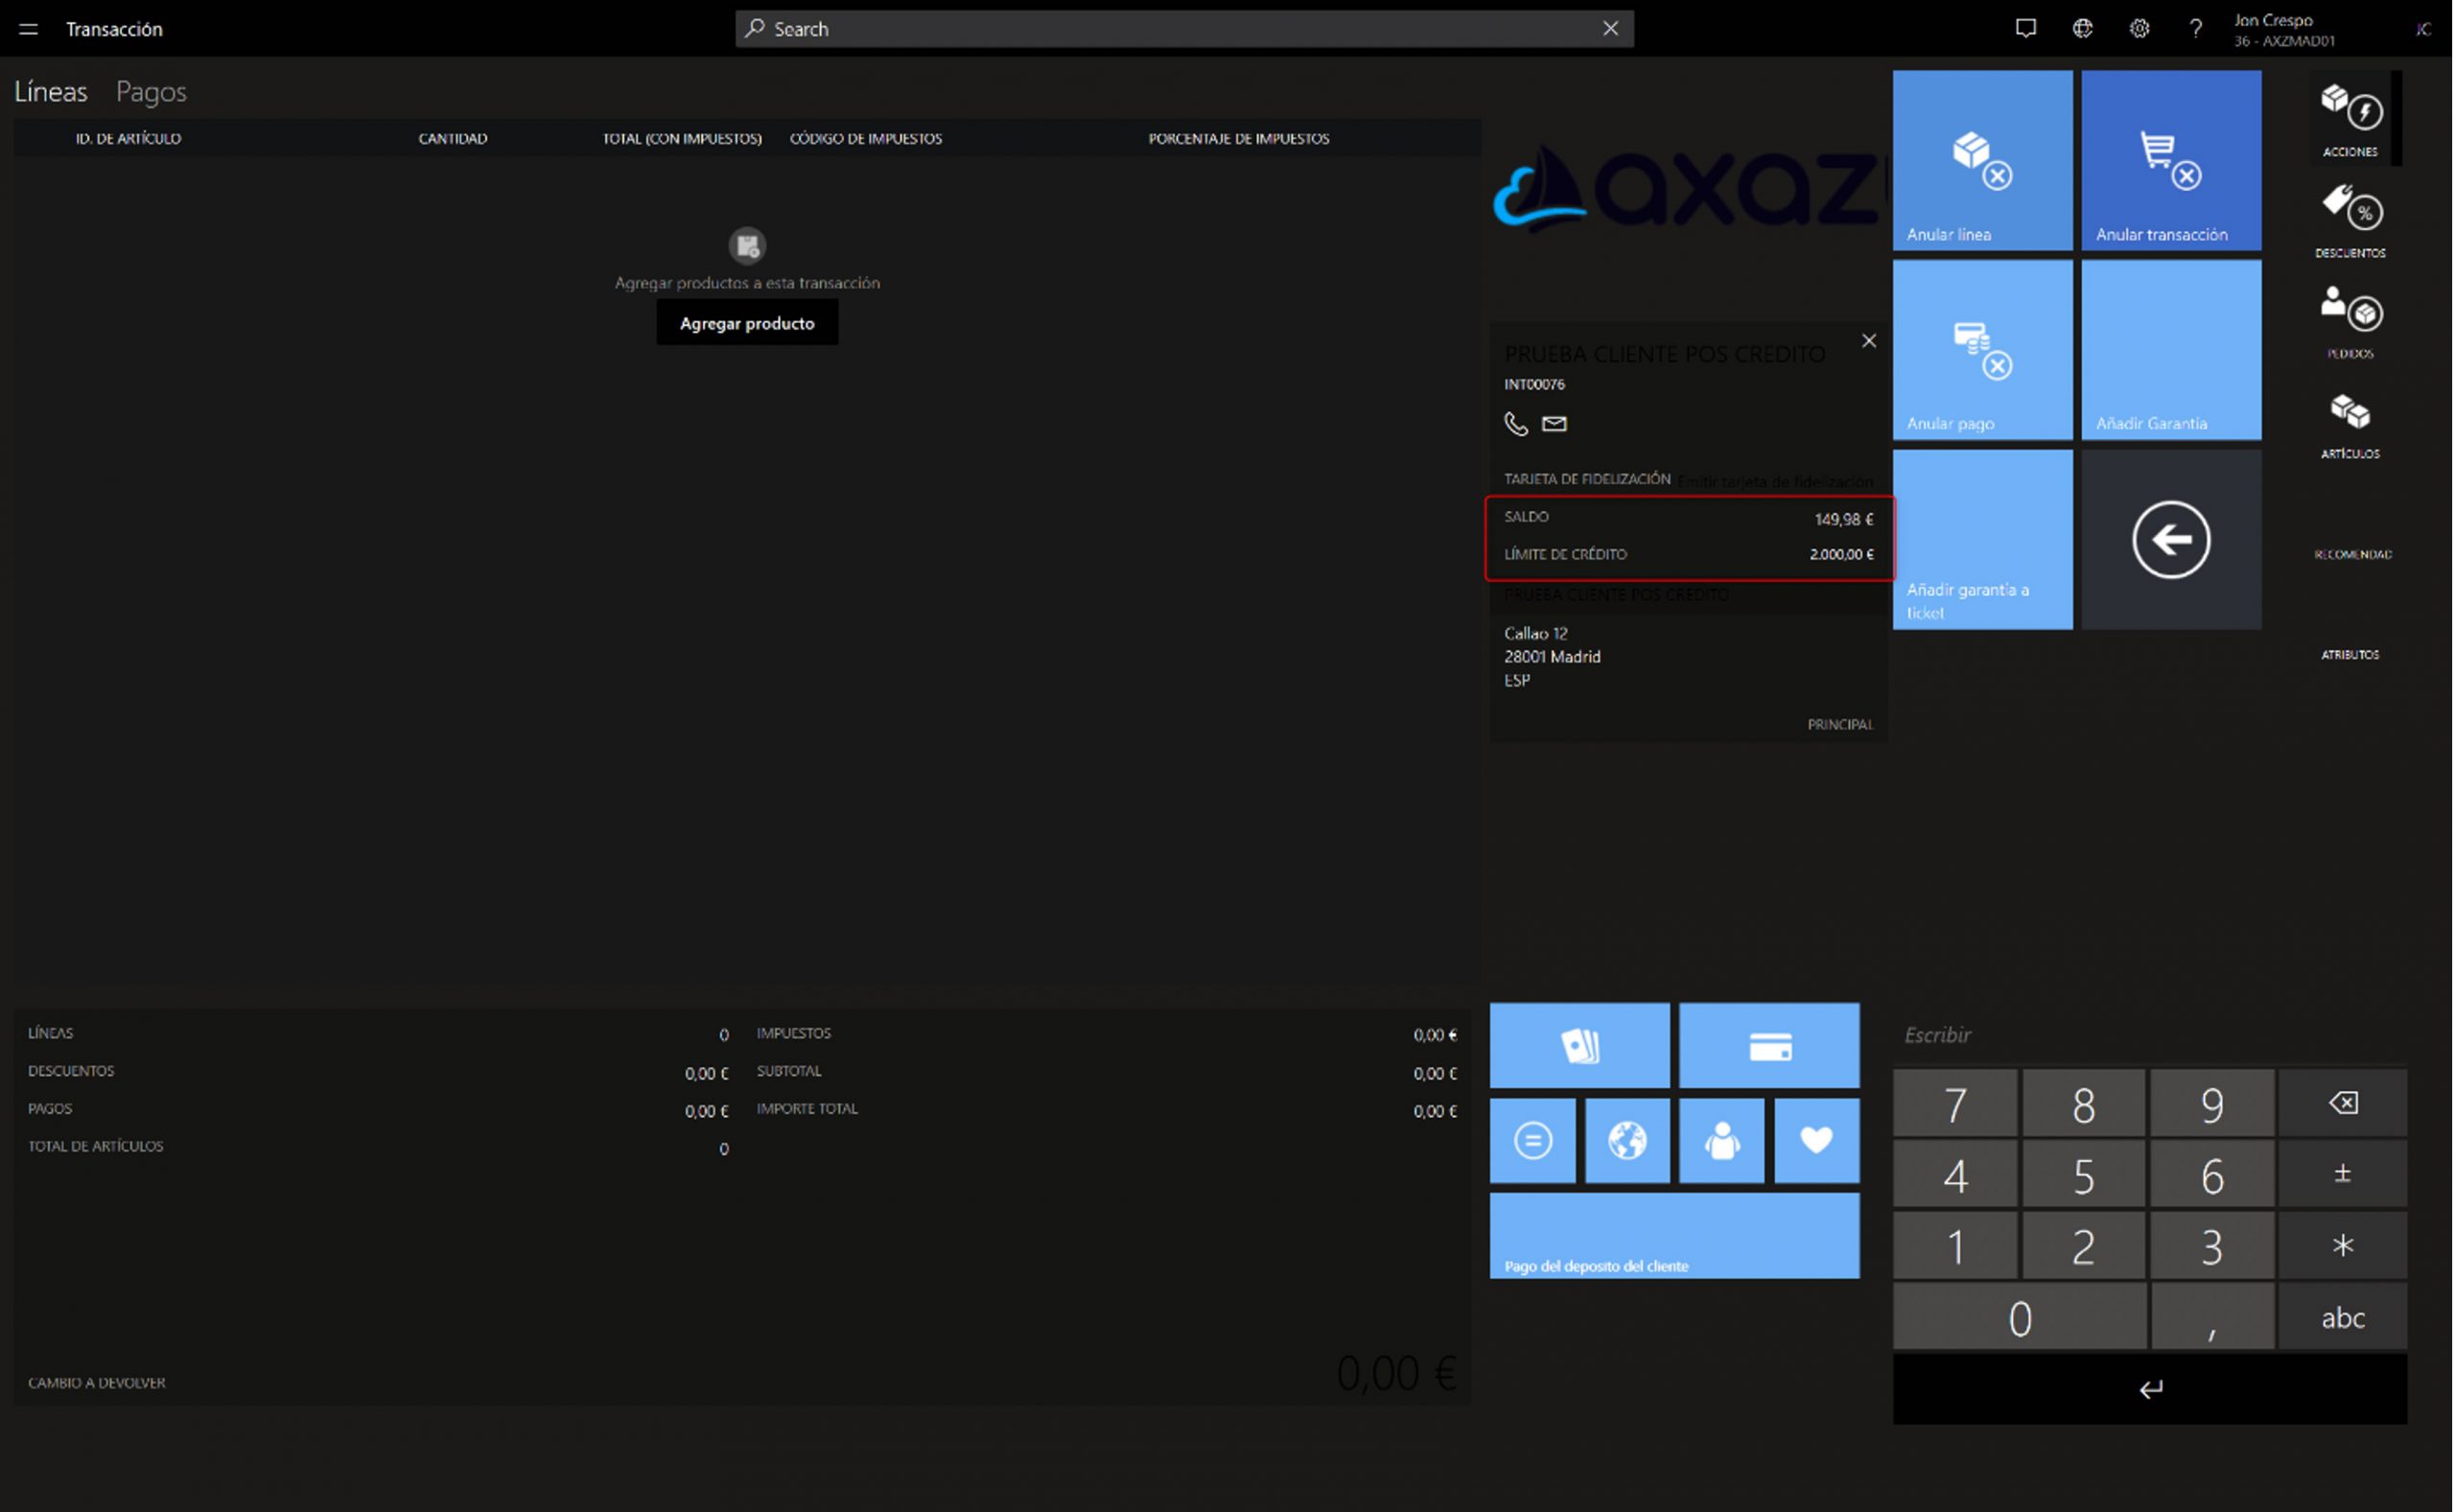
Payment of a Sales Order
In this example, instead of using the receipts functionality, we are going to see how this payment method behaves in Sales Orders. To do this, we create a sales order in the POS for our customer in the example. And we consult the customer’s balance.
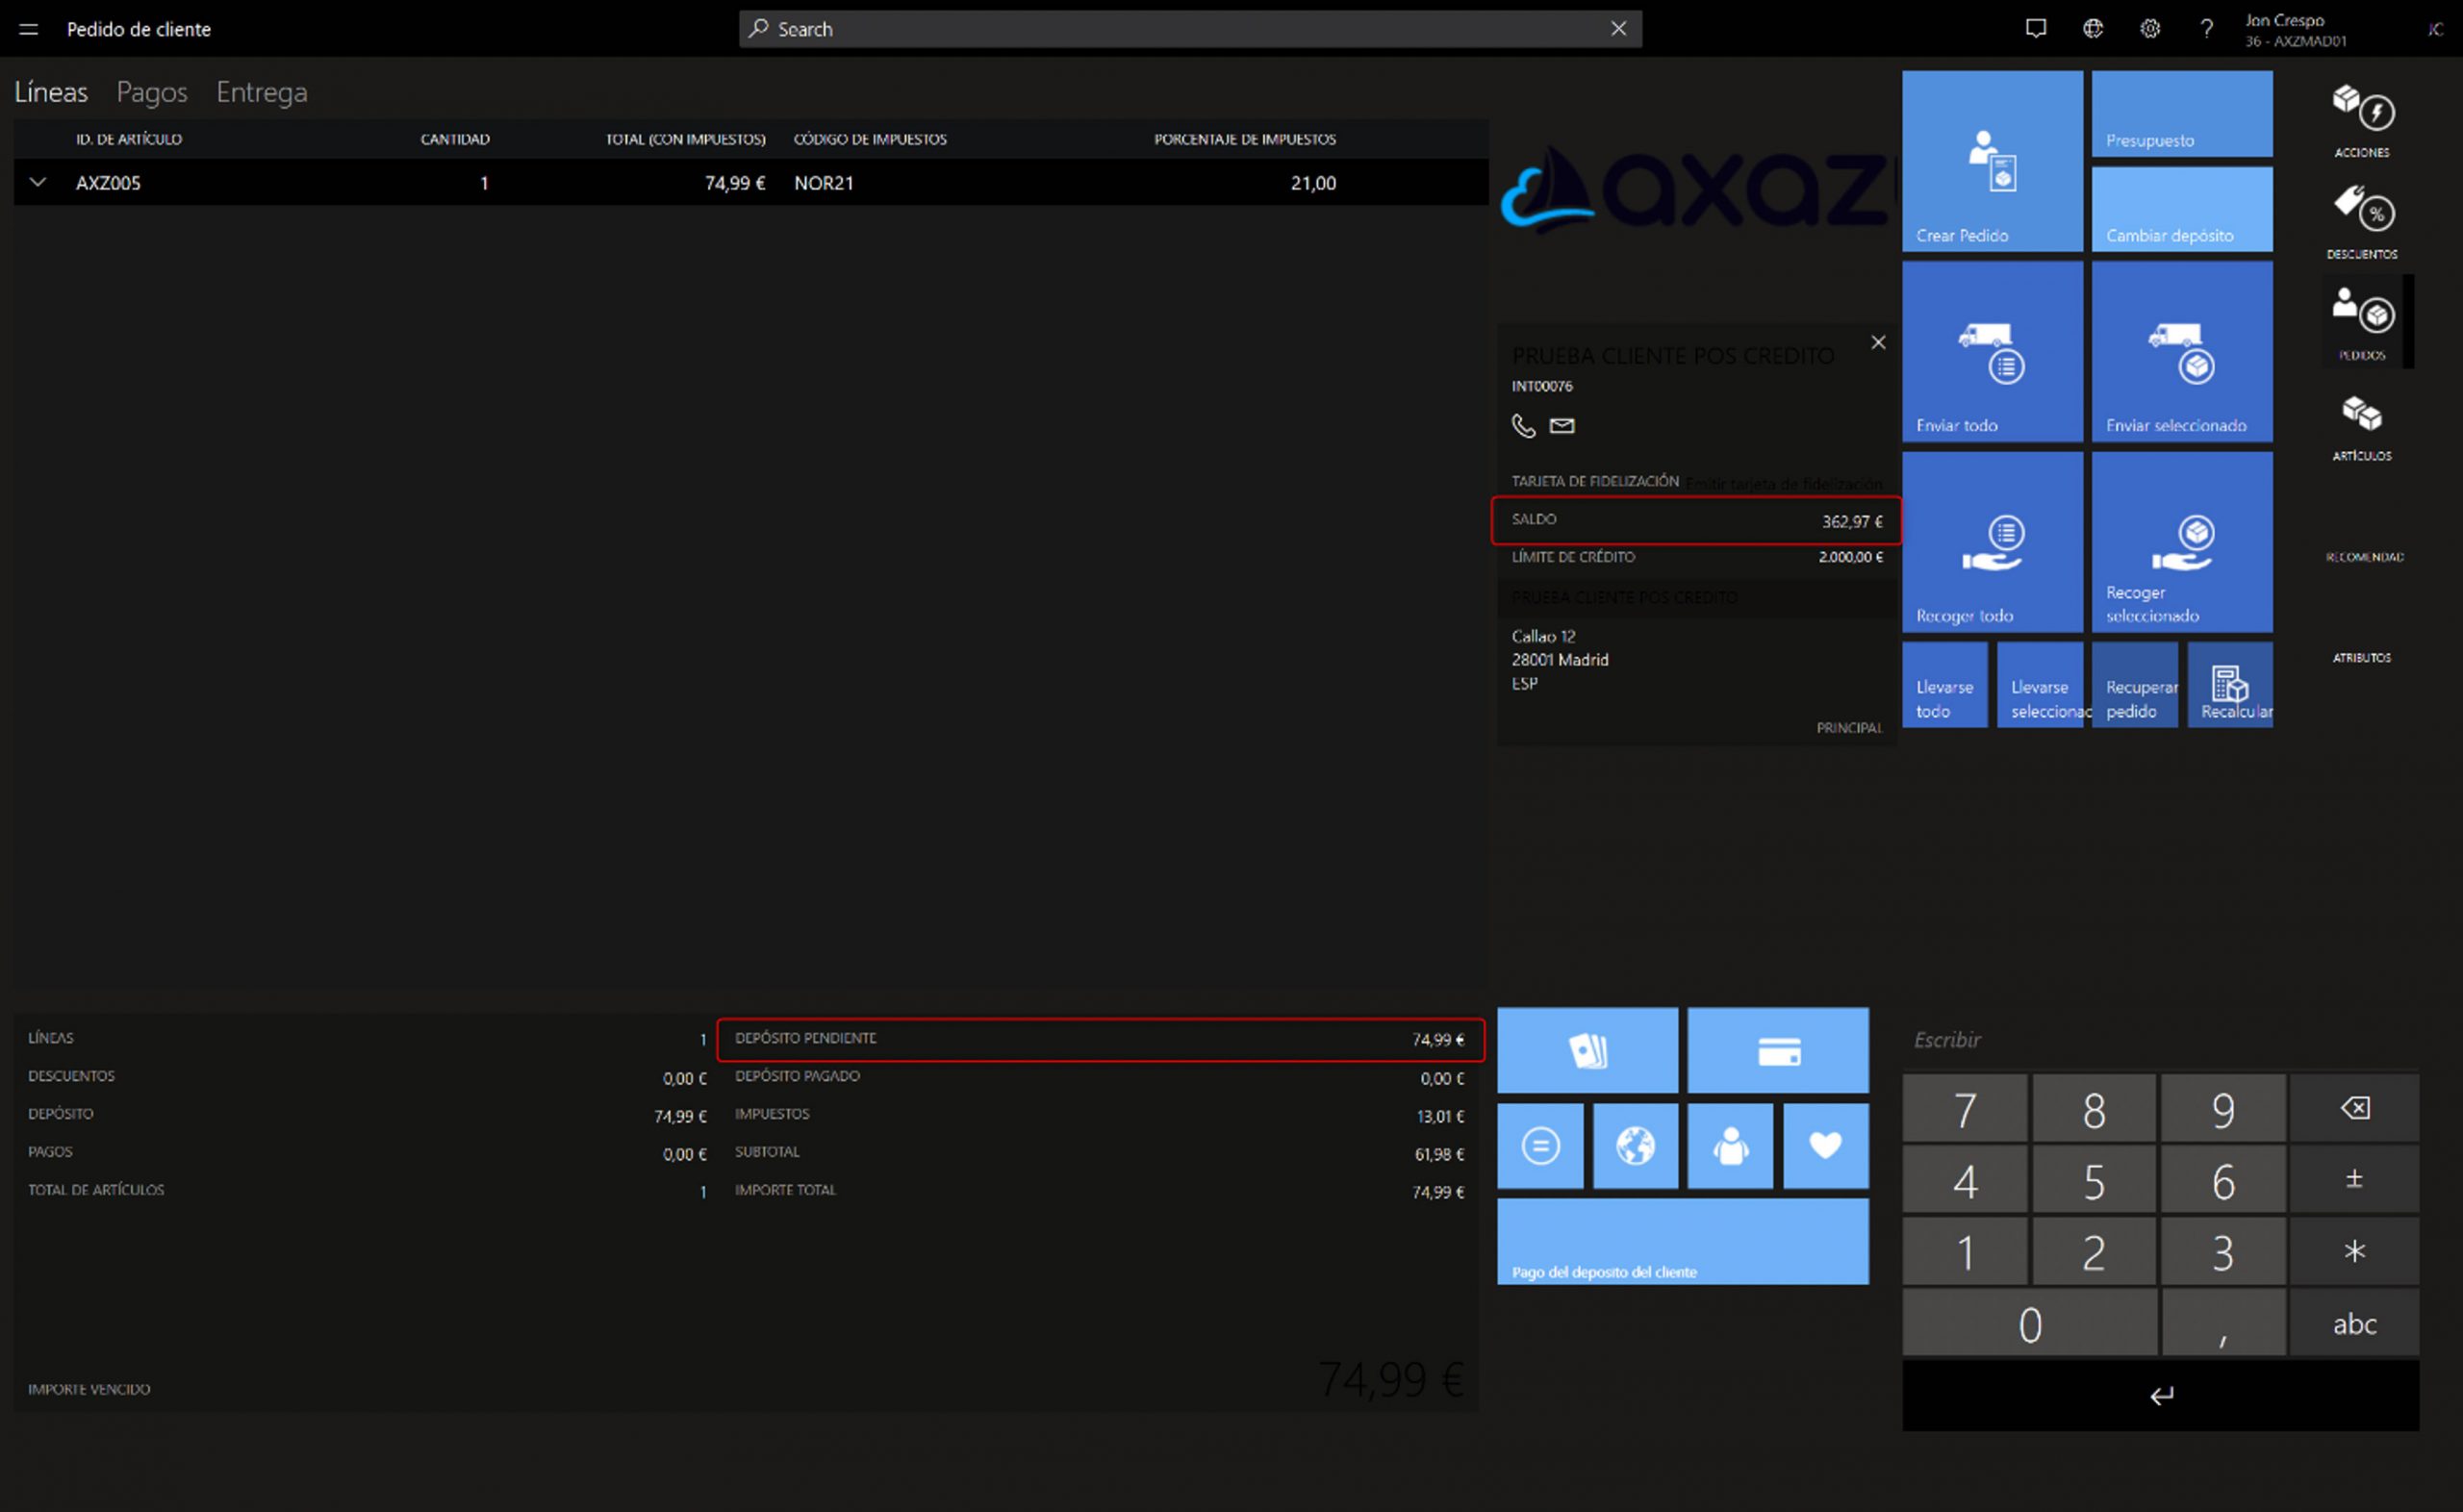
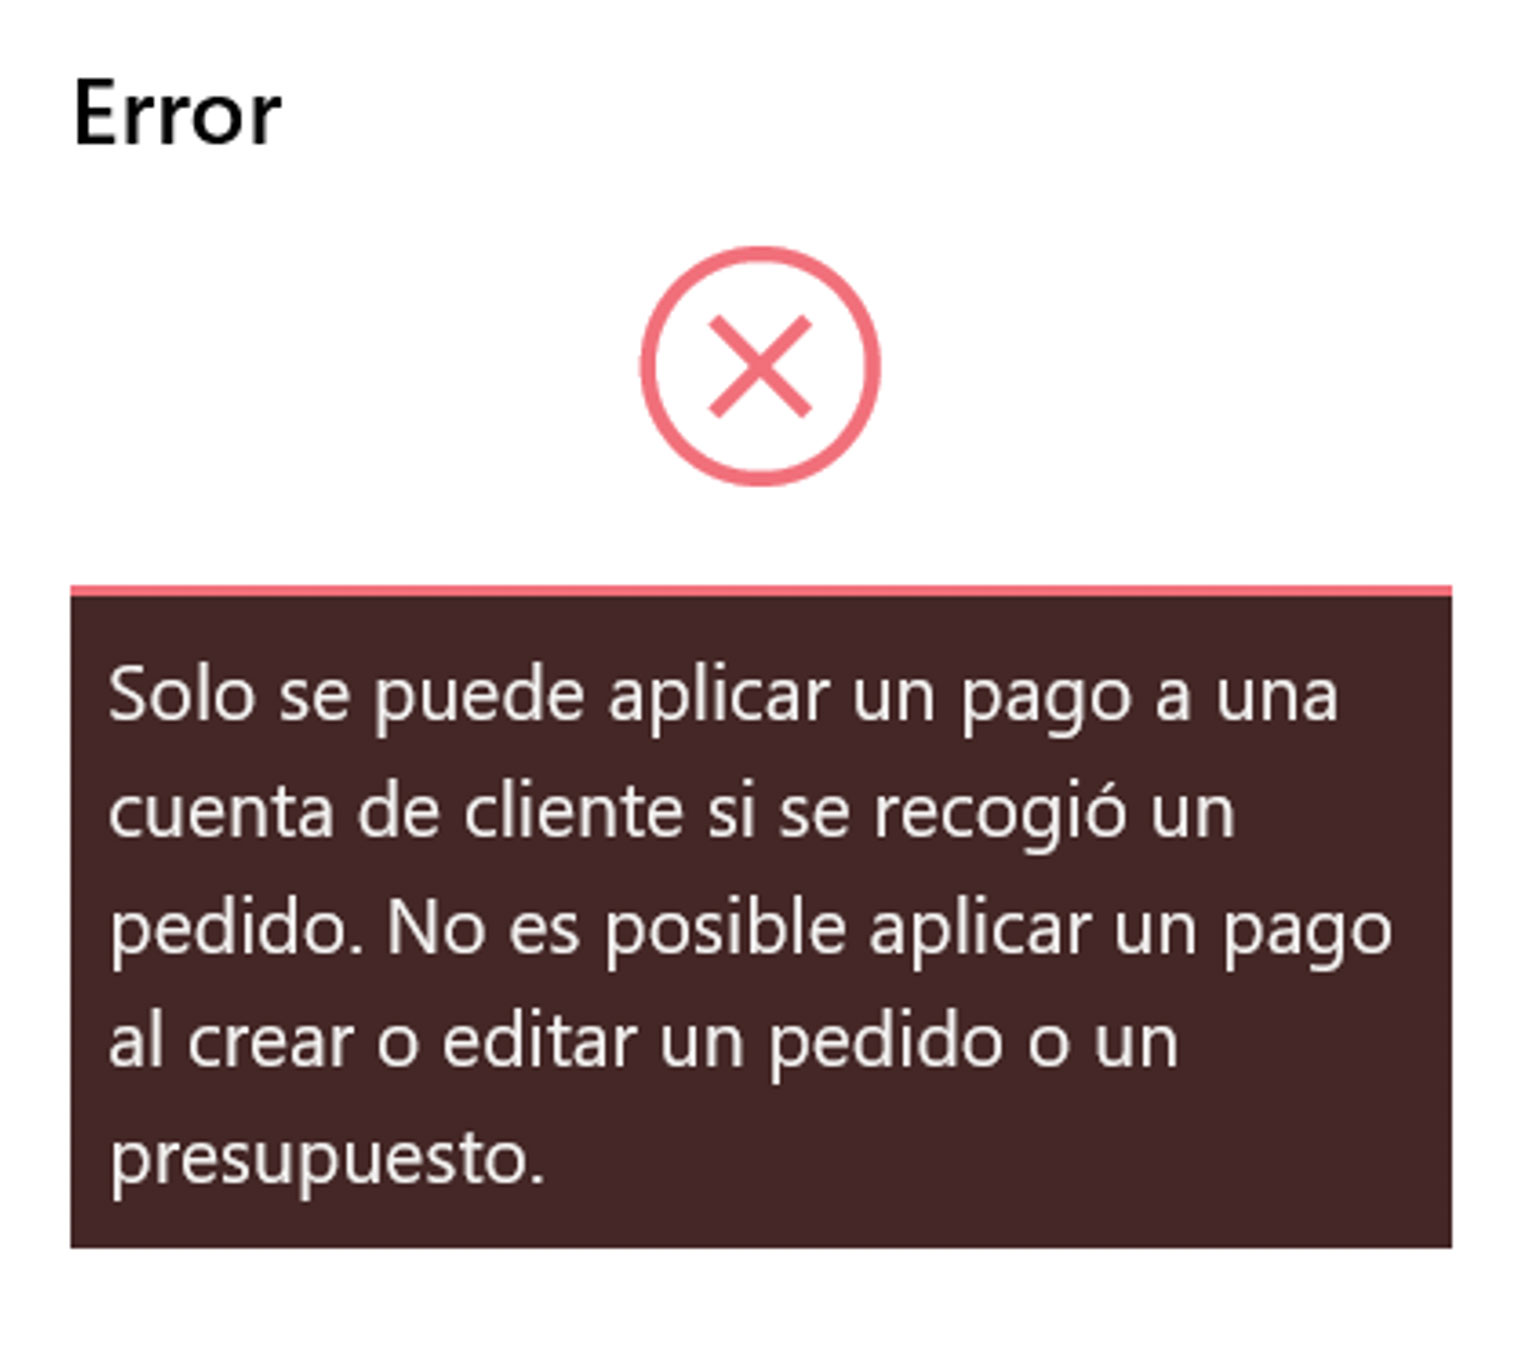
In the deposit payment process that is left when creating a sales order, it is not possible to pay by credit as this would not make sense.
Rather, the credit payment process is actually done by putting down a deposit of 0.00€.
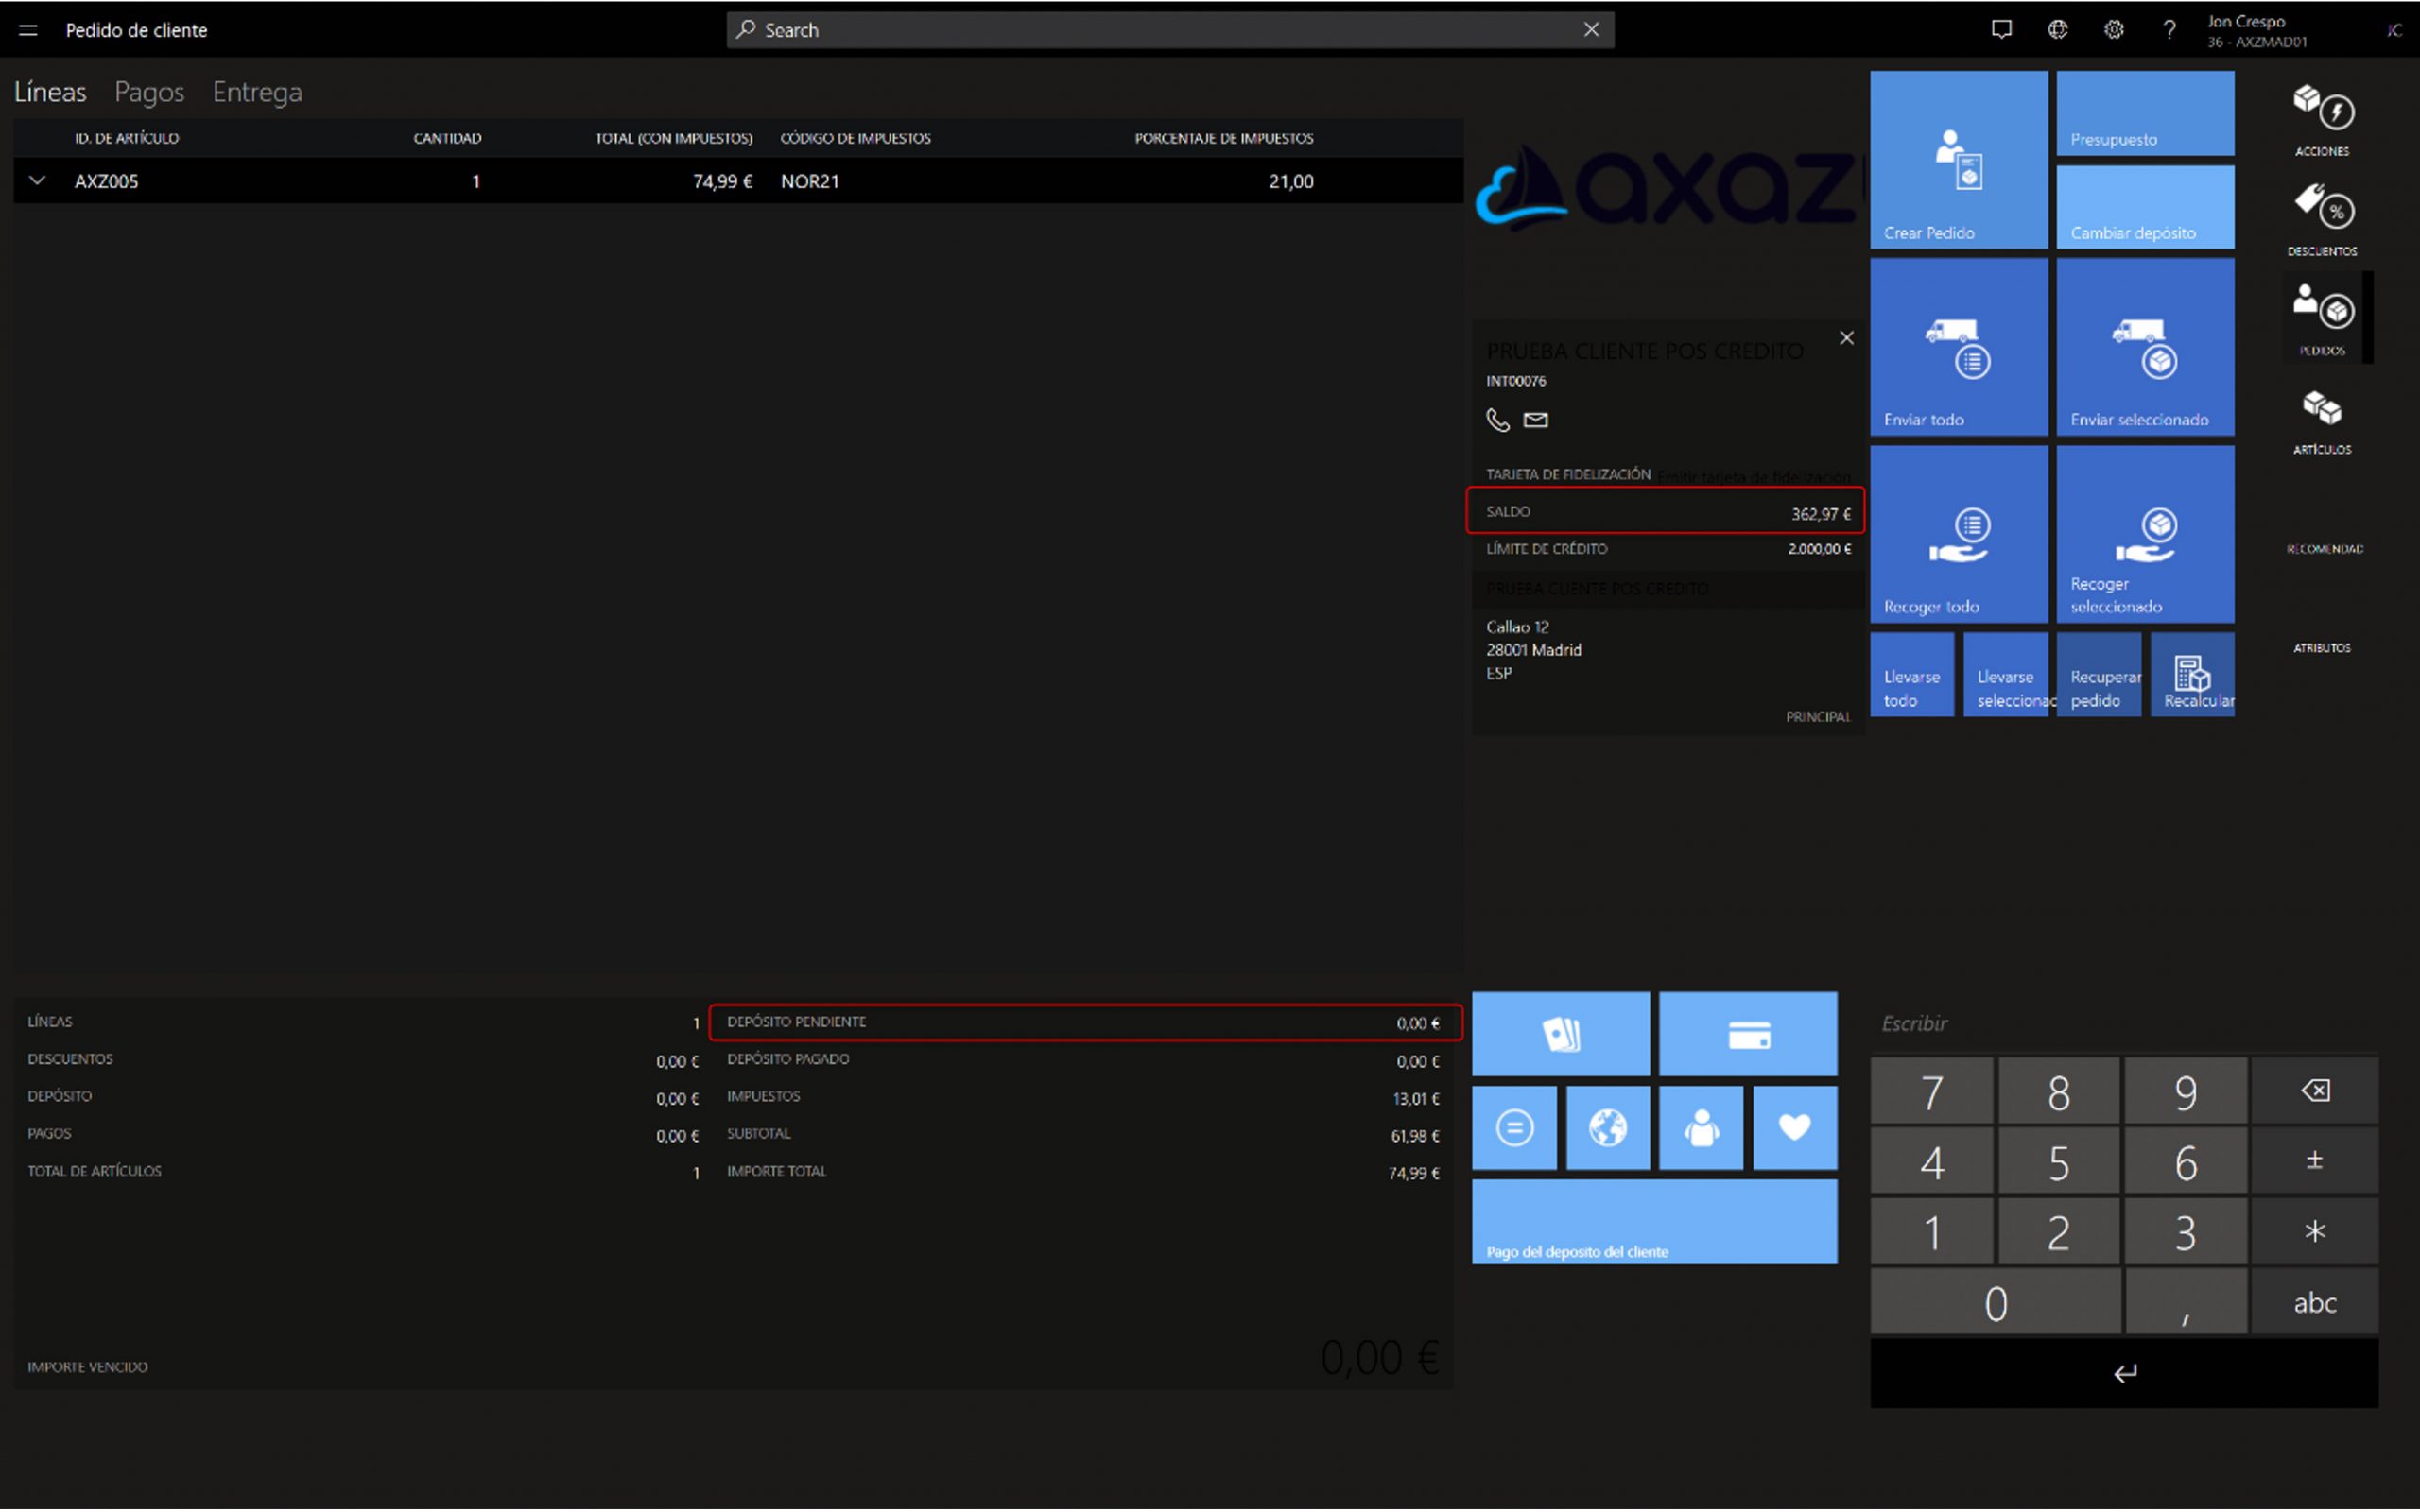
If we now consult the balance, we can see that this deposit of €0.00 has worked as if it were paid on credit, and we can see how the balance has increased.
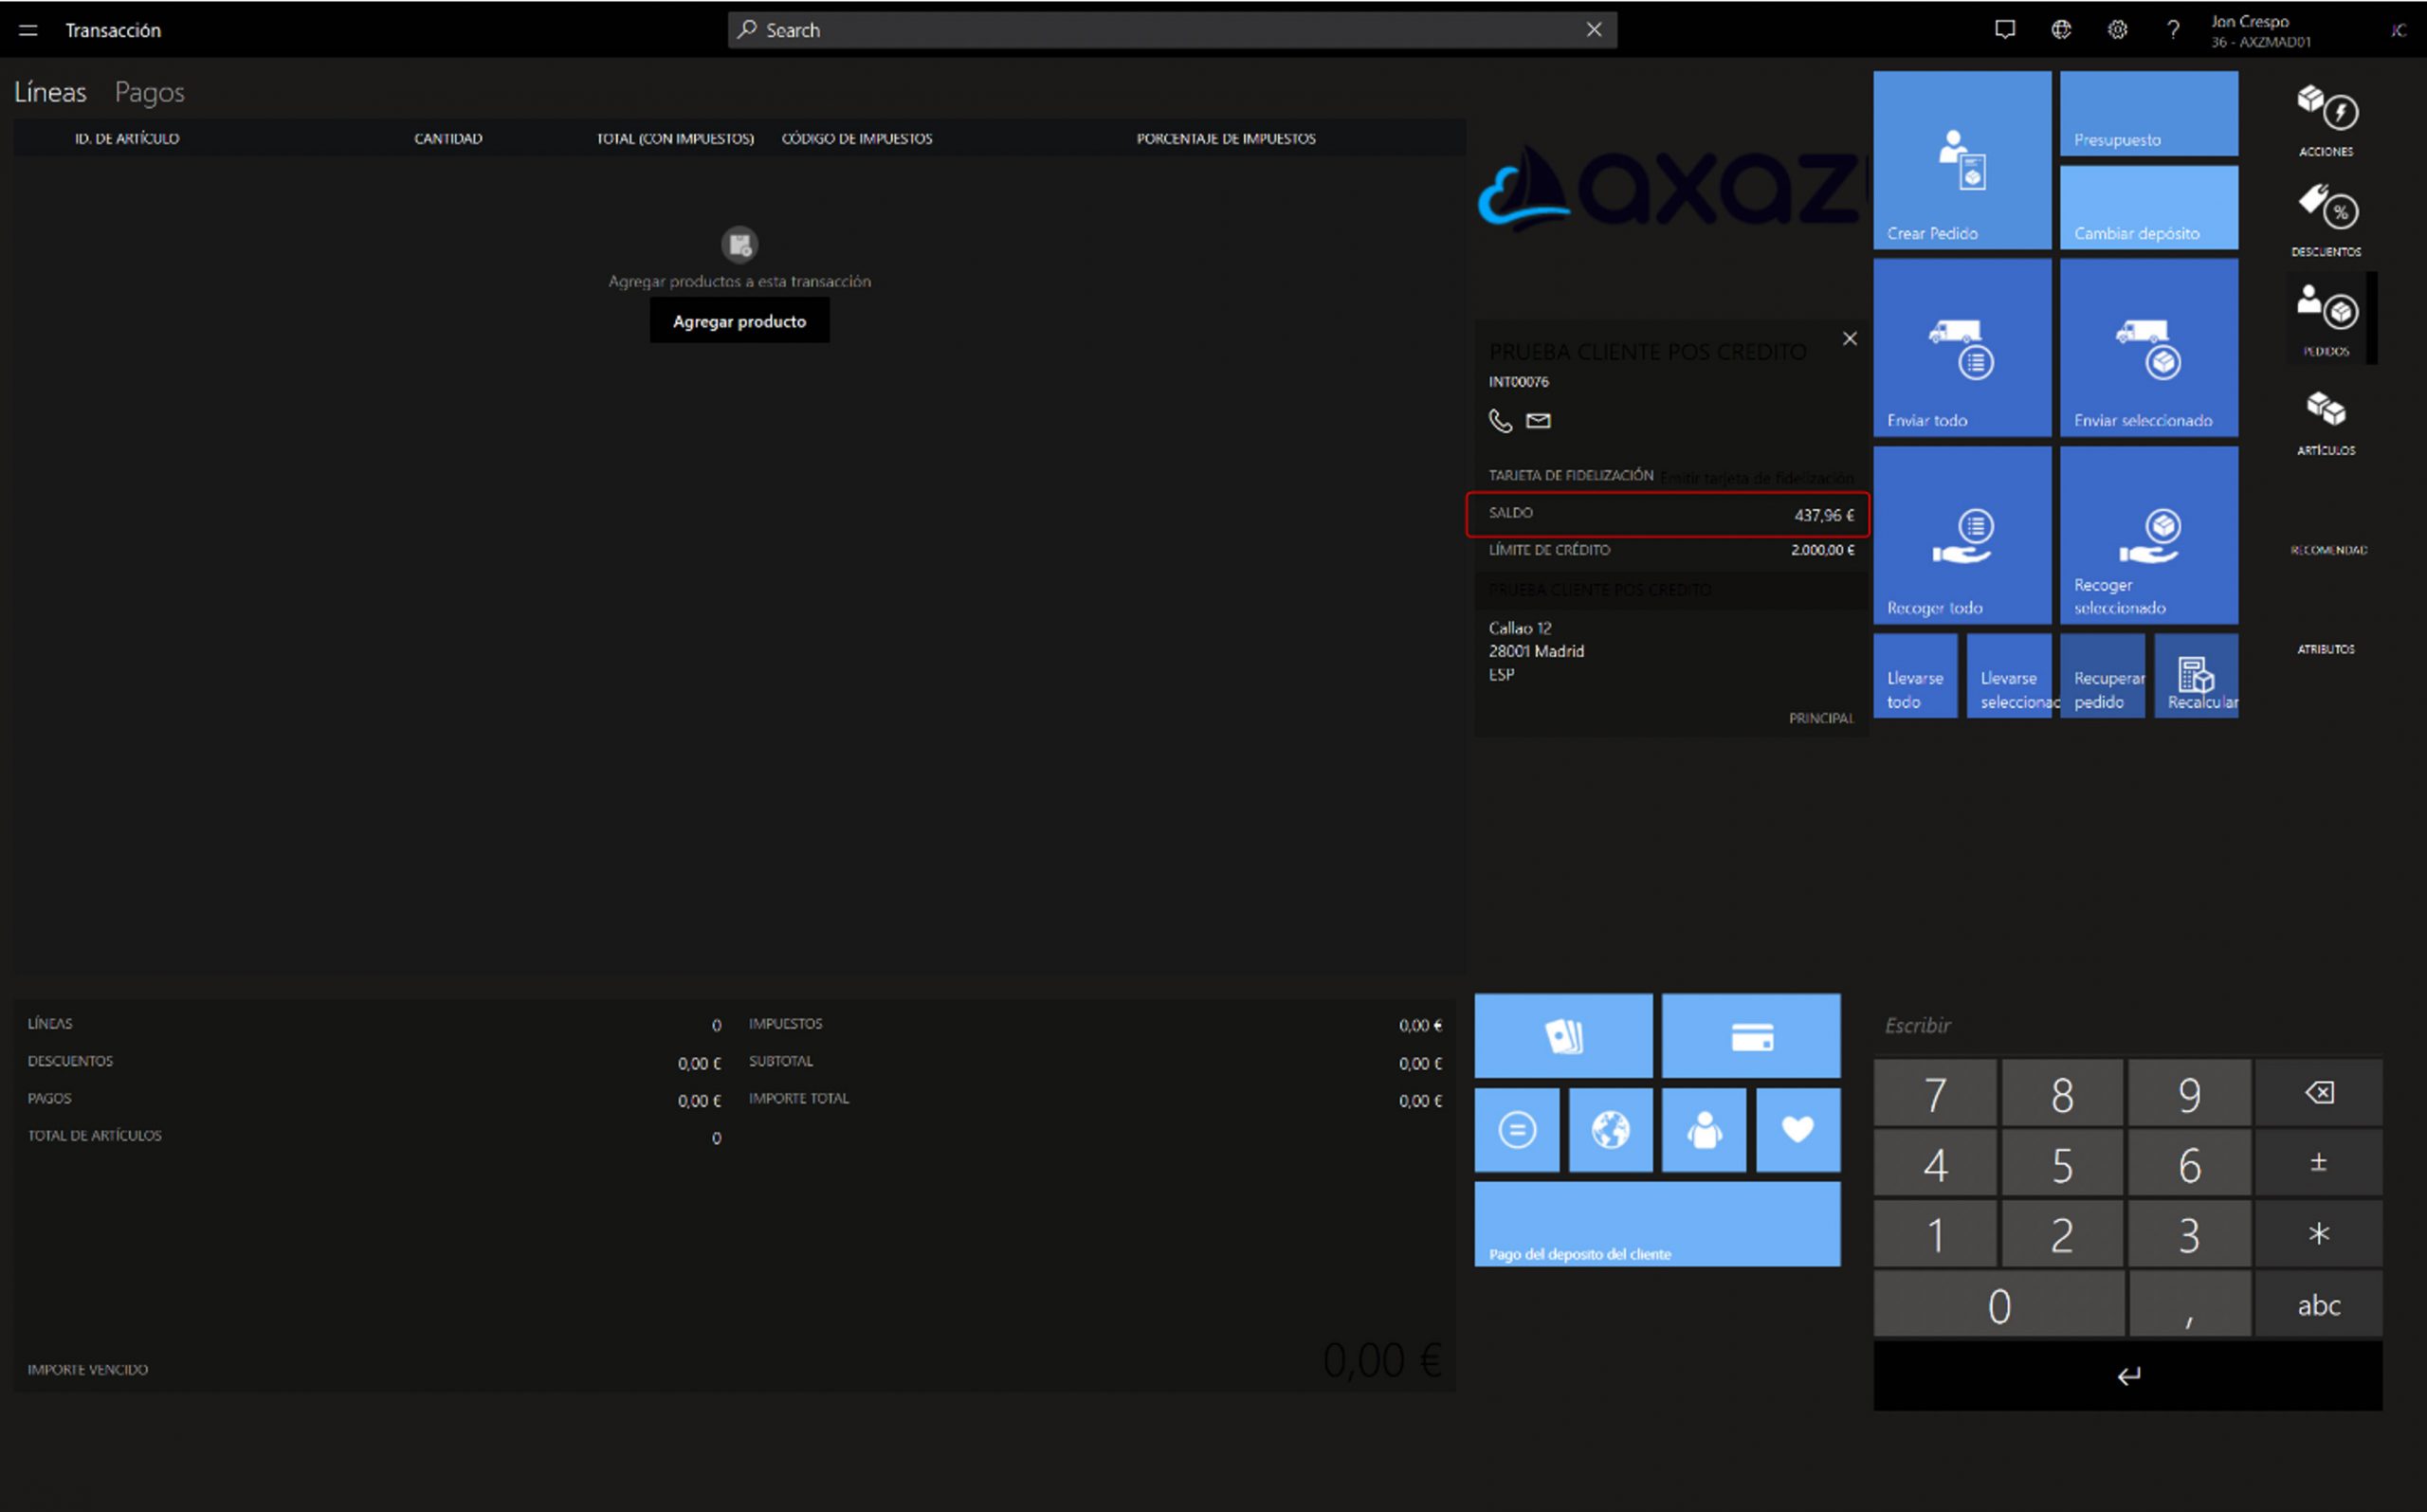
When completing the operation, there are two modalities:
- Shipment of the goods: the system does not ask about the payment, so this increased balance will remain.
- Pick up in shop: the system allows me to complete the payment.
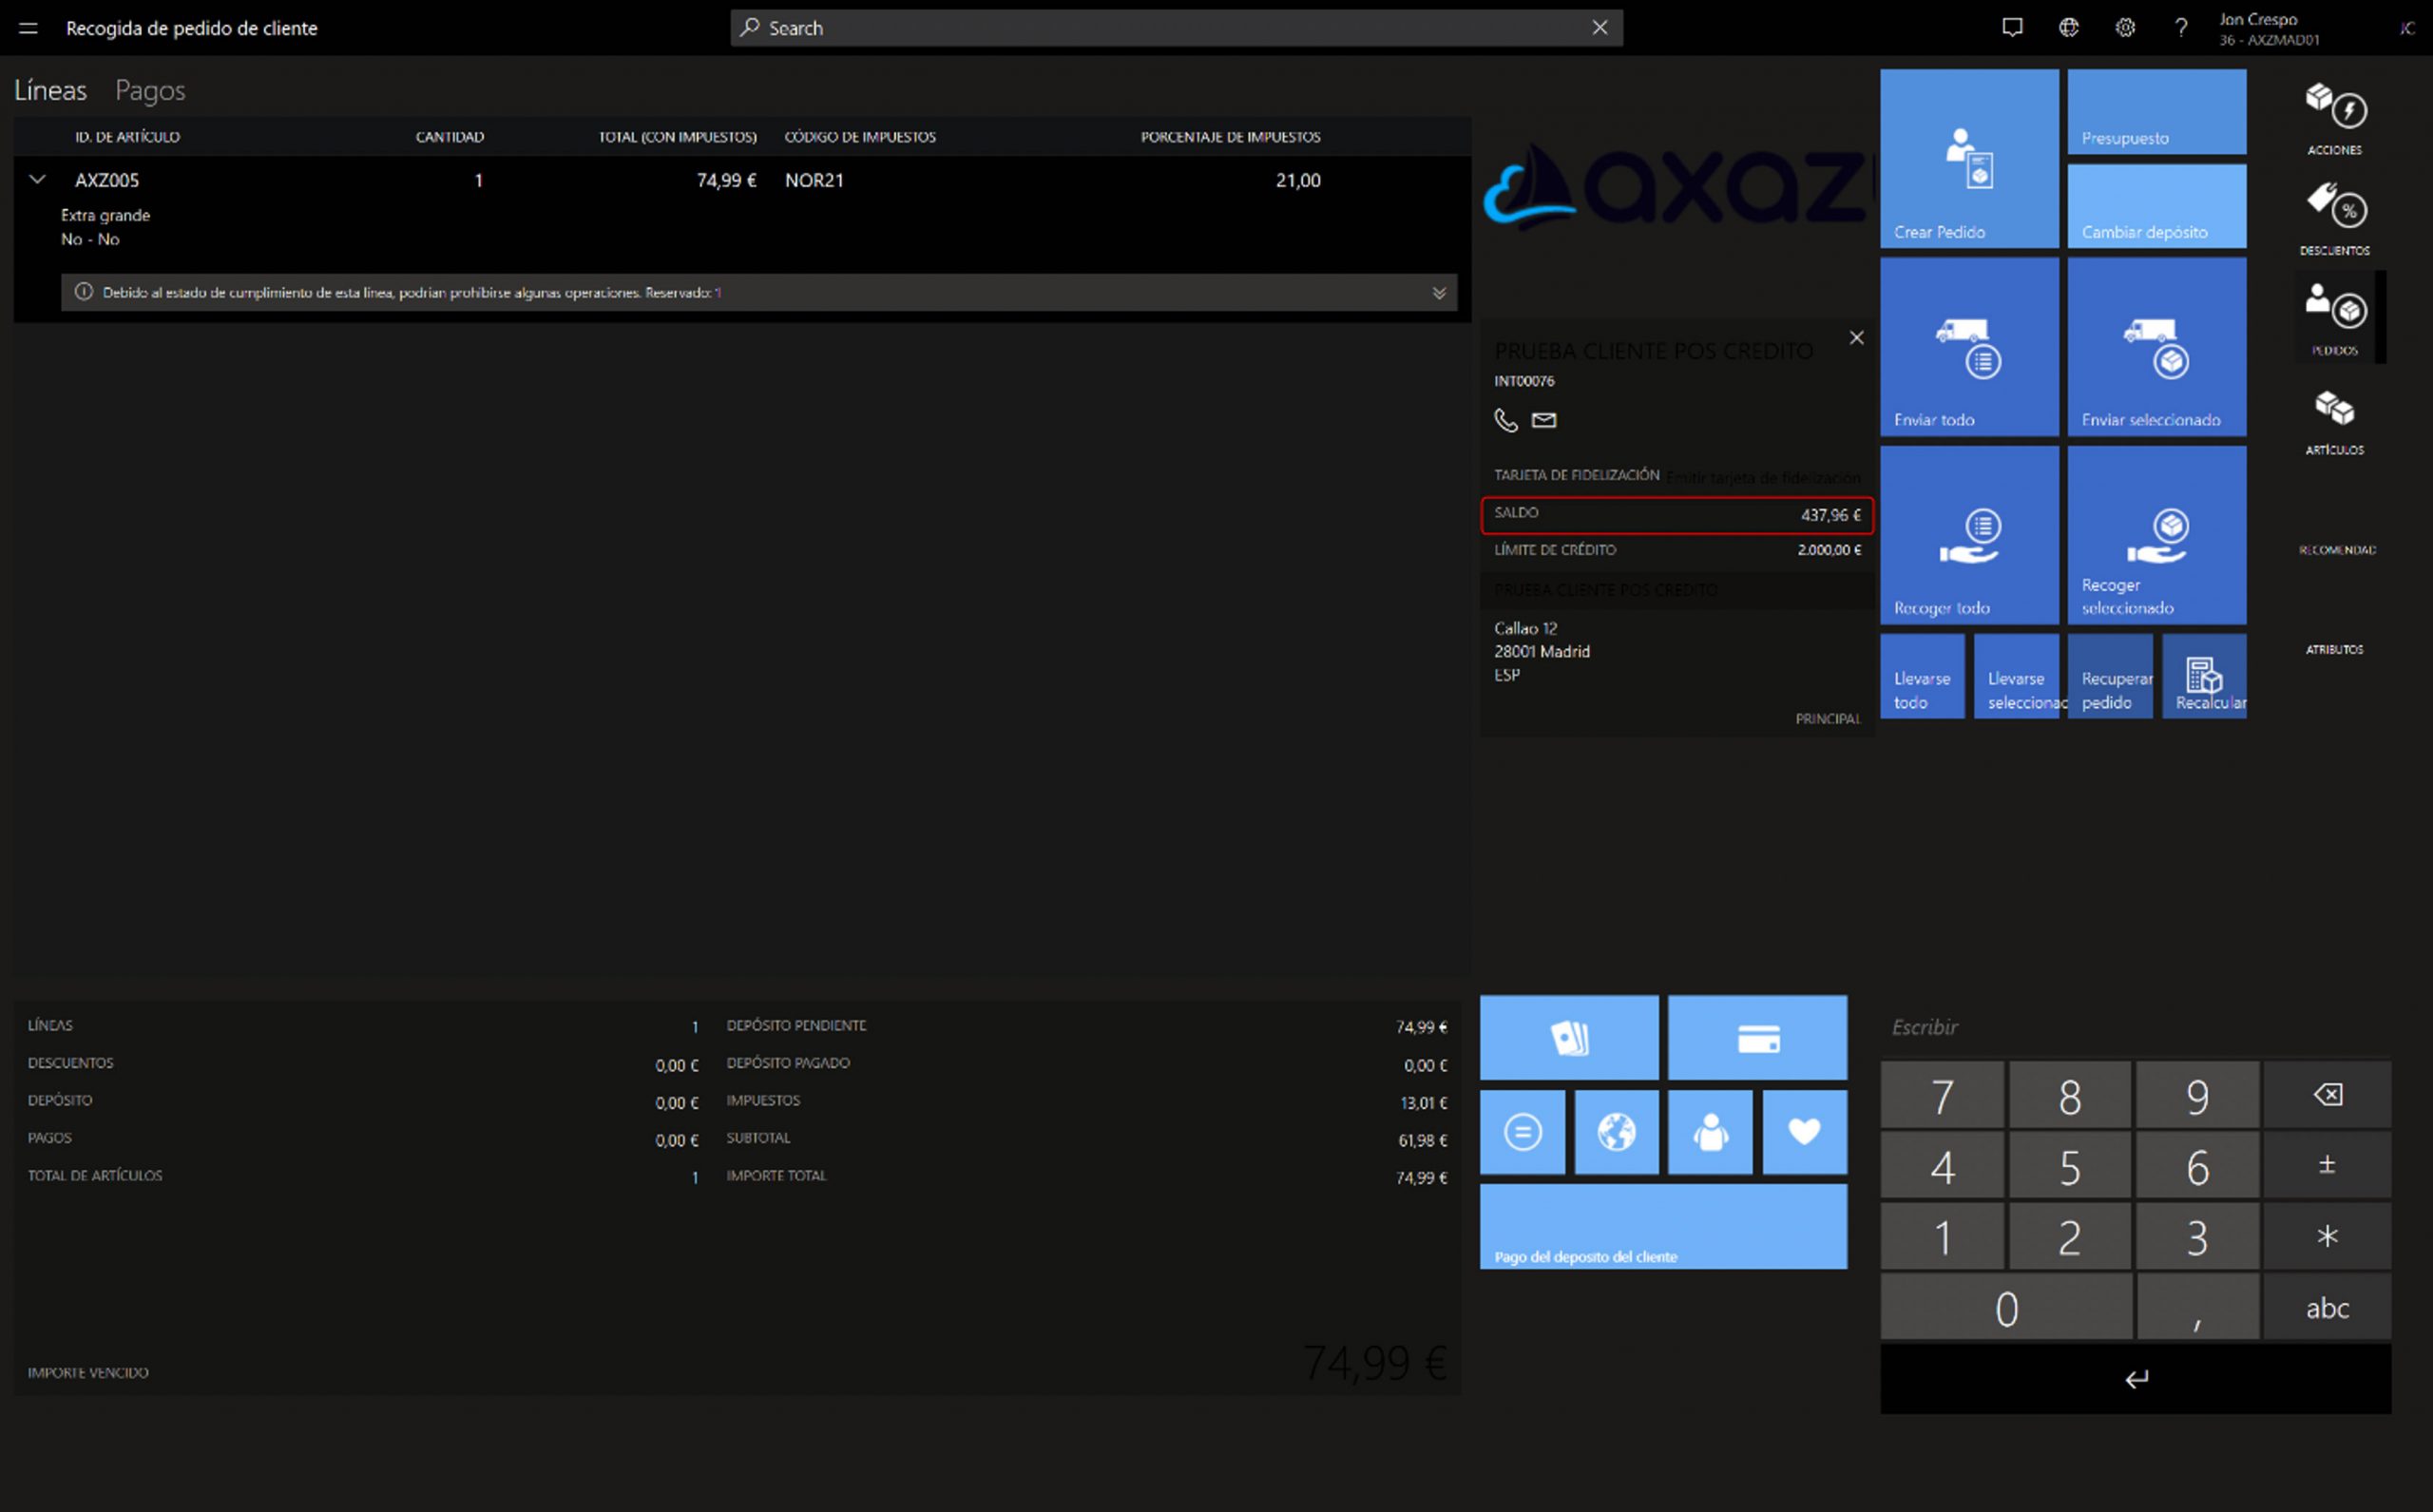
For collection orders, when indicating the method of payment, we can indicate the Credit payment method, which means that the balance calculated by the system does not change.
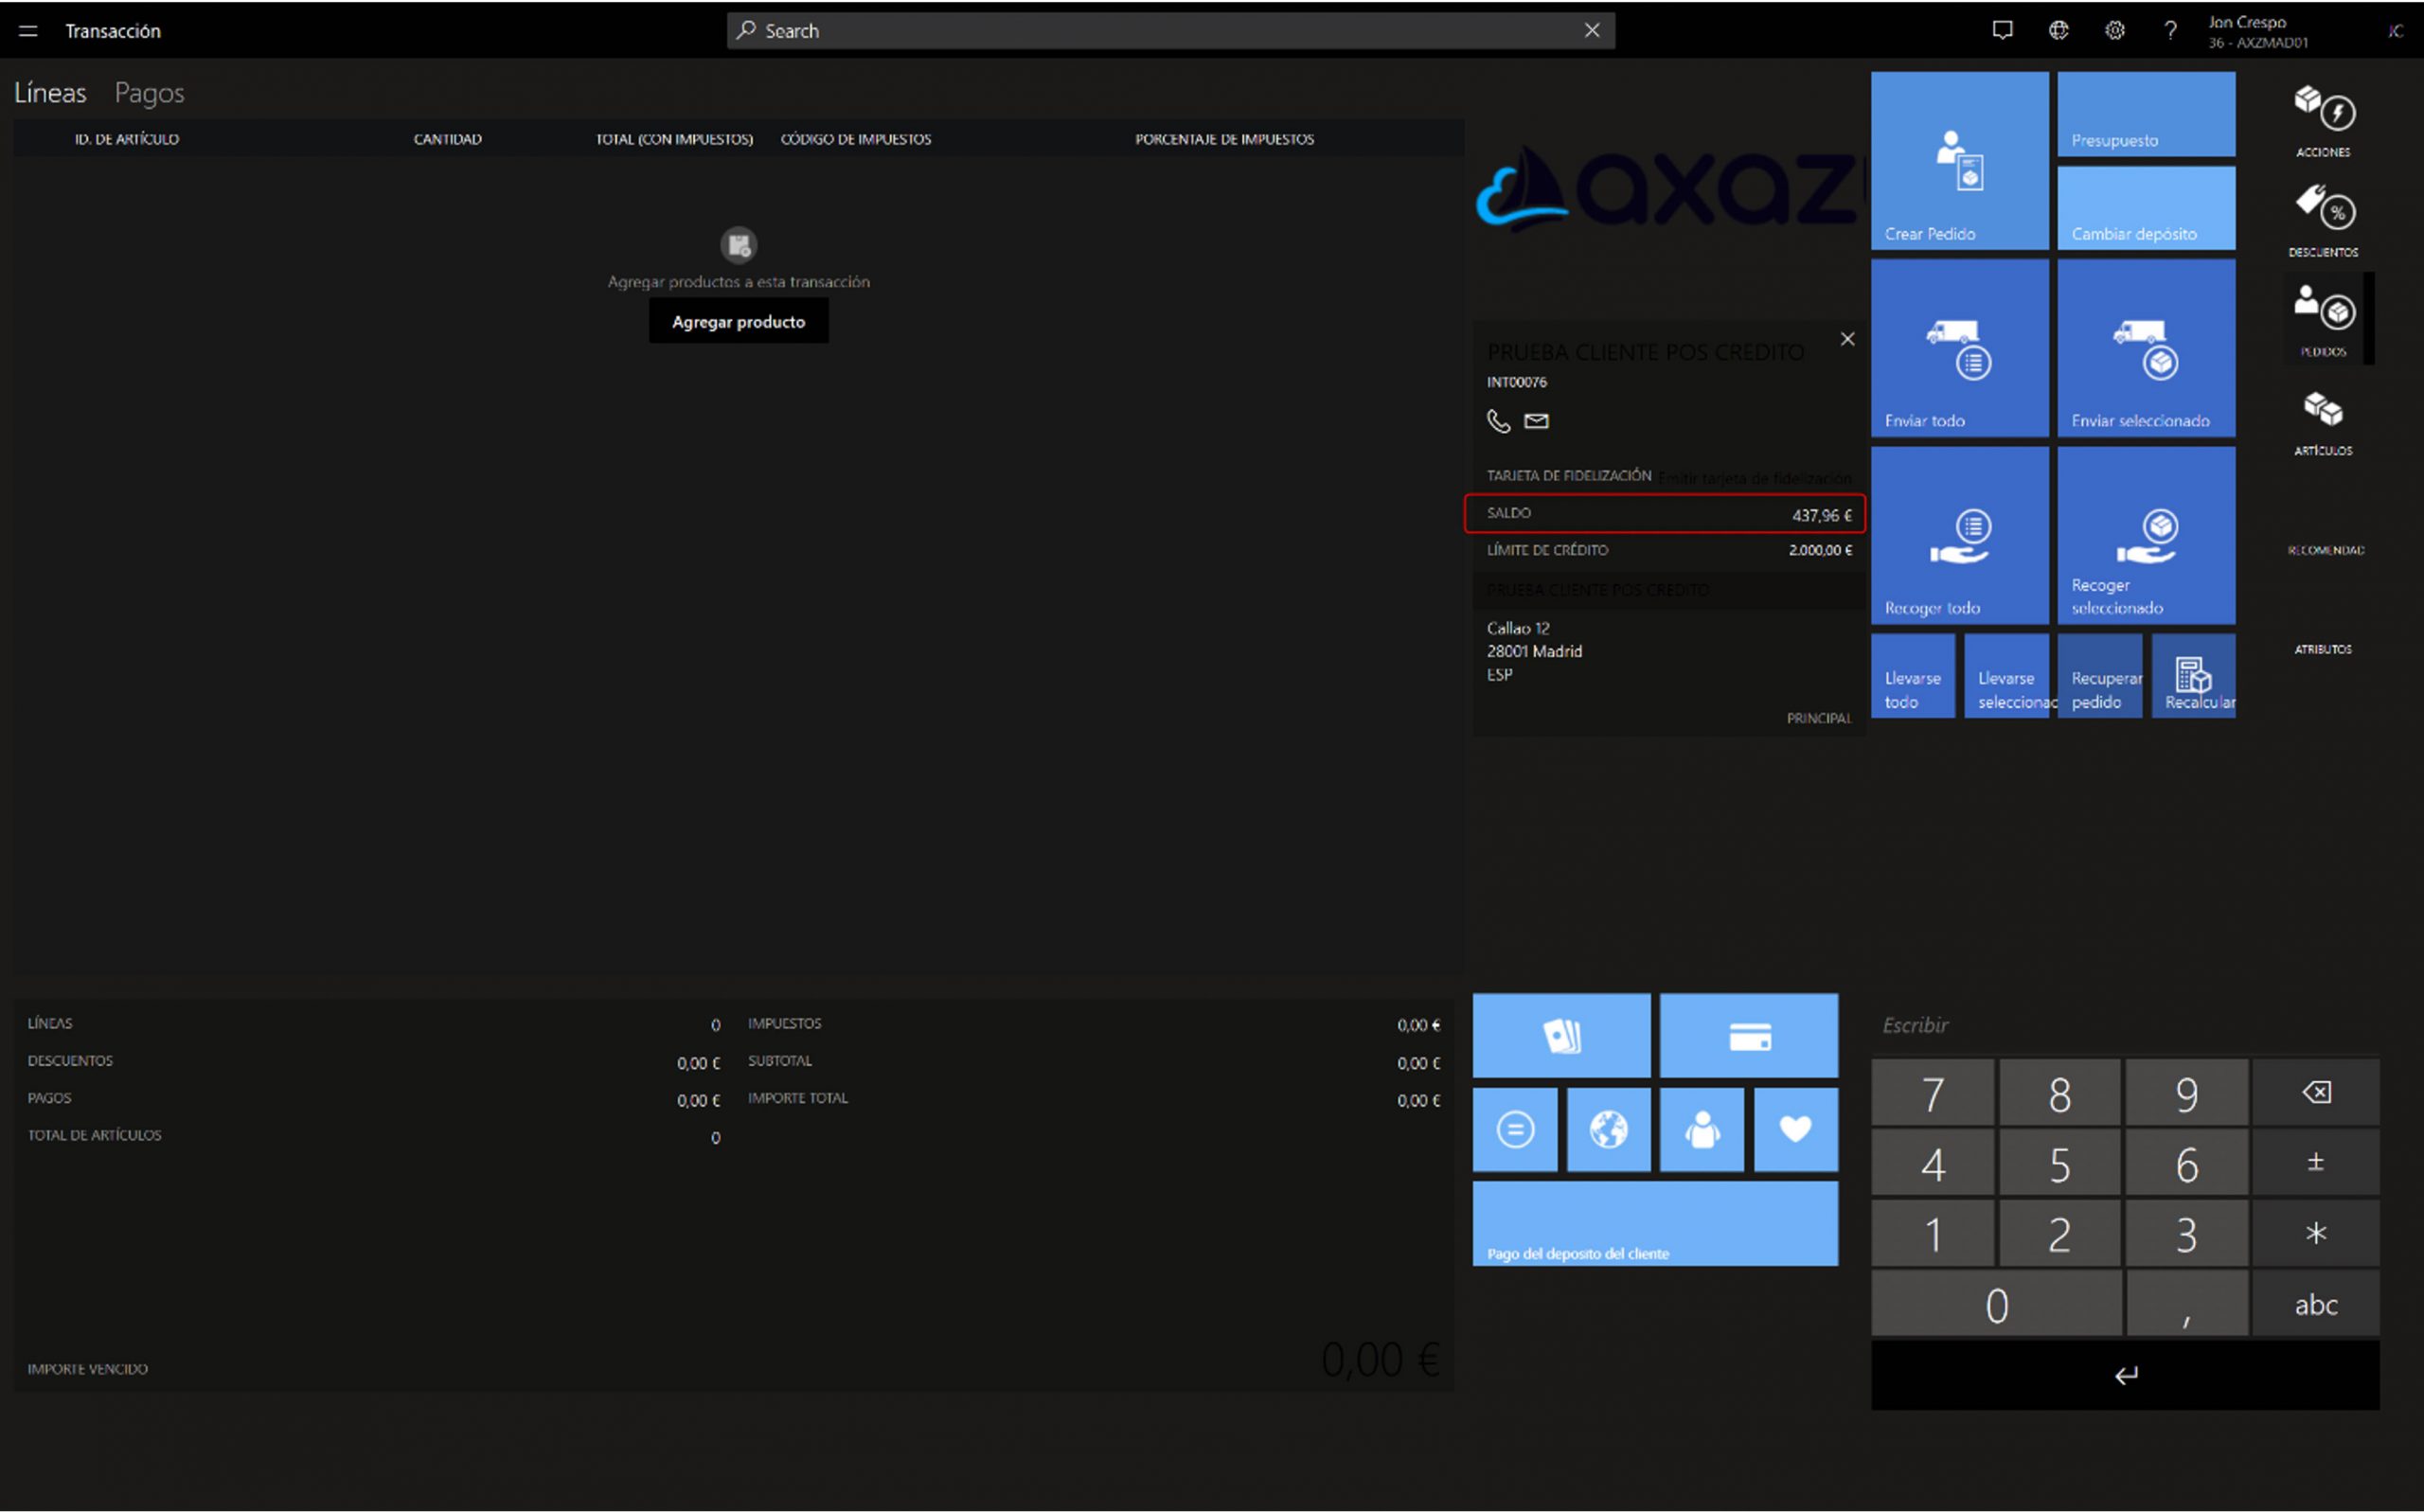
Payment of a customer’s balance
This example shows how to settle part or all of a customer’s open balance. To do this, the customer must be assigned to the sale. And if we want we can see the accumulated balance of the same, and click on the customer deposit payment button.
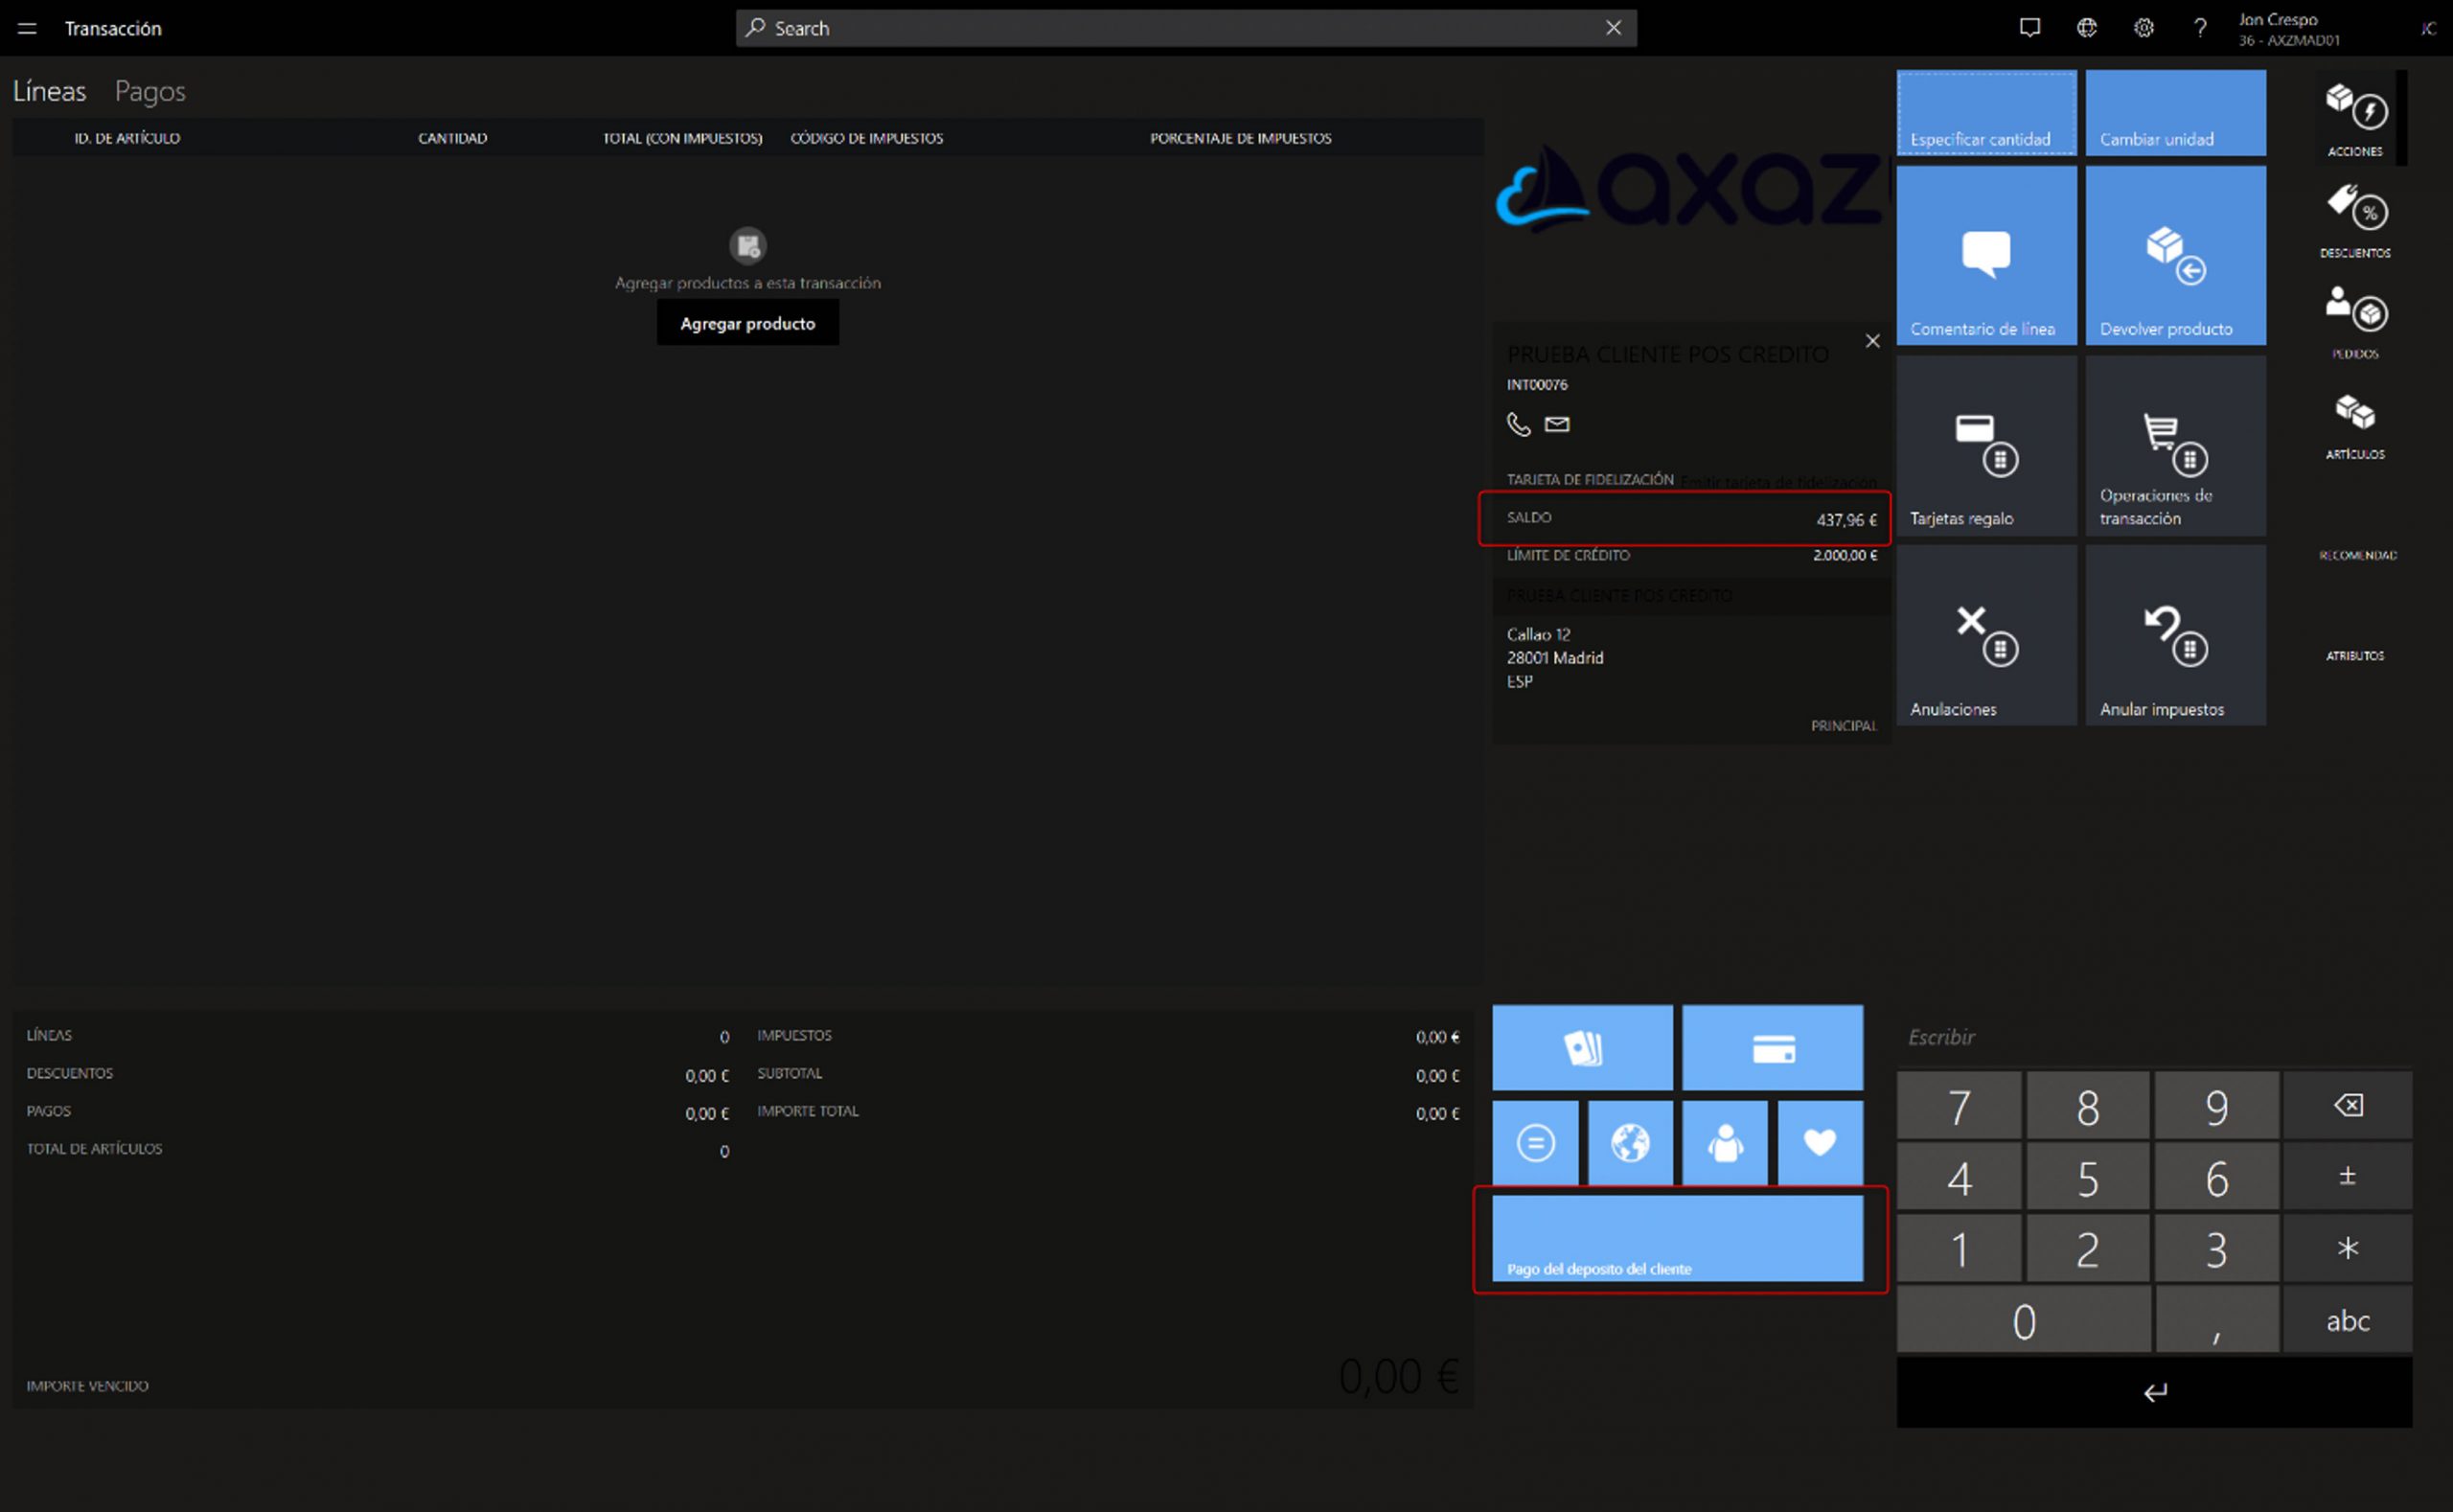
We indicate the amount the customer wishes to pay.
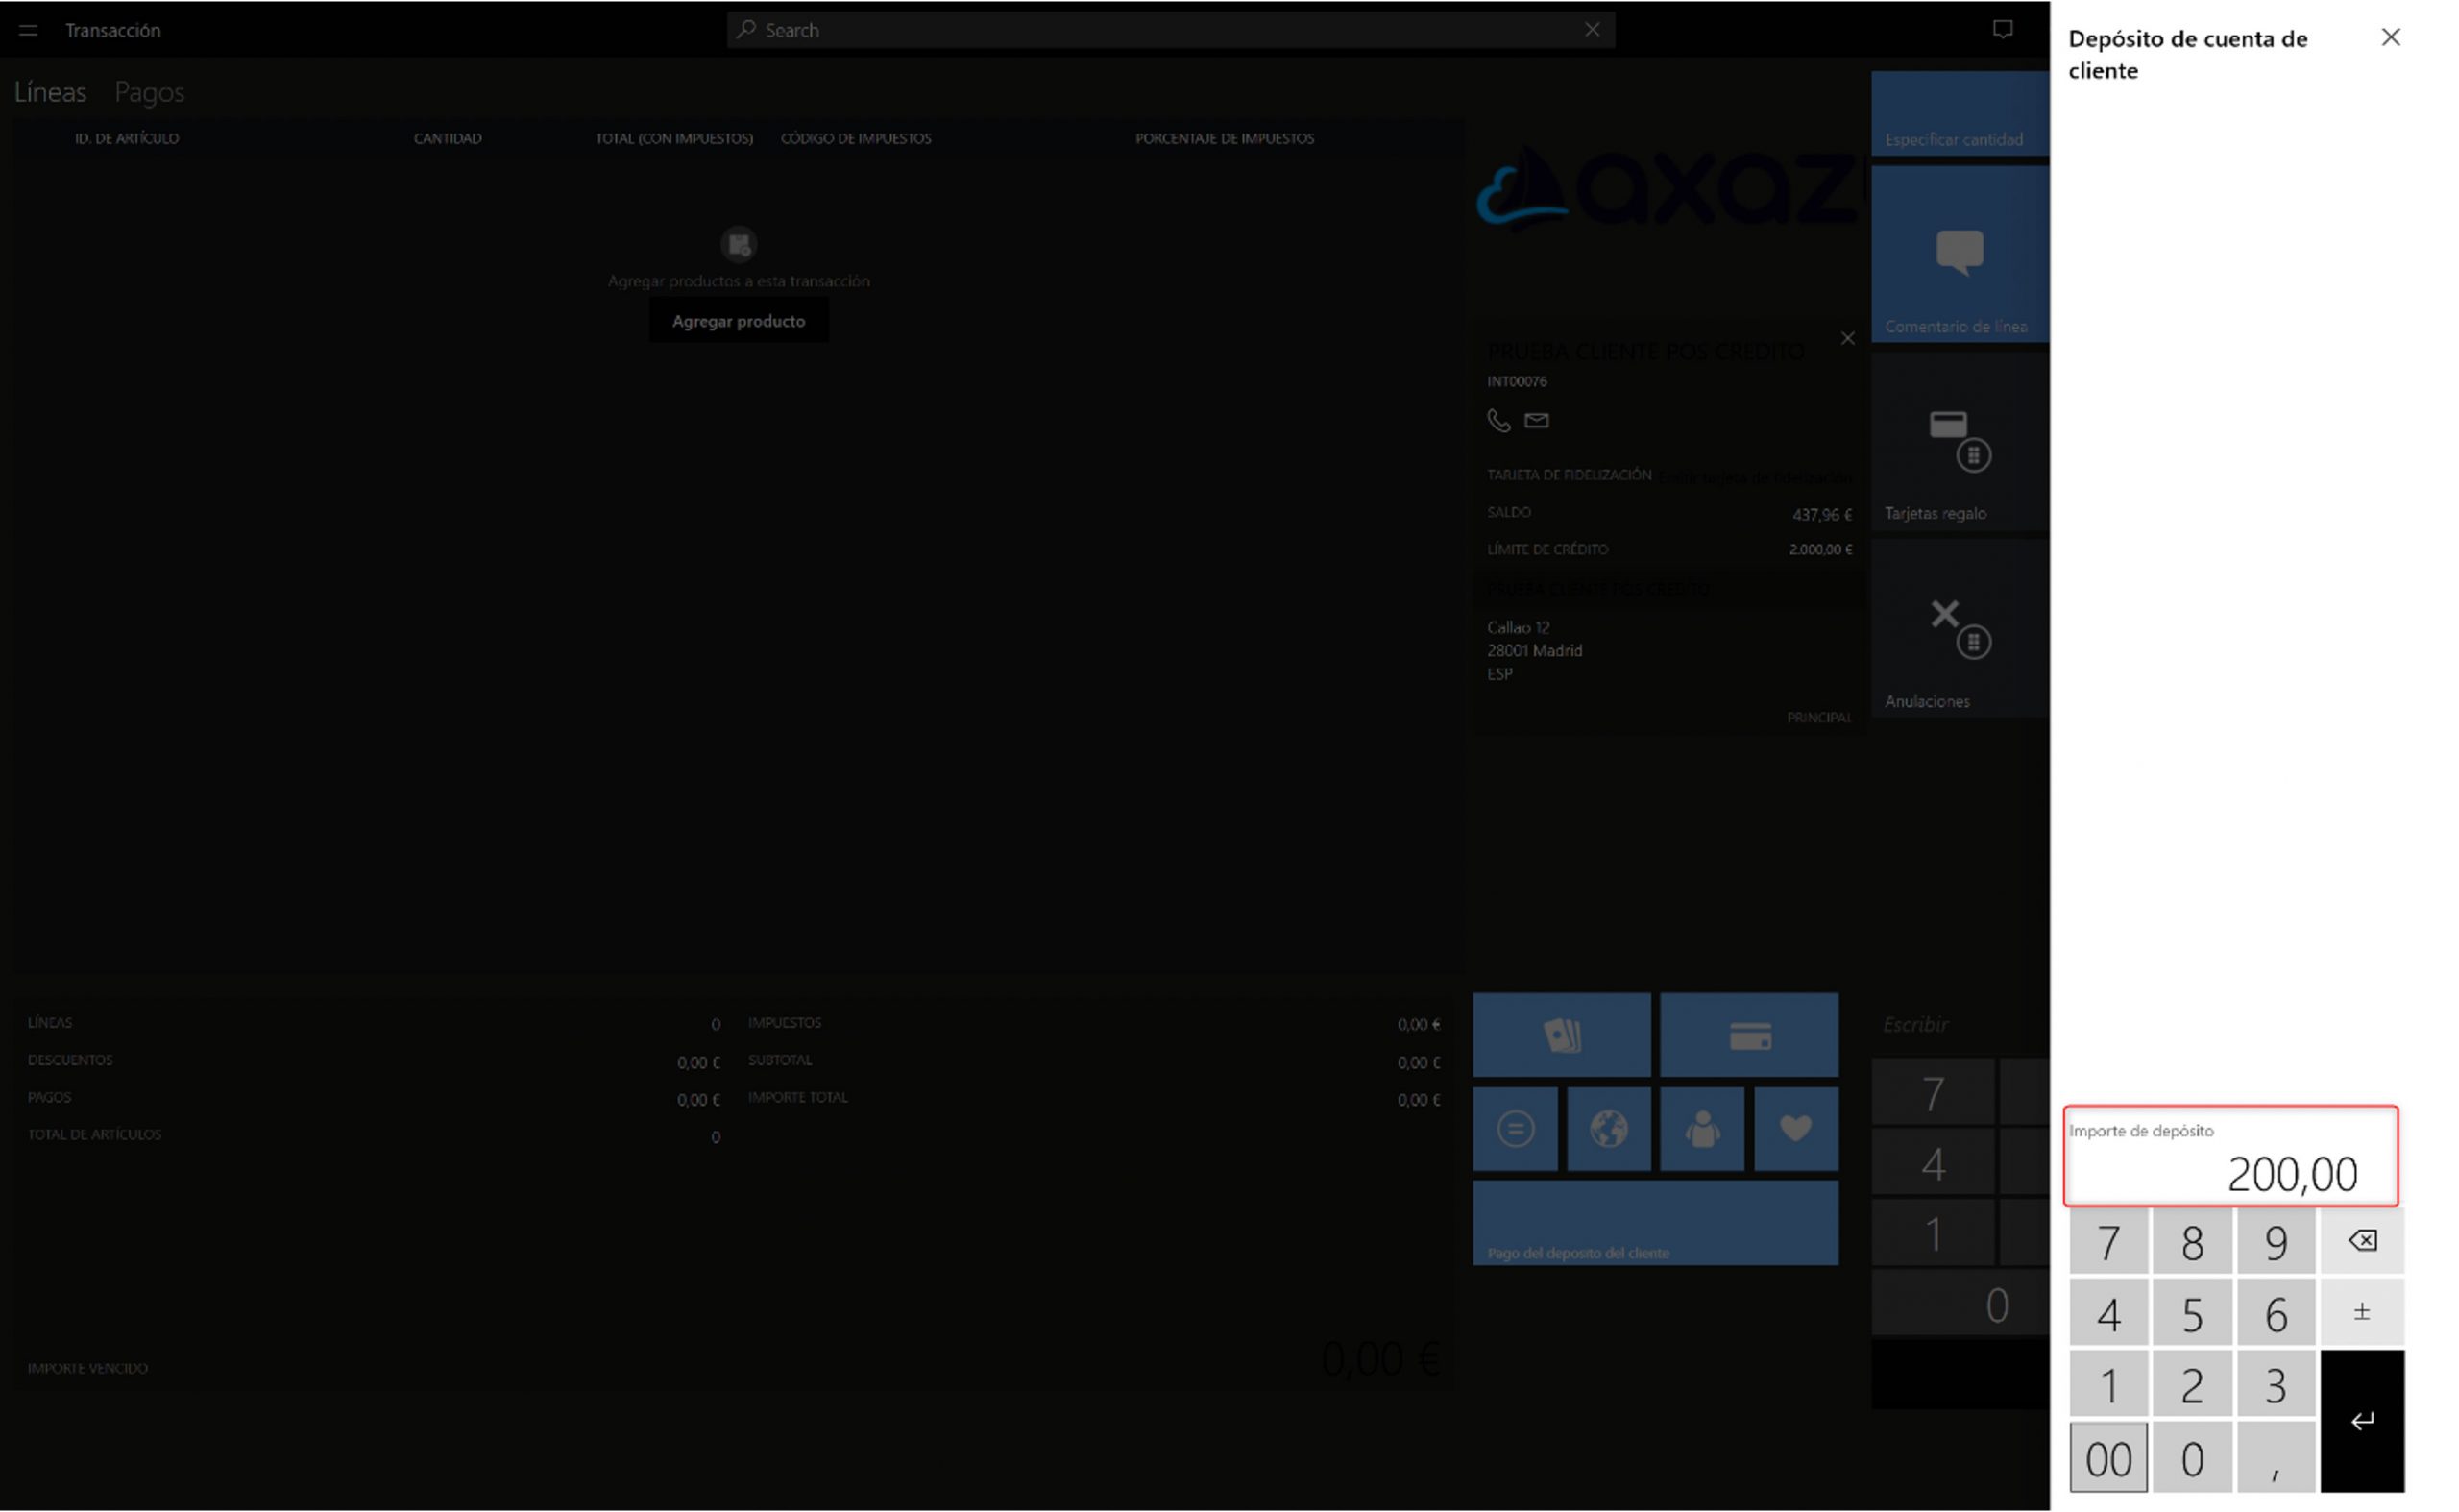
And a deposit payment line is created for the indicated amount.
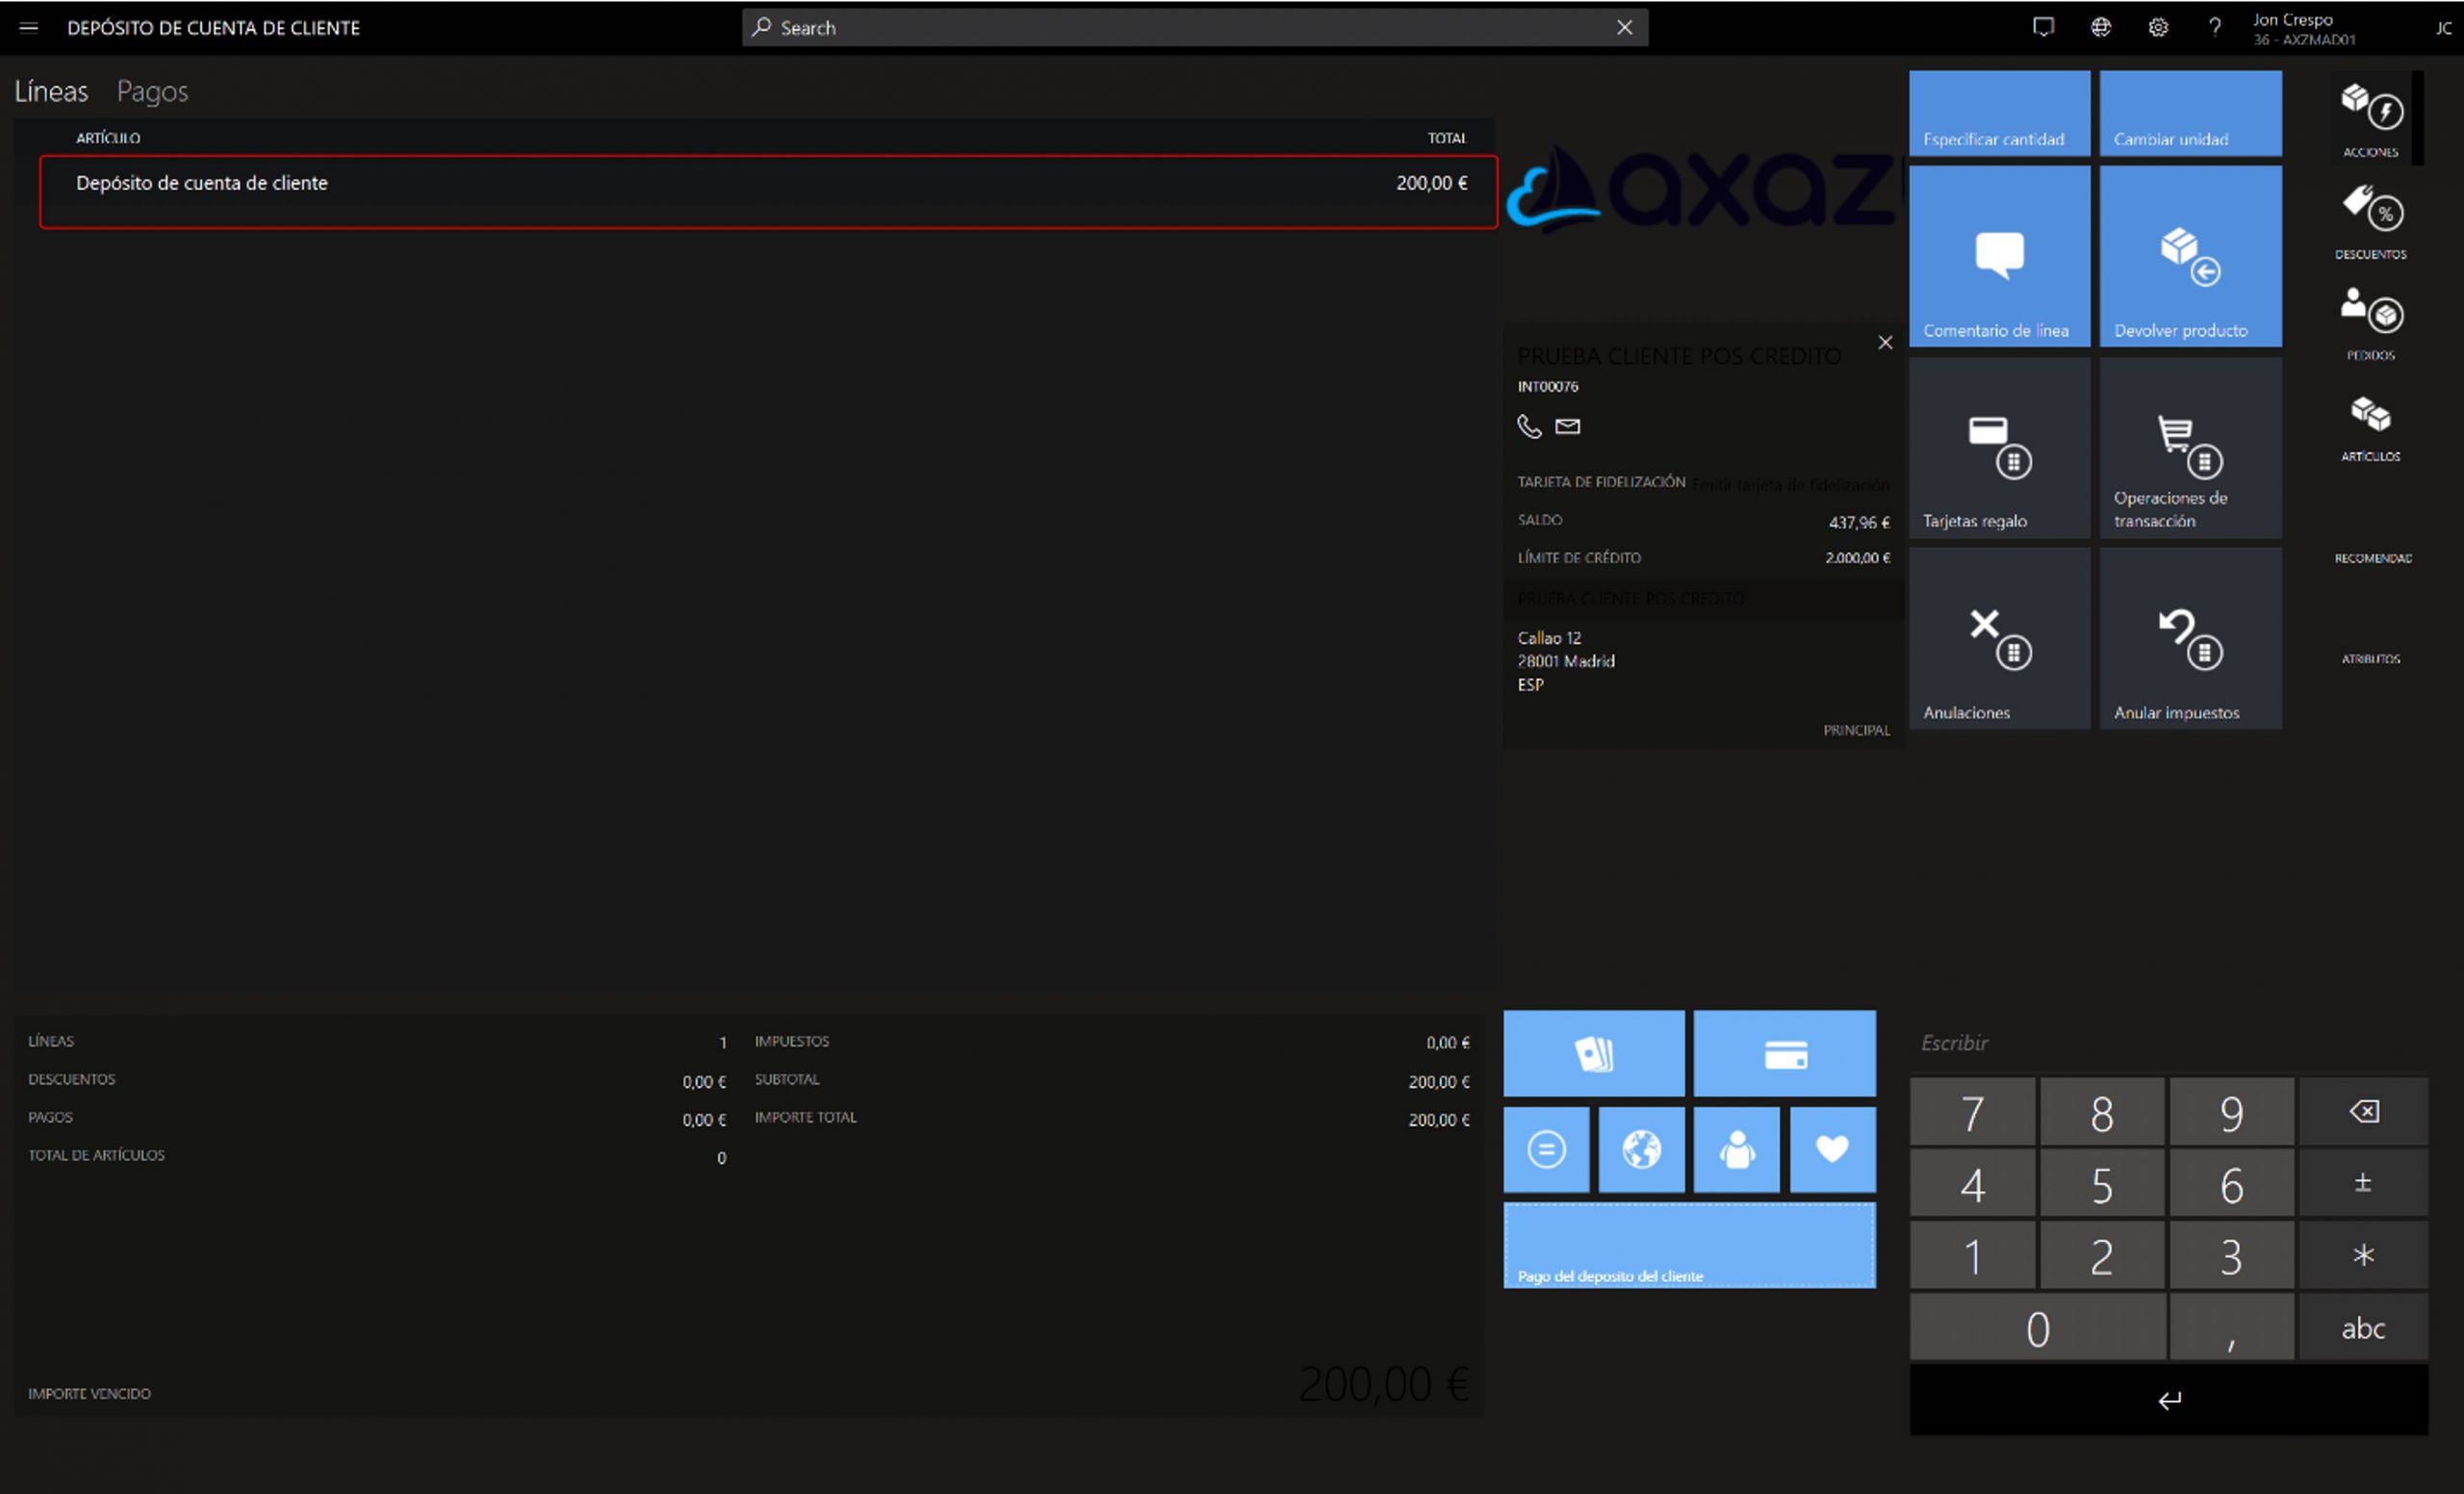
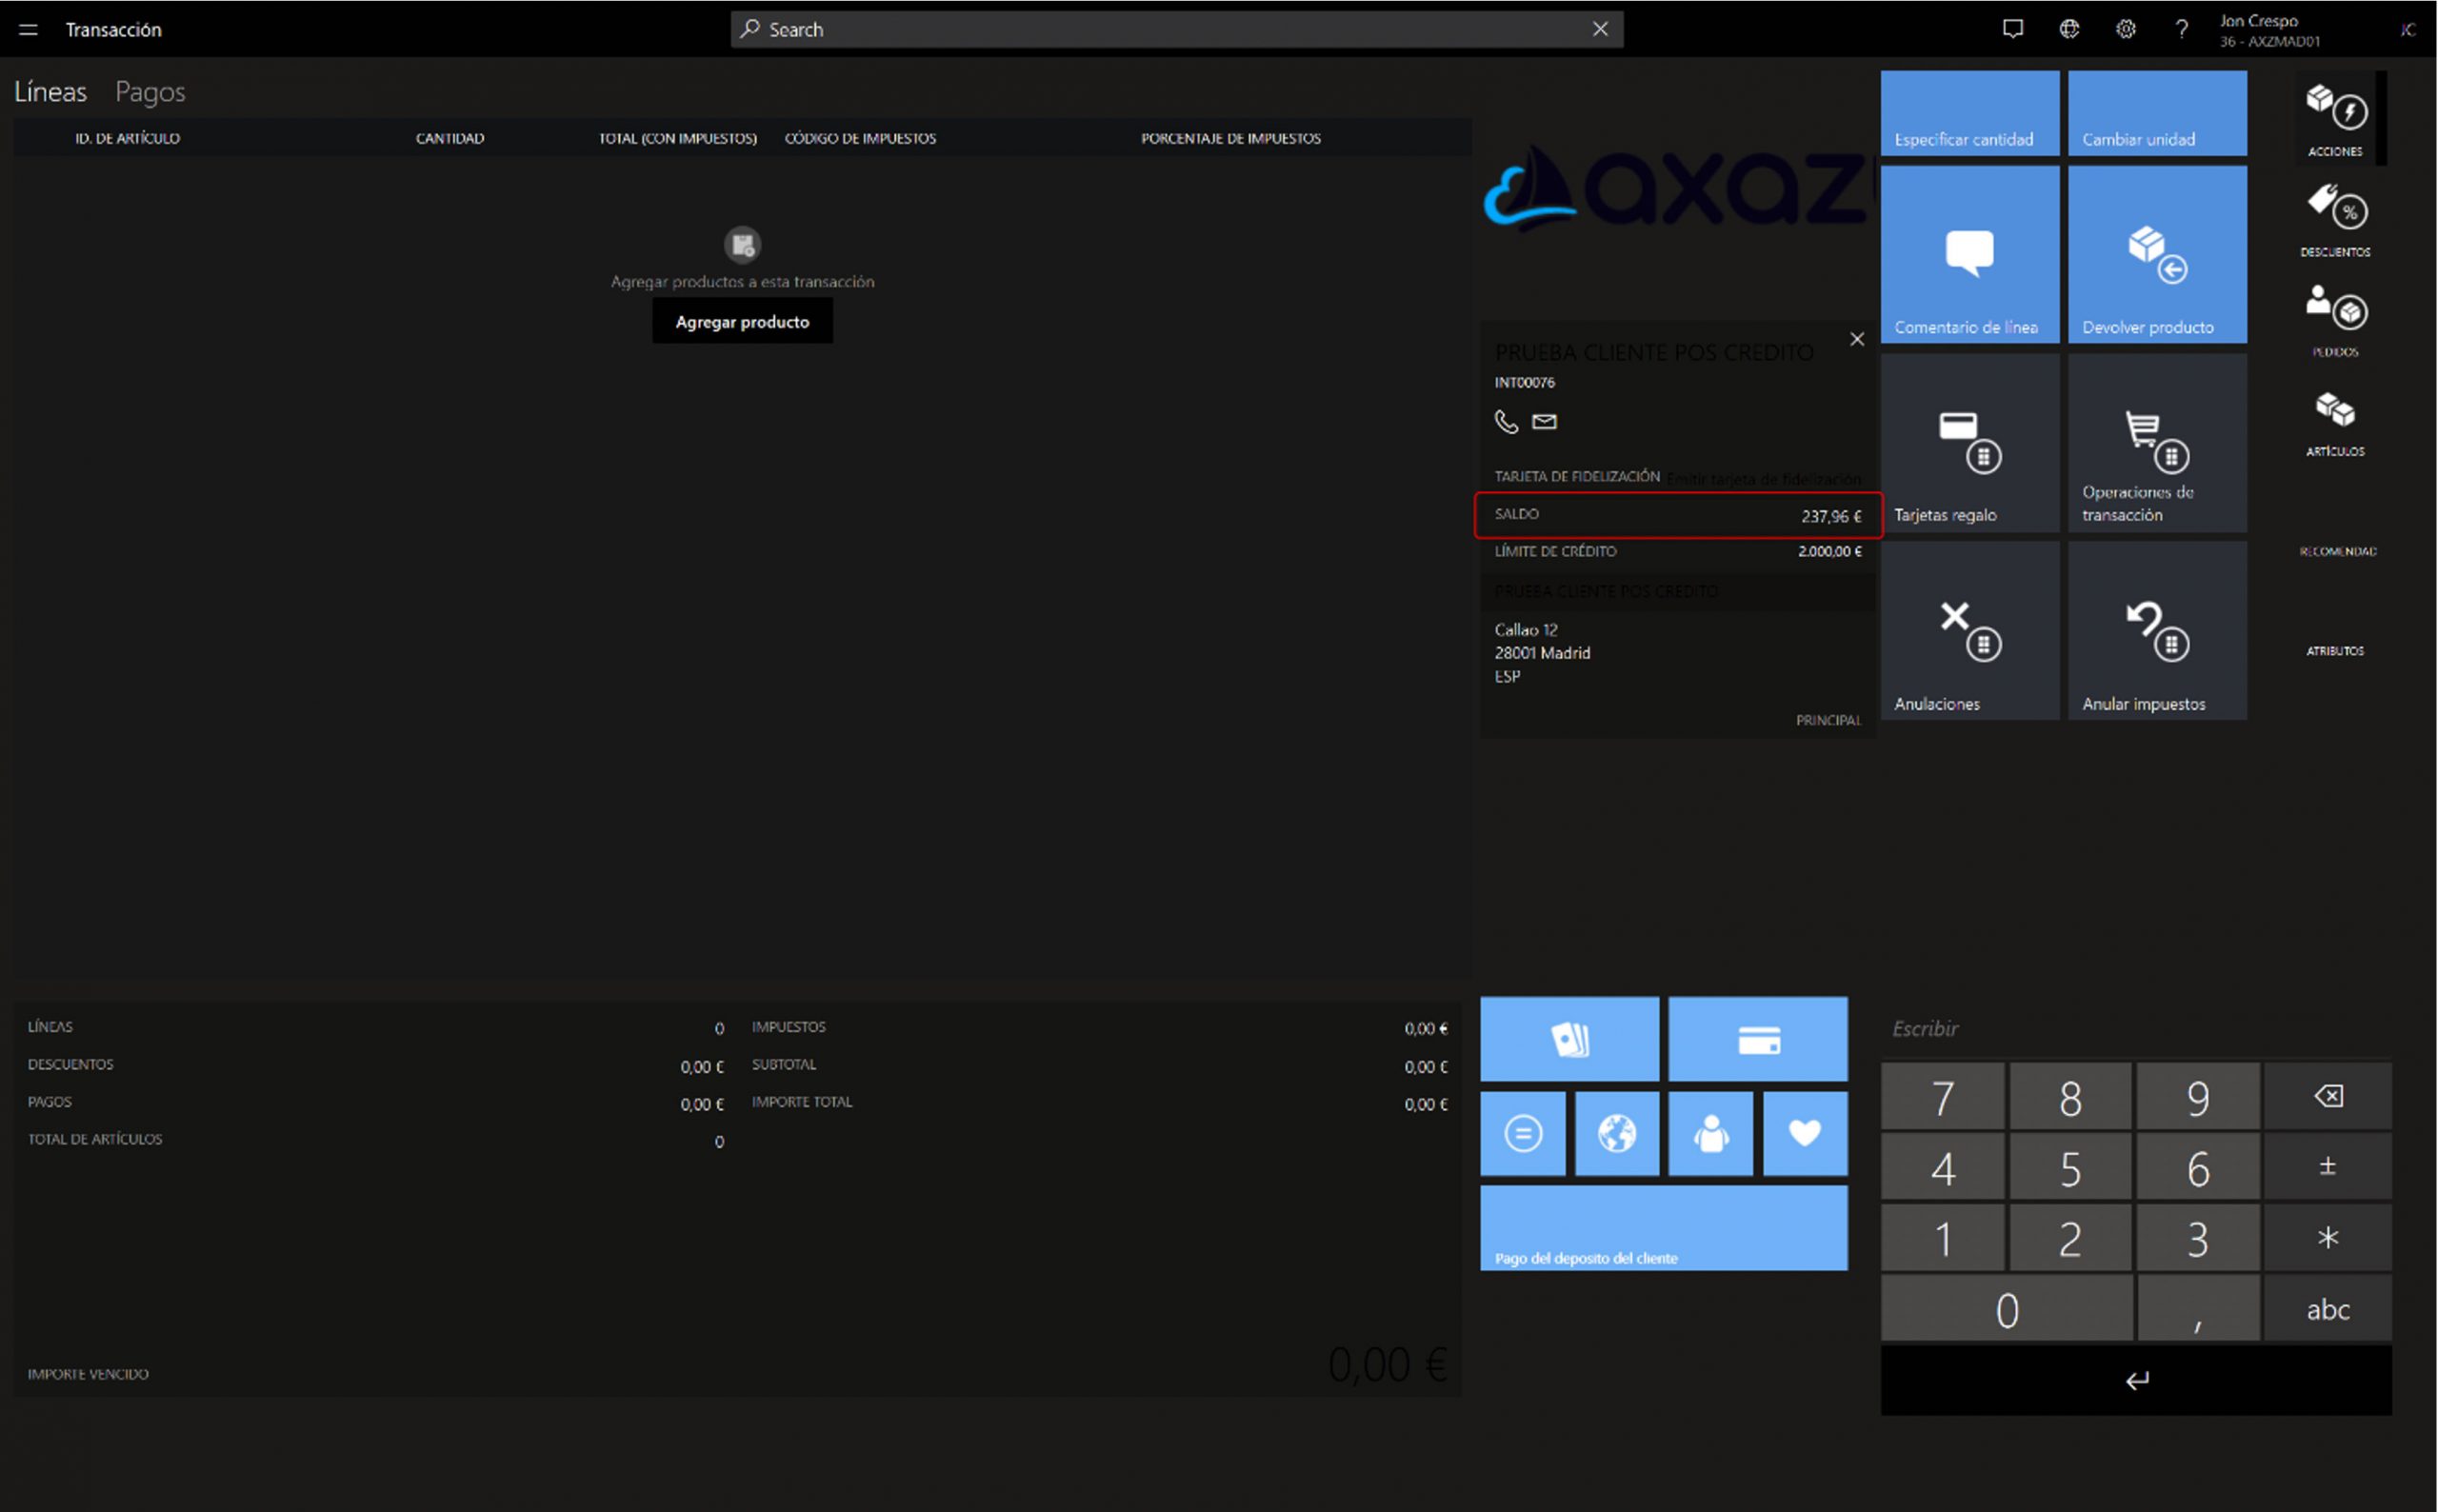
You select the payment method you wish to use to complete the payment and after completing the payment, if we consult the customer’s balance again we see that it has been reduced.
Balance and credit enquiries in HQ
In this last section I will demonstrate which actions the system does or does not perform in HQ related to credit payments and what queries can be made.
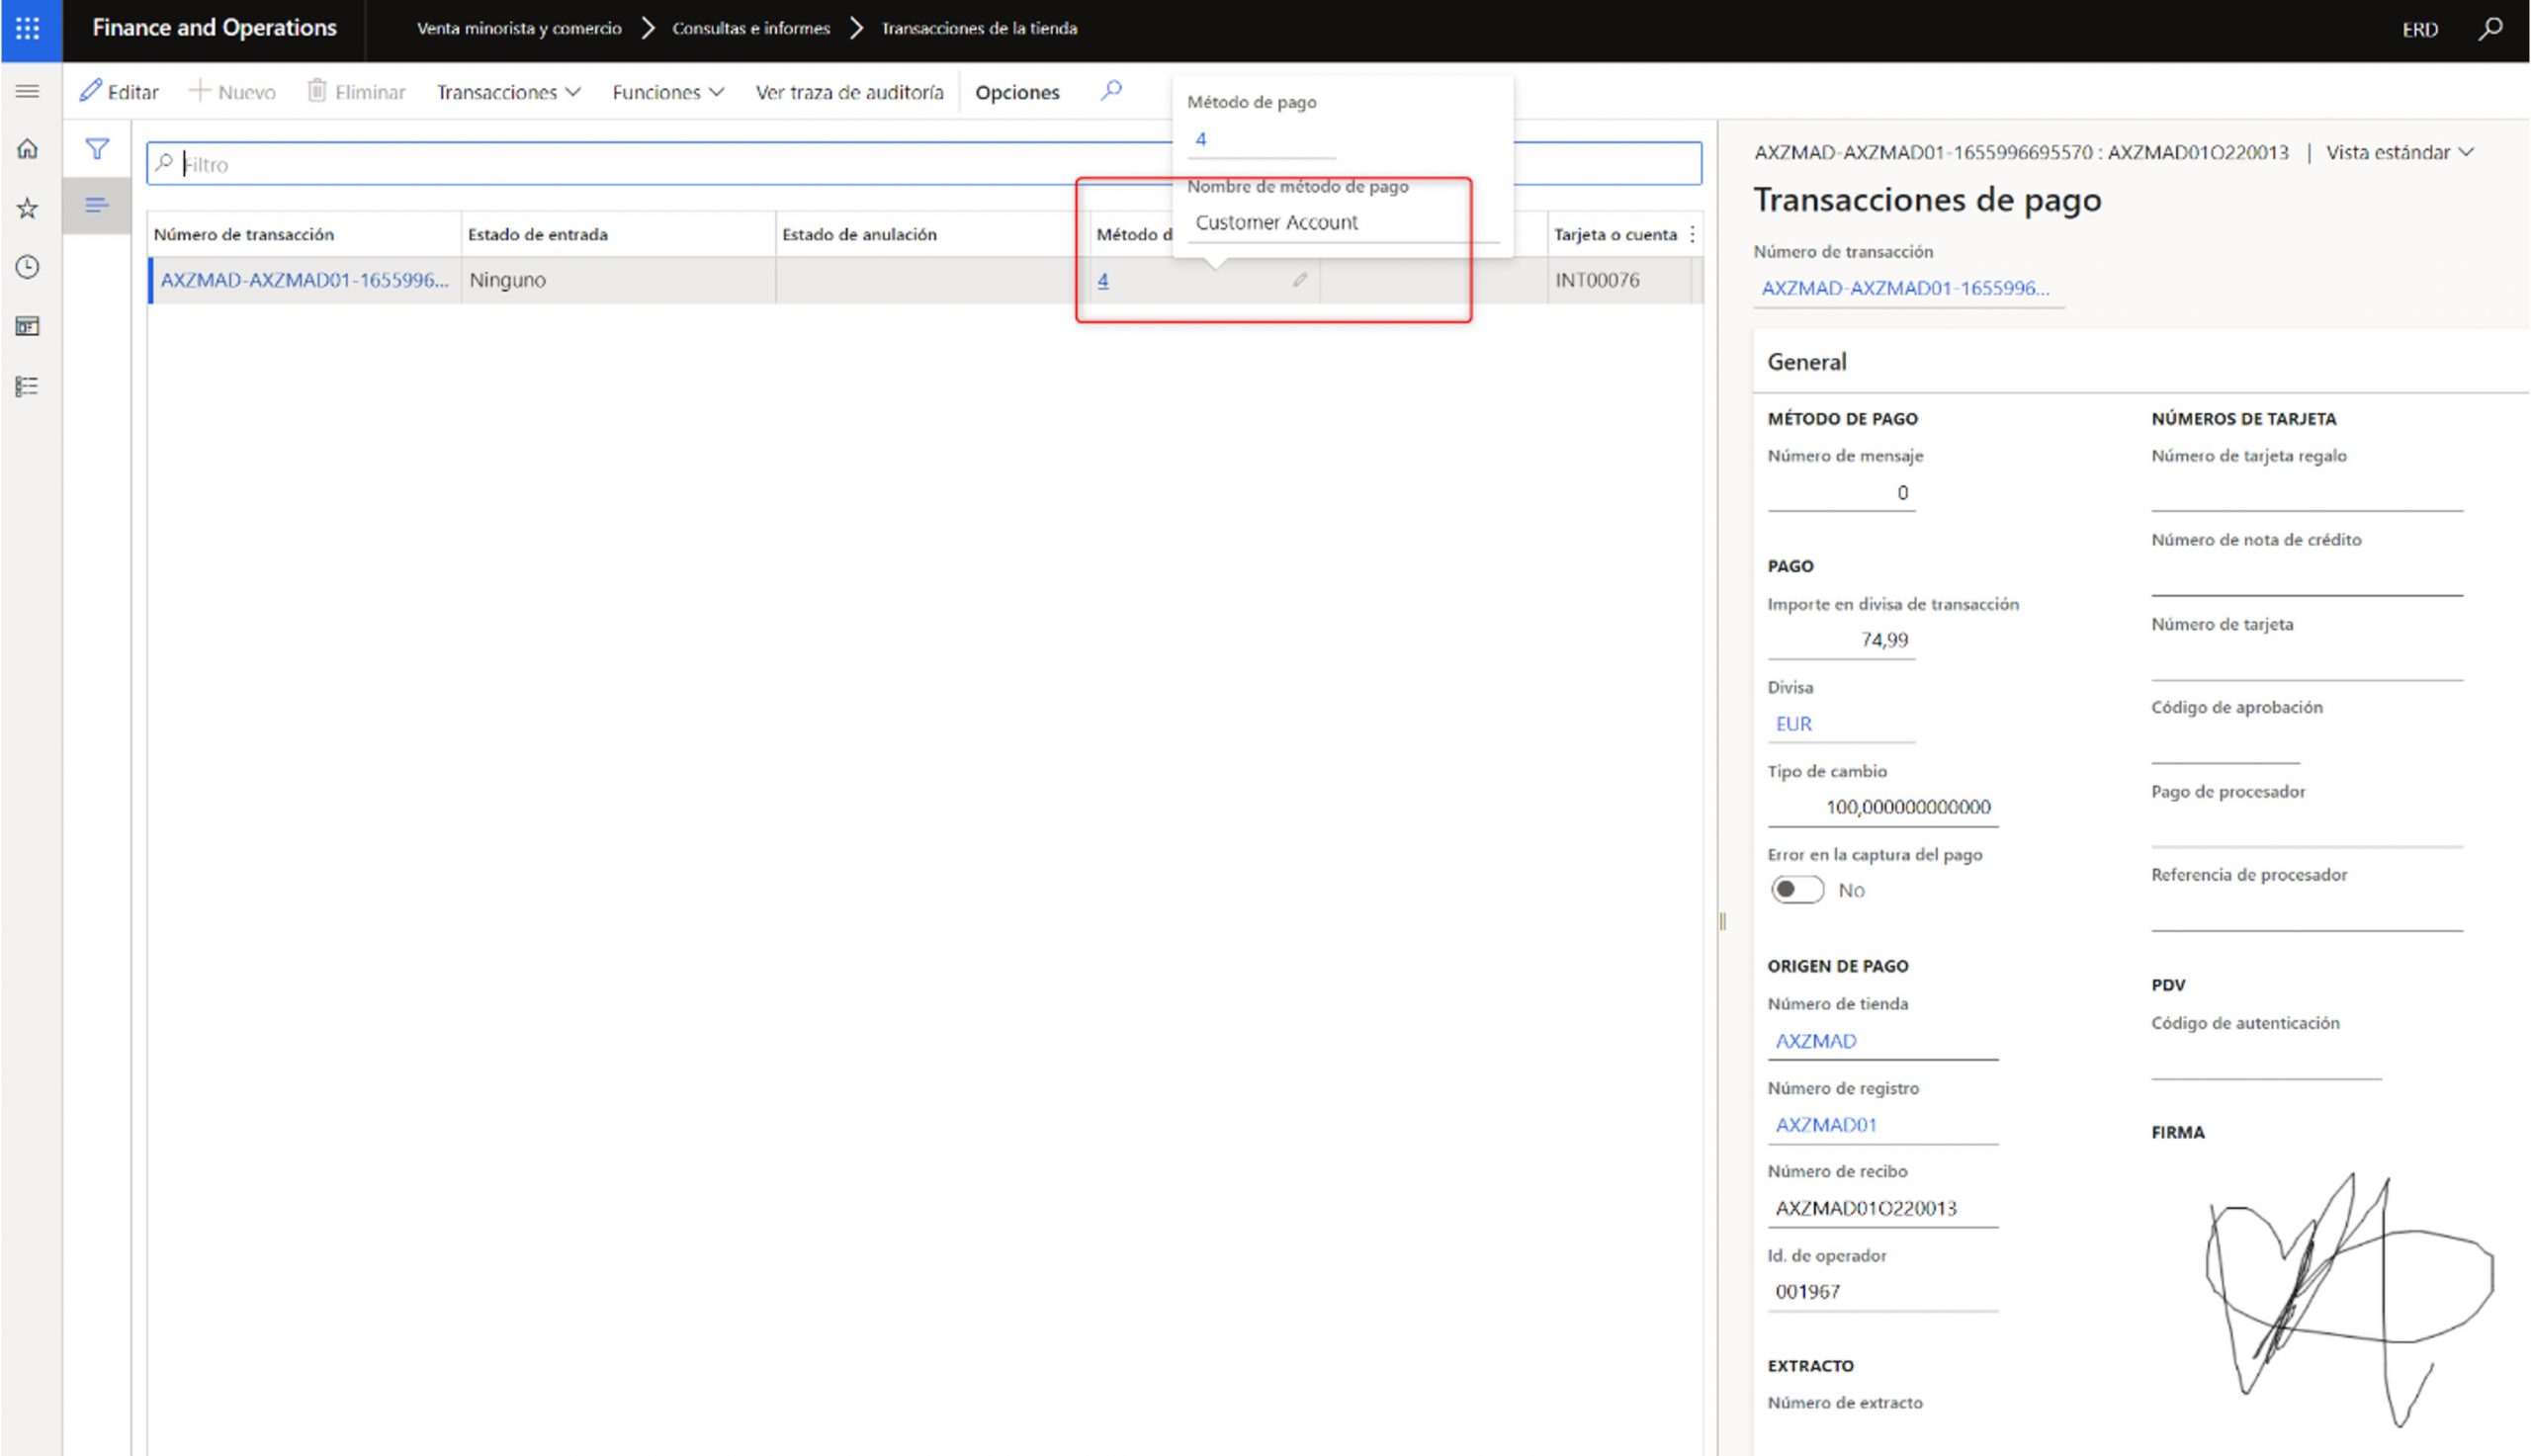
The first point I am going to show you is how to consult the credit payment transaction of a receipt or customer order. To do this we access the payment transaction of our order and we see that it has generated a payment record with the payment method Customer account.
As this is a sales order, the payment journal is either created when creating the order or it is created when invoicing (depending on the payment method). In this case, having selected the credit payment method, the journal will not be created at either point.
For receipt transactions that are recorded through the statements, we can see that it has not crested any payment journals either.
Customer balance payment enquiry
In this point I am going to show you how to consult in the commerce transactions the payments of the open balance of a customer in HQ. To do this, we access the shop transaction query and we see that a payment transaction has been created, which has no sales transactions associated with it, only payment transactions. And if we consult its payment transaction we see that it is in the selected payment method.
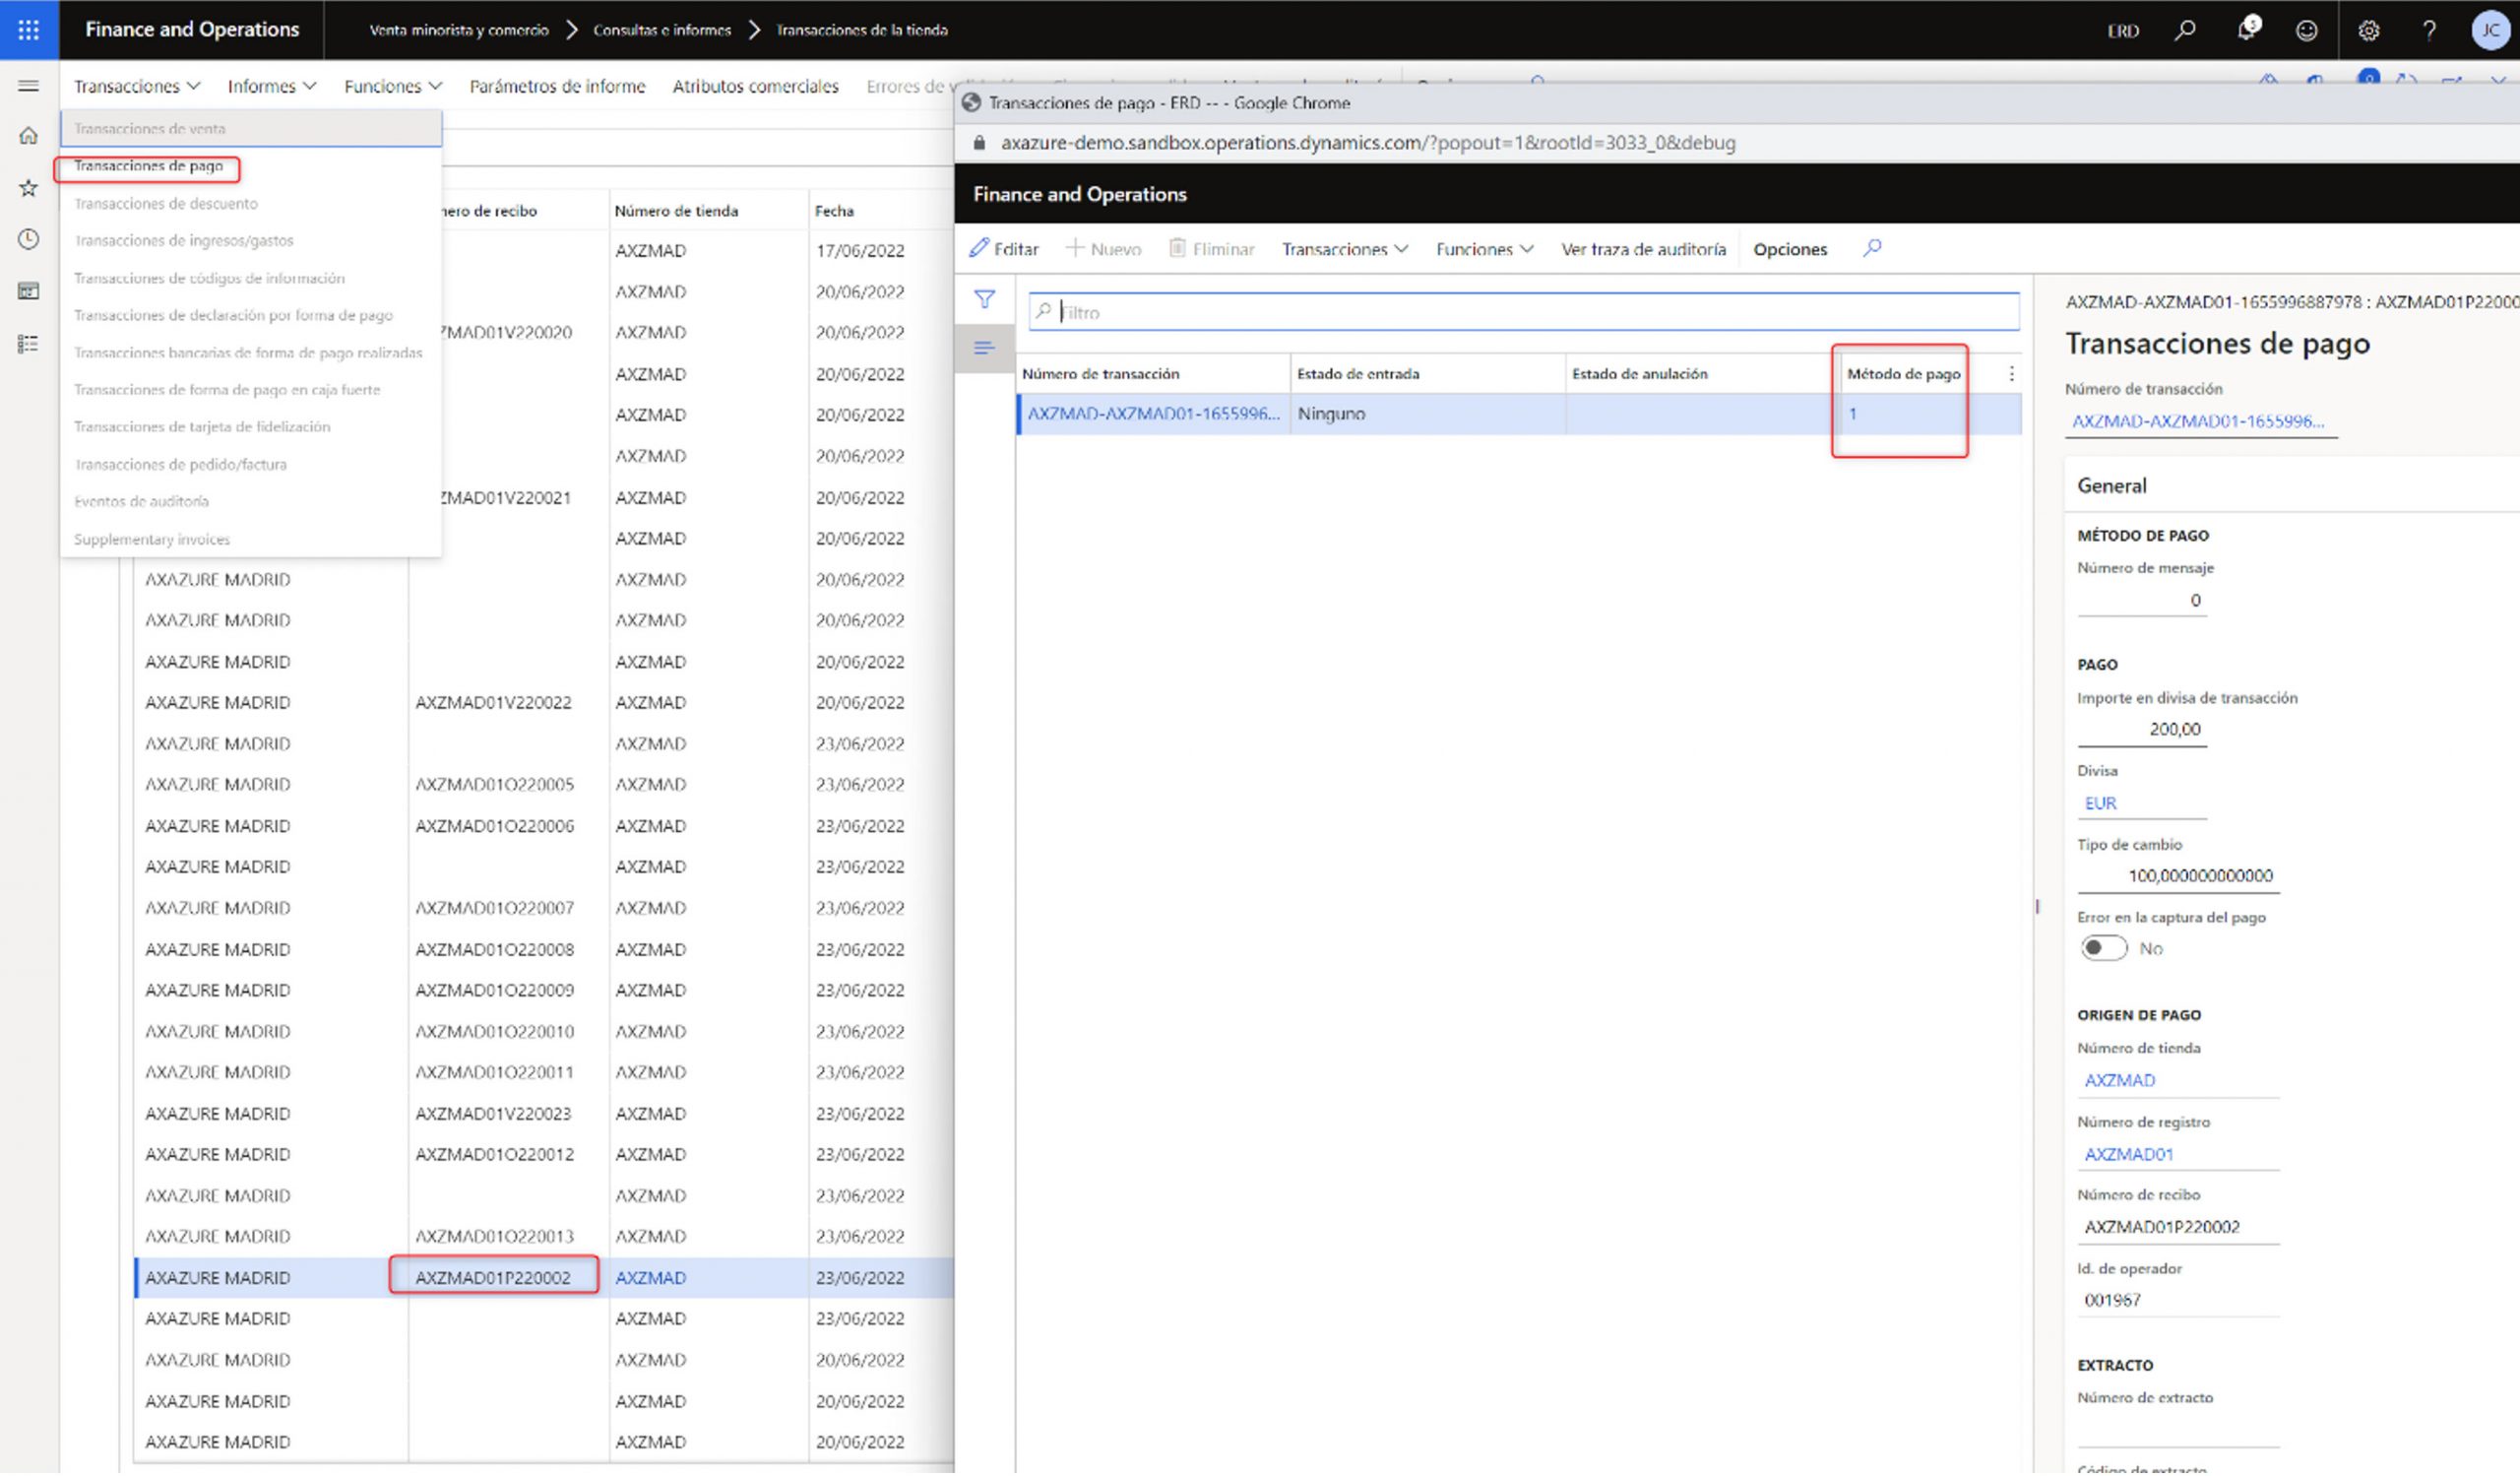
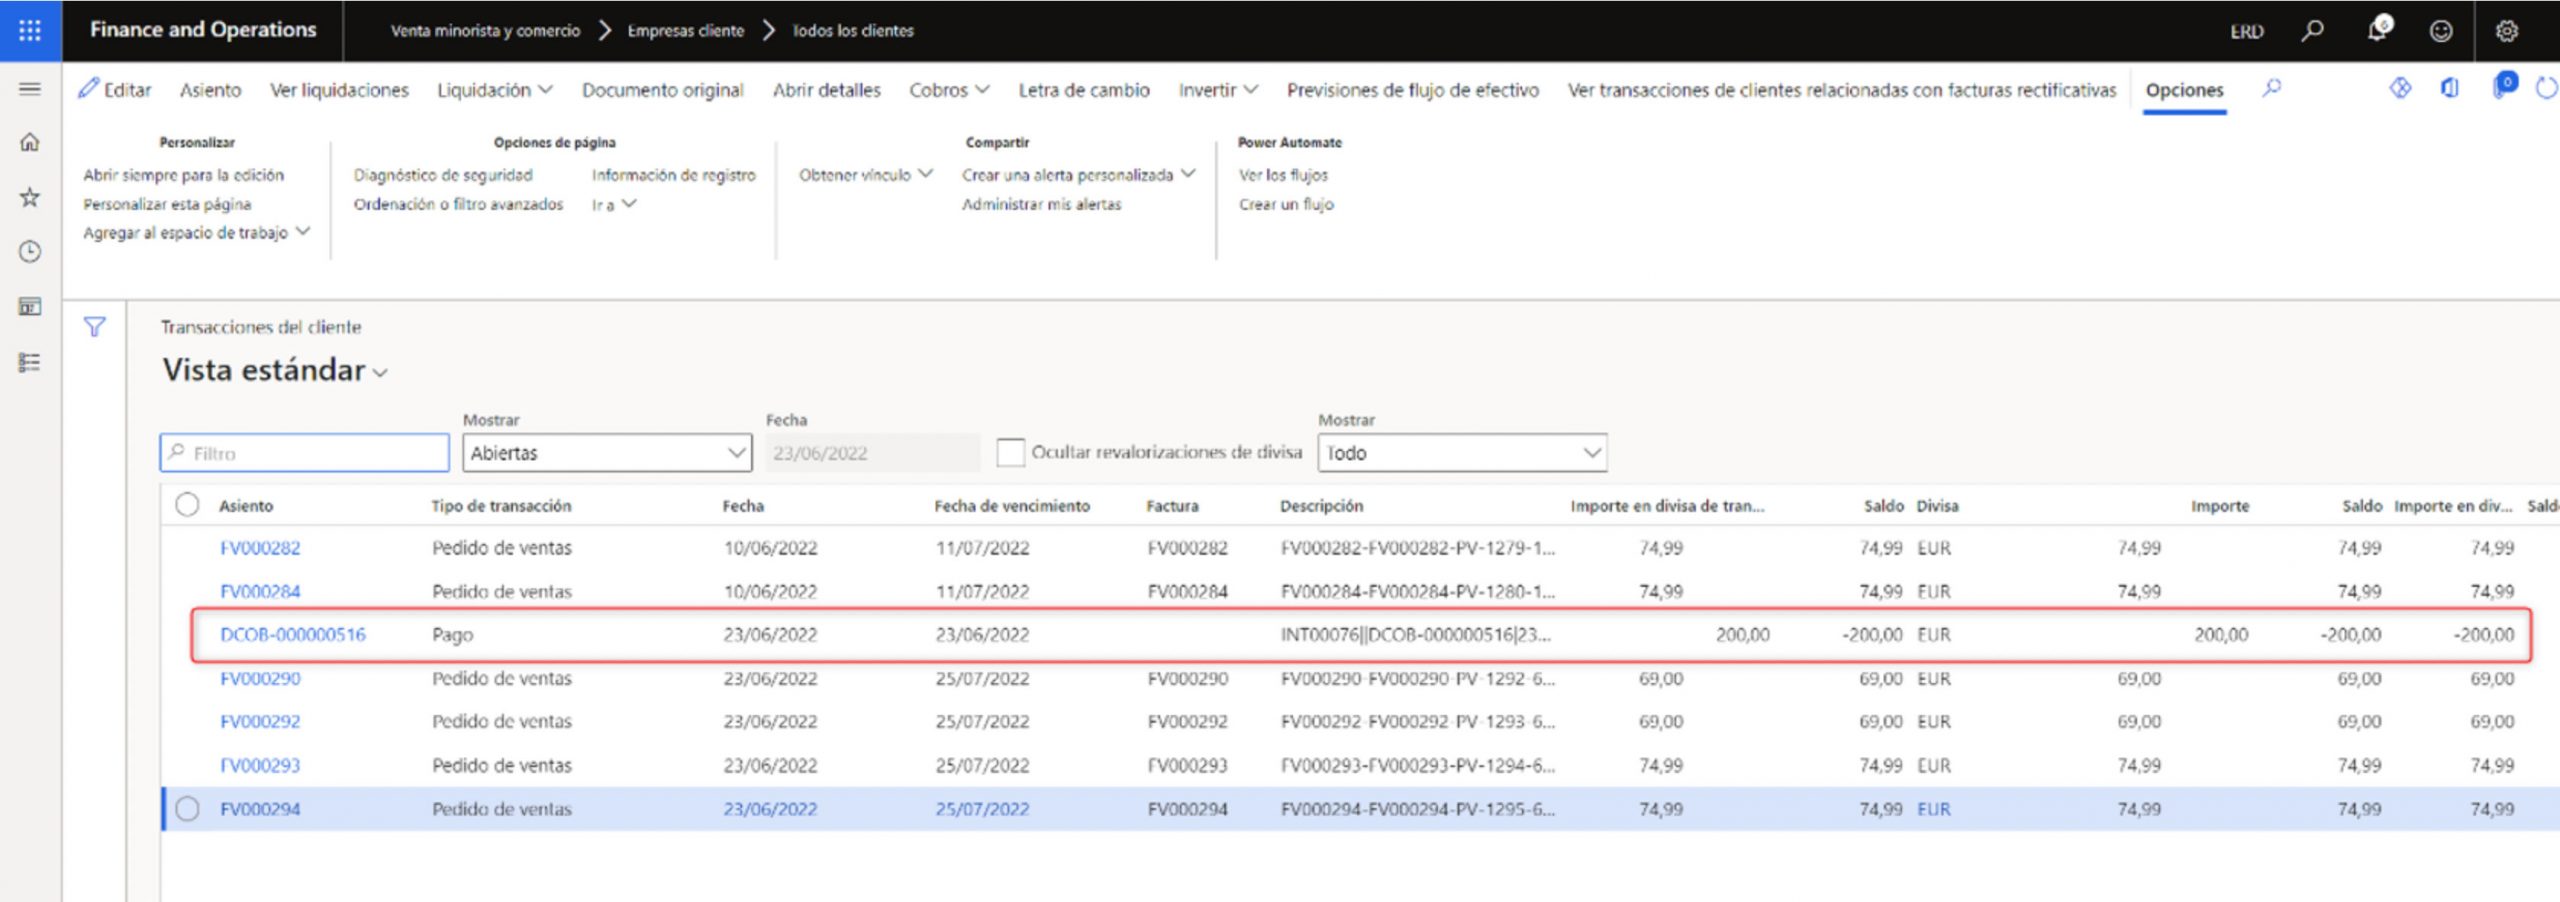
Statement register: Consultation of the payment journal and the customer’s balance. In this case the record is generated in the statement, as only sales orders are generated outside the statement.

If we consult your open transactions, we can see that the only drawback of this process is that the system does not automatically settle open transactions. This is because when you make the payment you are not specifying which orders you are making the payment for.
I hope you found it useful to get to know the POS a little better. See you in the next blog : )


